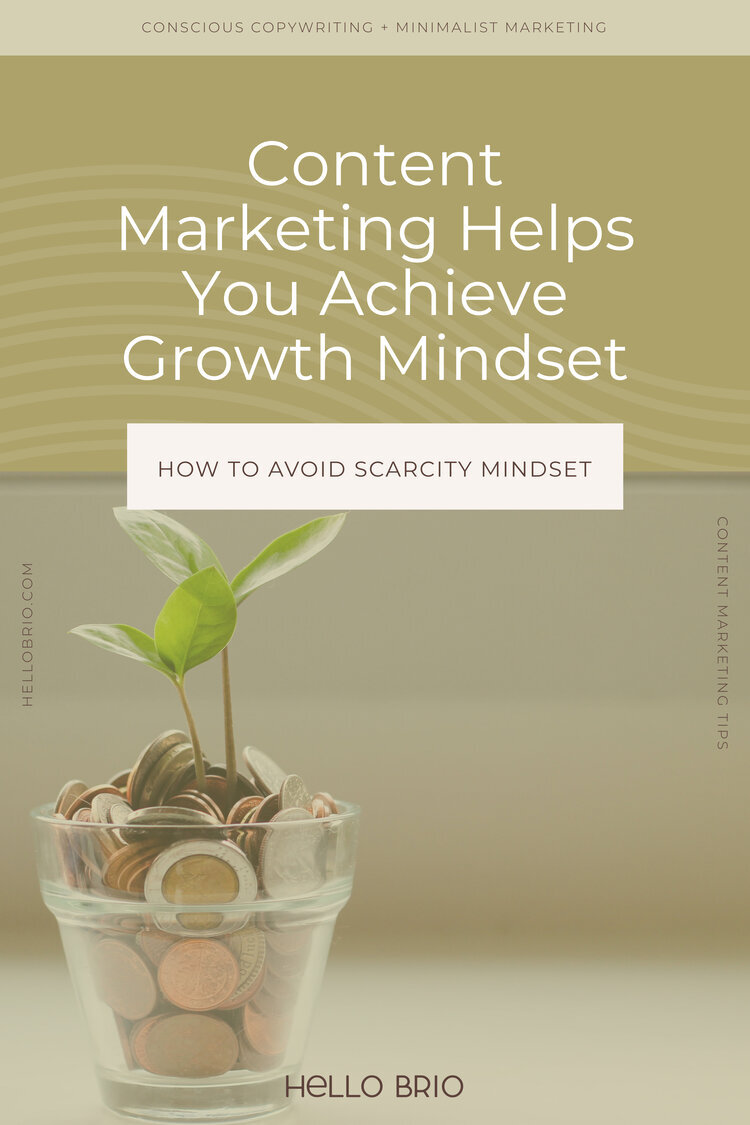
How to Maximize Your Blogging and Content Marketing Workflow
In a soundbite and popcorn-brain technology-driven world, it can be difficult to be able to focus and to generate high quality content for your blog, especially when writing or mapping out a project plan or outline for something.
I've talked about avoiding shiny object syndrome and unplugging from outside distractions by learning how to outsmart your smartphone.
While it's taken me quite a long time to be able to perfect my own blogging workflow, the process I've developed has been incredibly helpful for productivity. (Note: I know my process is far from perfect, but it's miles from where I started.)
1. Brainstorm
Since a lot of blog post ideas are upcycled, it's ok to be plugged in for this. Just make sure to have one inbox for all of your ideas so you know exactly where to store your ideas and then later where to find them again when you're ready to write.
Always be collecting ideas.
2. Write in an unplugged environment
OmmWriter. TextWrangler. Turn Wifi off.
Completely unplug and you'll be surprised how much you can get done when you prevent the Pavlovian response to your notification sounds.
I recently rediscovered OmmWriter when I found myself distracted by notifications on my iMac: OmmWriter by default stops all notifications from pushing through and gives you a minimalistic environment in which to write.
3. Edit
Stay unplugged, and read for content and flow. You probably want your blog post to make sense and have an identifiable topic. Make sure your blog post is a good length.
4. Begin to format
If you can draft posts in HTML, try to stay unplugged.
Add URL tags, paragraph tags, and but if you don't know the URL, use obvious placeholders to remind you to gather these later. A lot of times, I'll write something like:
<a href="http://_______ENTER_URL_FOR_AMAZON_HERE________" title="That really cool thing on Amazon" target="_blank">cool thing on Amazon</a>
The underscore (or long strings of underscores) makes it easy for you to double-click anywhere within that little string of text later and replace it without having to worry about highlighting the right string of characters later. It may look a little obnoxious, but it can be easy to miss these flags later on in the cleanup phase.
5. Tag for photos and identify images needed
Tag places within your blog post where you'll need photos or images. I use the same underscore/all-caps technique for photos and where additional information is needed once I reconnect to wi-fi or when I start to drop into my blog editor.
_______INSERT_AWESOME_PICTURE_OF_BUNNY_HERE_______
6. Collect resources
First, make brief notes of all the photos or resources you need. If you take your own photos (which I highly recommend), write your photos on a piece of paper, grab your DSLR or iPhone, and go out and shoot. The great news is that you don't have to do this all in the same day, and that your photo search may be within your existing photo library.
7. Edit resources
Once you have your full collection of photos and assets, drag them into your photo editor all at once.. This is also best done towards the end of the workflow process since it involves significantly less brain power than drafting an essay.
8. Finishing touches
You're almost there. Upload all of your photos and insert them where you left your flag. Replace your underscore/all-caps notes with the appropriate links, photos, and resources. Preview your post to make sure the formatting, grammar, punctuation, spelling, URL's, etc are all correct.
9. Publish
Publish your post: the golden moment!
Or, if you're super duper organized and aren't blogging at the last minute, schedule your post to publish….
10. Publicize
I'm guilty of laboring over a post and then completely forgetting to tell anyone about it. SO:
Proceed with posting your blog post on your social media networks, or work on a plan to be executed later if you scheduled your post for the future.
While this suggested workflow is a bit formulaic, it has its benefits:
Allows you to create better content
Have multiple posts at various stages
Take photos for a number of posts in fewer sessions
Write better, more complete thoughts
Get more done in less time
Have more time to float into the abyss that is the internet without having the guilt of "I need to blog" on your shoulders, which will allow you to gain more inspiration for future posts
Spend more time planning, or most importantly,
Spend more time relaxing
I hope these tips helped you in your blogging endeavors! How do you maximize your blogging workflow?
Cover photo by William Iven