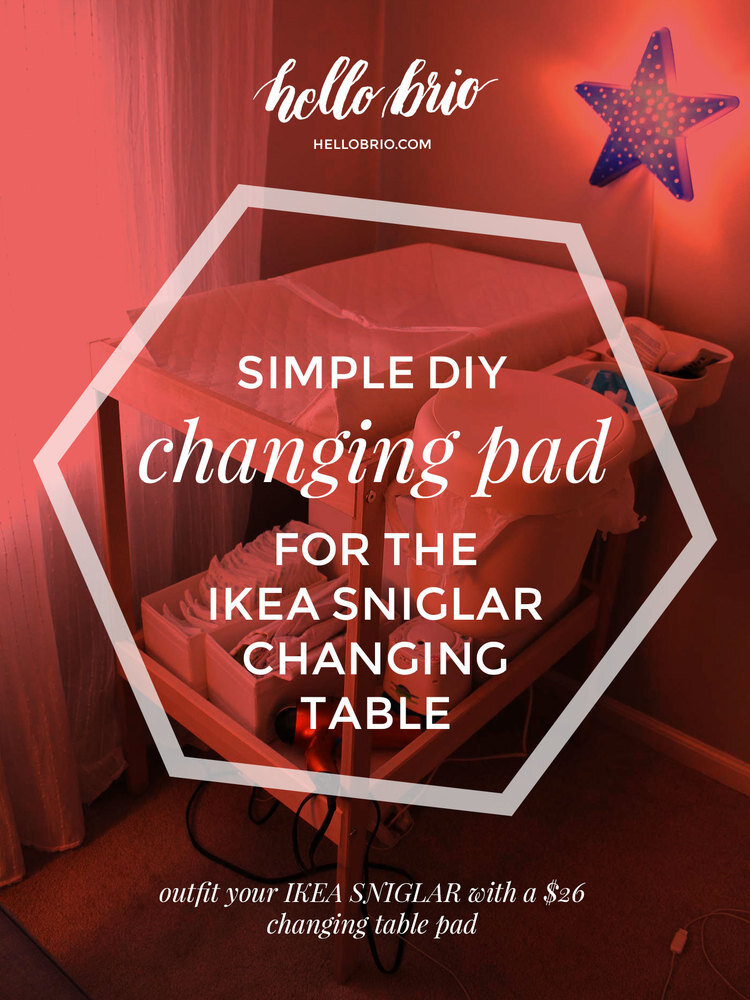
Easy Baby DIY Project for a Changing Table Pad for the IKEA Sniglar
When we were preparing baby Nolan's room, I really wanted to go without a changing table because I thought it would take up way too much space. Plus, I'm a minimalist, so I really wanted to make it happen without a changing table (and use the floor or a sofa instead).
This minimal notion lasted for about a week after Bebo was born. 100 million diapers later (just an estimate), I went to IKEA to purchase a changing table. The SNIGLAR is great because it's only $35 and it is very functional and uncomplicated!
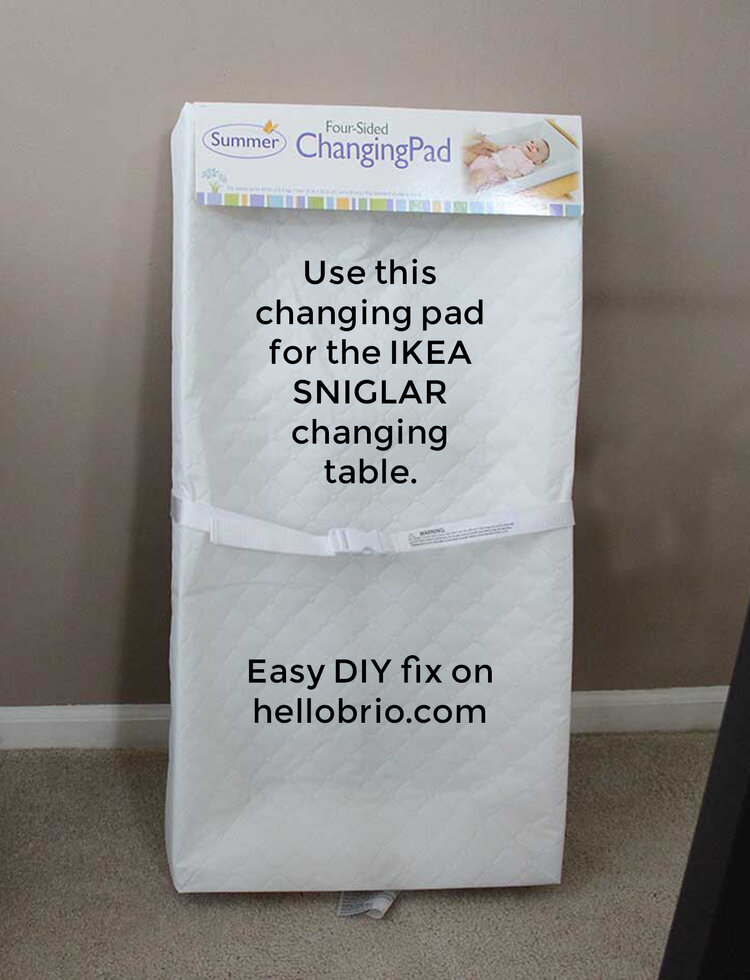
So I bought the SNIGLAR, but we didn't buy the IKEA changing table pads because I already had one at home that I received as a baby shower present.
However, when I got home, the Summer changing pad I received was too large. I was pretty bummed. However, Google saves the day because I came across this DIY post. Turns out it's super simple to cut down the Summer changing pad and re-sew the sides!
I'm not an expert sewer by any means; I purchased the supplies needed and completed the project within an hour or two. If you're a good sewer, you can do this a lot faster and without as many mistakes as I made!
Pin for later
Supplies and Materials Needed
IKEA SNIGLAR changing table
Sewing clips or straight pins
Hot glue gun not required but recommended if you're a beginner like me!
DIY Step 1: Measure your changing table
The SNIGLAR table is wide enough but isn't long enough to house the whole changing pad. Measure the overall length of the SNIGLAR table (about 27 inches).
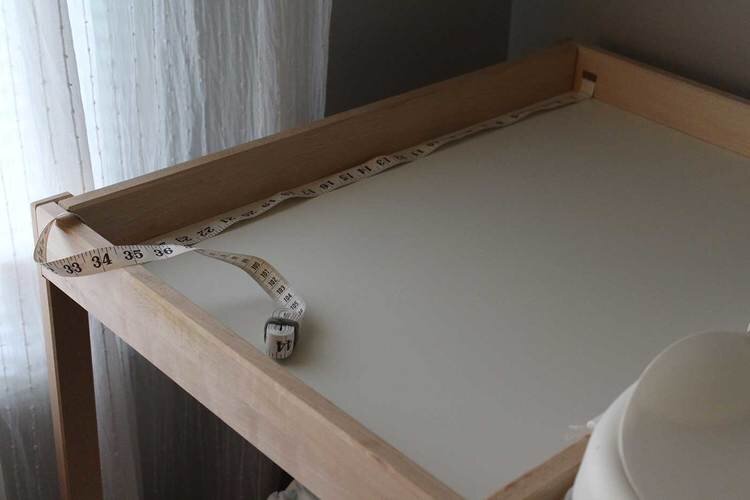
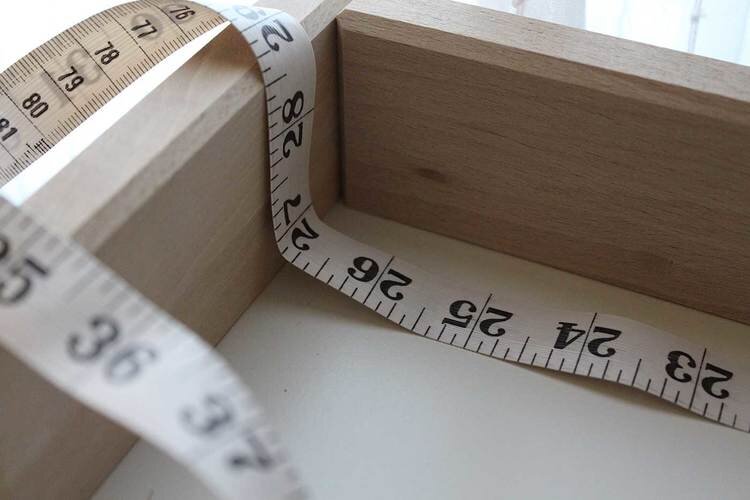
Measure about 27" - Easy baby DIY project for a changing table pad for the IKEA SNIGLAR
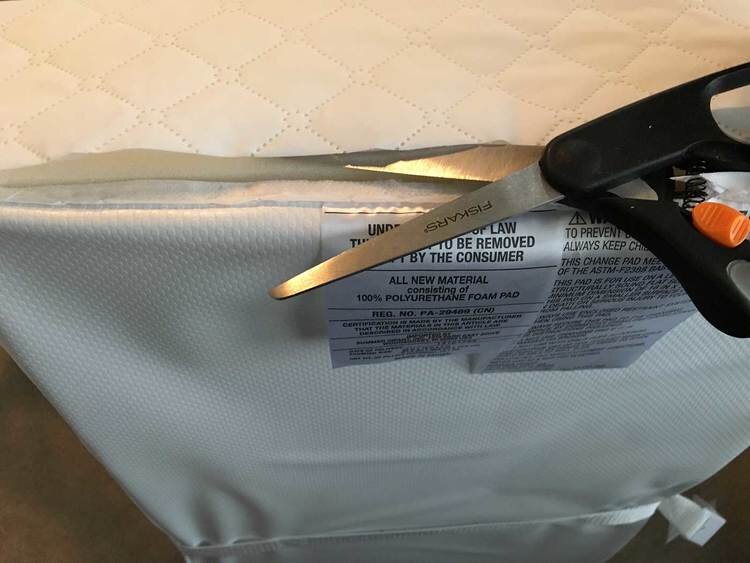
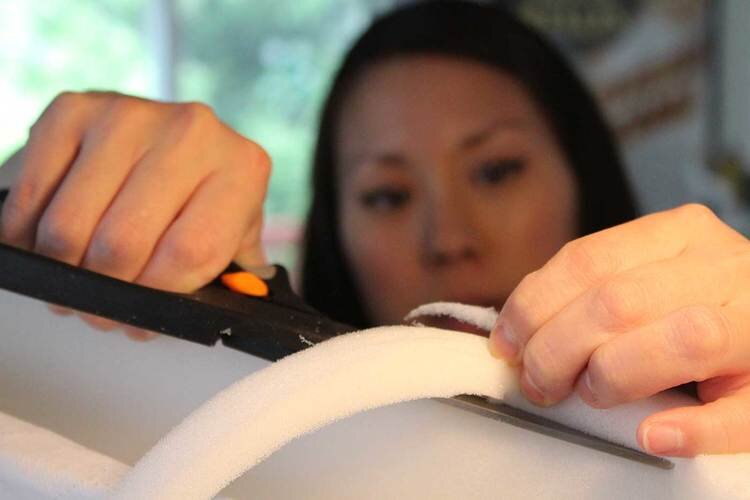
DIY Step 2: Cut along the stitches on one end
Now that you know the overall length, it's time to open up some of the seams on the changing pad. Use scissors to cut the end off, making sure to be cutting along the end's half of the seam in order to preserve the most amount of outer-layer fabric for sewing back together later.
DIY Step 3: Cut the changing pad down to size
Now that you have the ends exposed, cut your changing pad down to size.
You'll be cutting through a layer of cardboard as well as the foam.
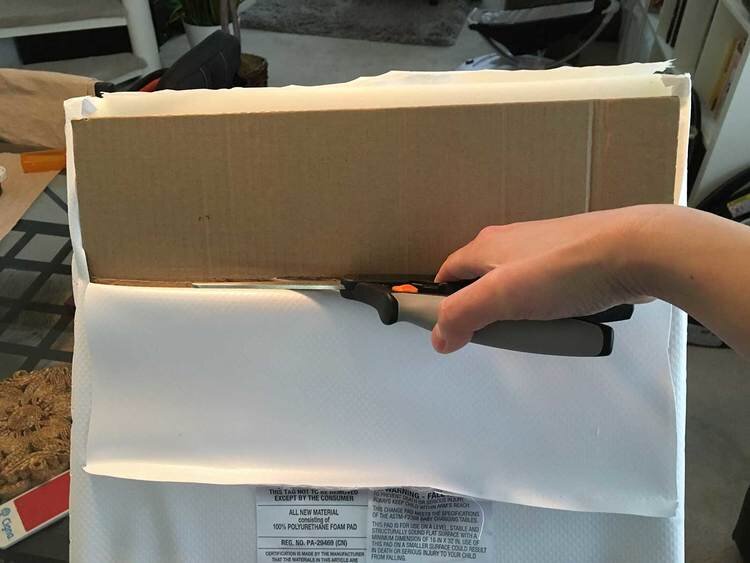
See if the changing table pad will fit your SNIGLAR changing table. If it will, go ahead to the next step. If you goofed like I did (I didn't cut enough away), you can trim it down again until it fits in your SNIGLAR.
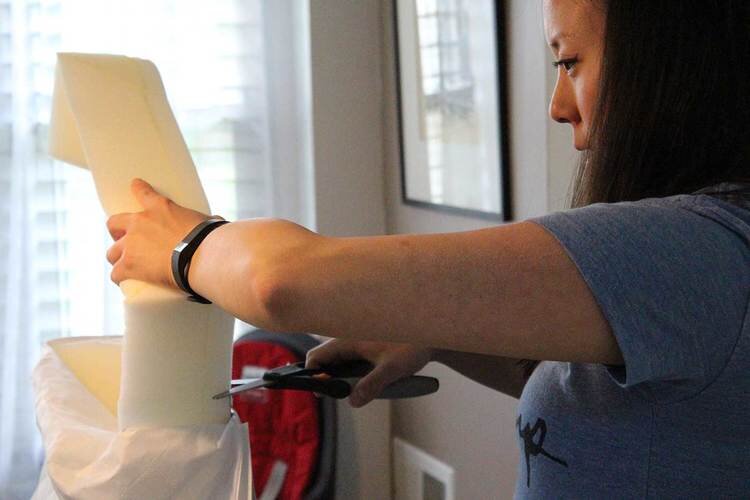
DIY Step 4: Fold, clip and sew!
Fold the bottom fabric back around the cardboard.
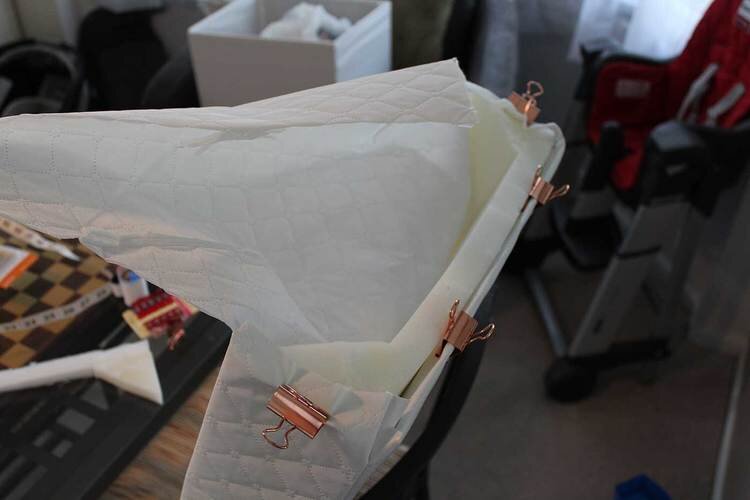
Fold the top fabric and clip it down so you can sew and leave a nice edge. I did this in the Funky Side Crow method but you can repair the cuts on the changing pad in any way you wish.


DIY Step 5: Fix mistakes (optional if you messed up like I did)
When I did this, I accidentally cut away too much of the top fabric, so when I sewed my changing table pad, I ended up with a couple of bald spots.
In order to fix this, I simply put scrap fabric underneath the bald spot, sewed it into the edge, and then hot glued the extra flaps down in the center.
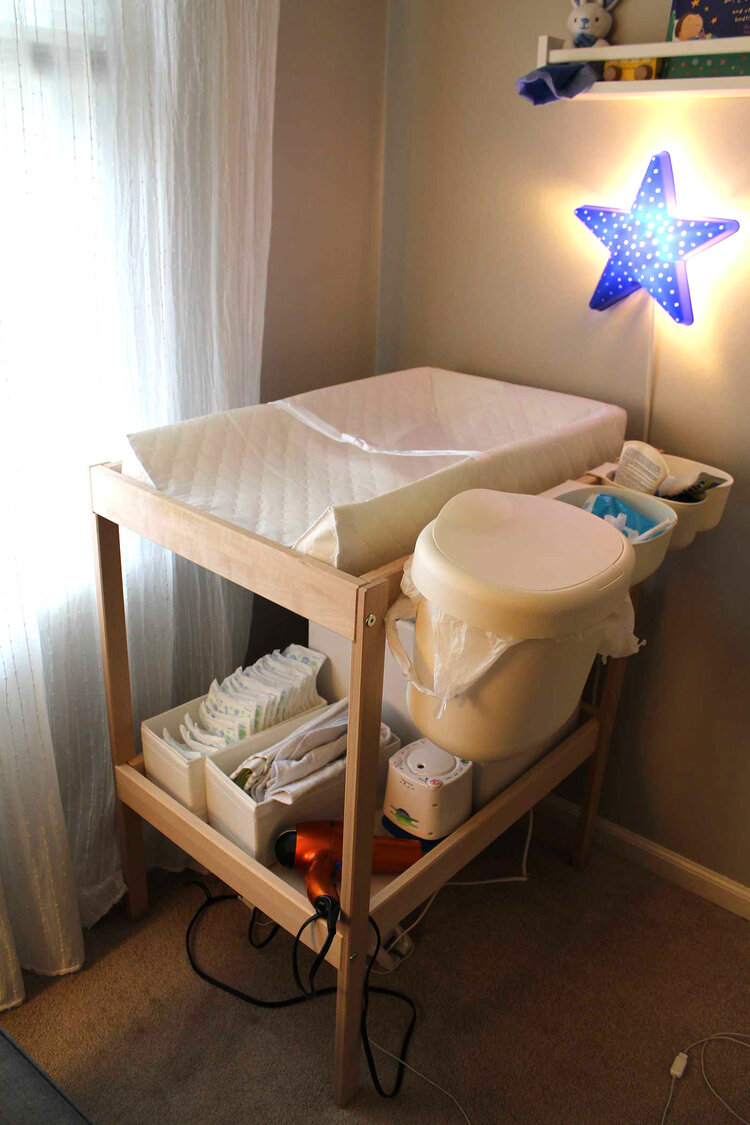
You're done! Now you have a beautiful and inexpensive changing table with a custom-fit changing table pad.
Cover photo by Luma Pimentel