10 Reasons I Love Notability for Digital Bullet Journaling
While I've only talked about digital bullet journaling here and there, let me assure you that it's one of my new obsessions.
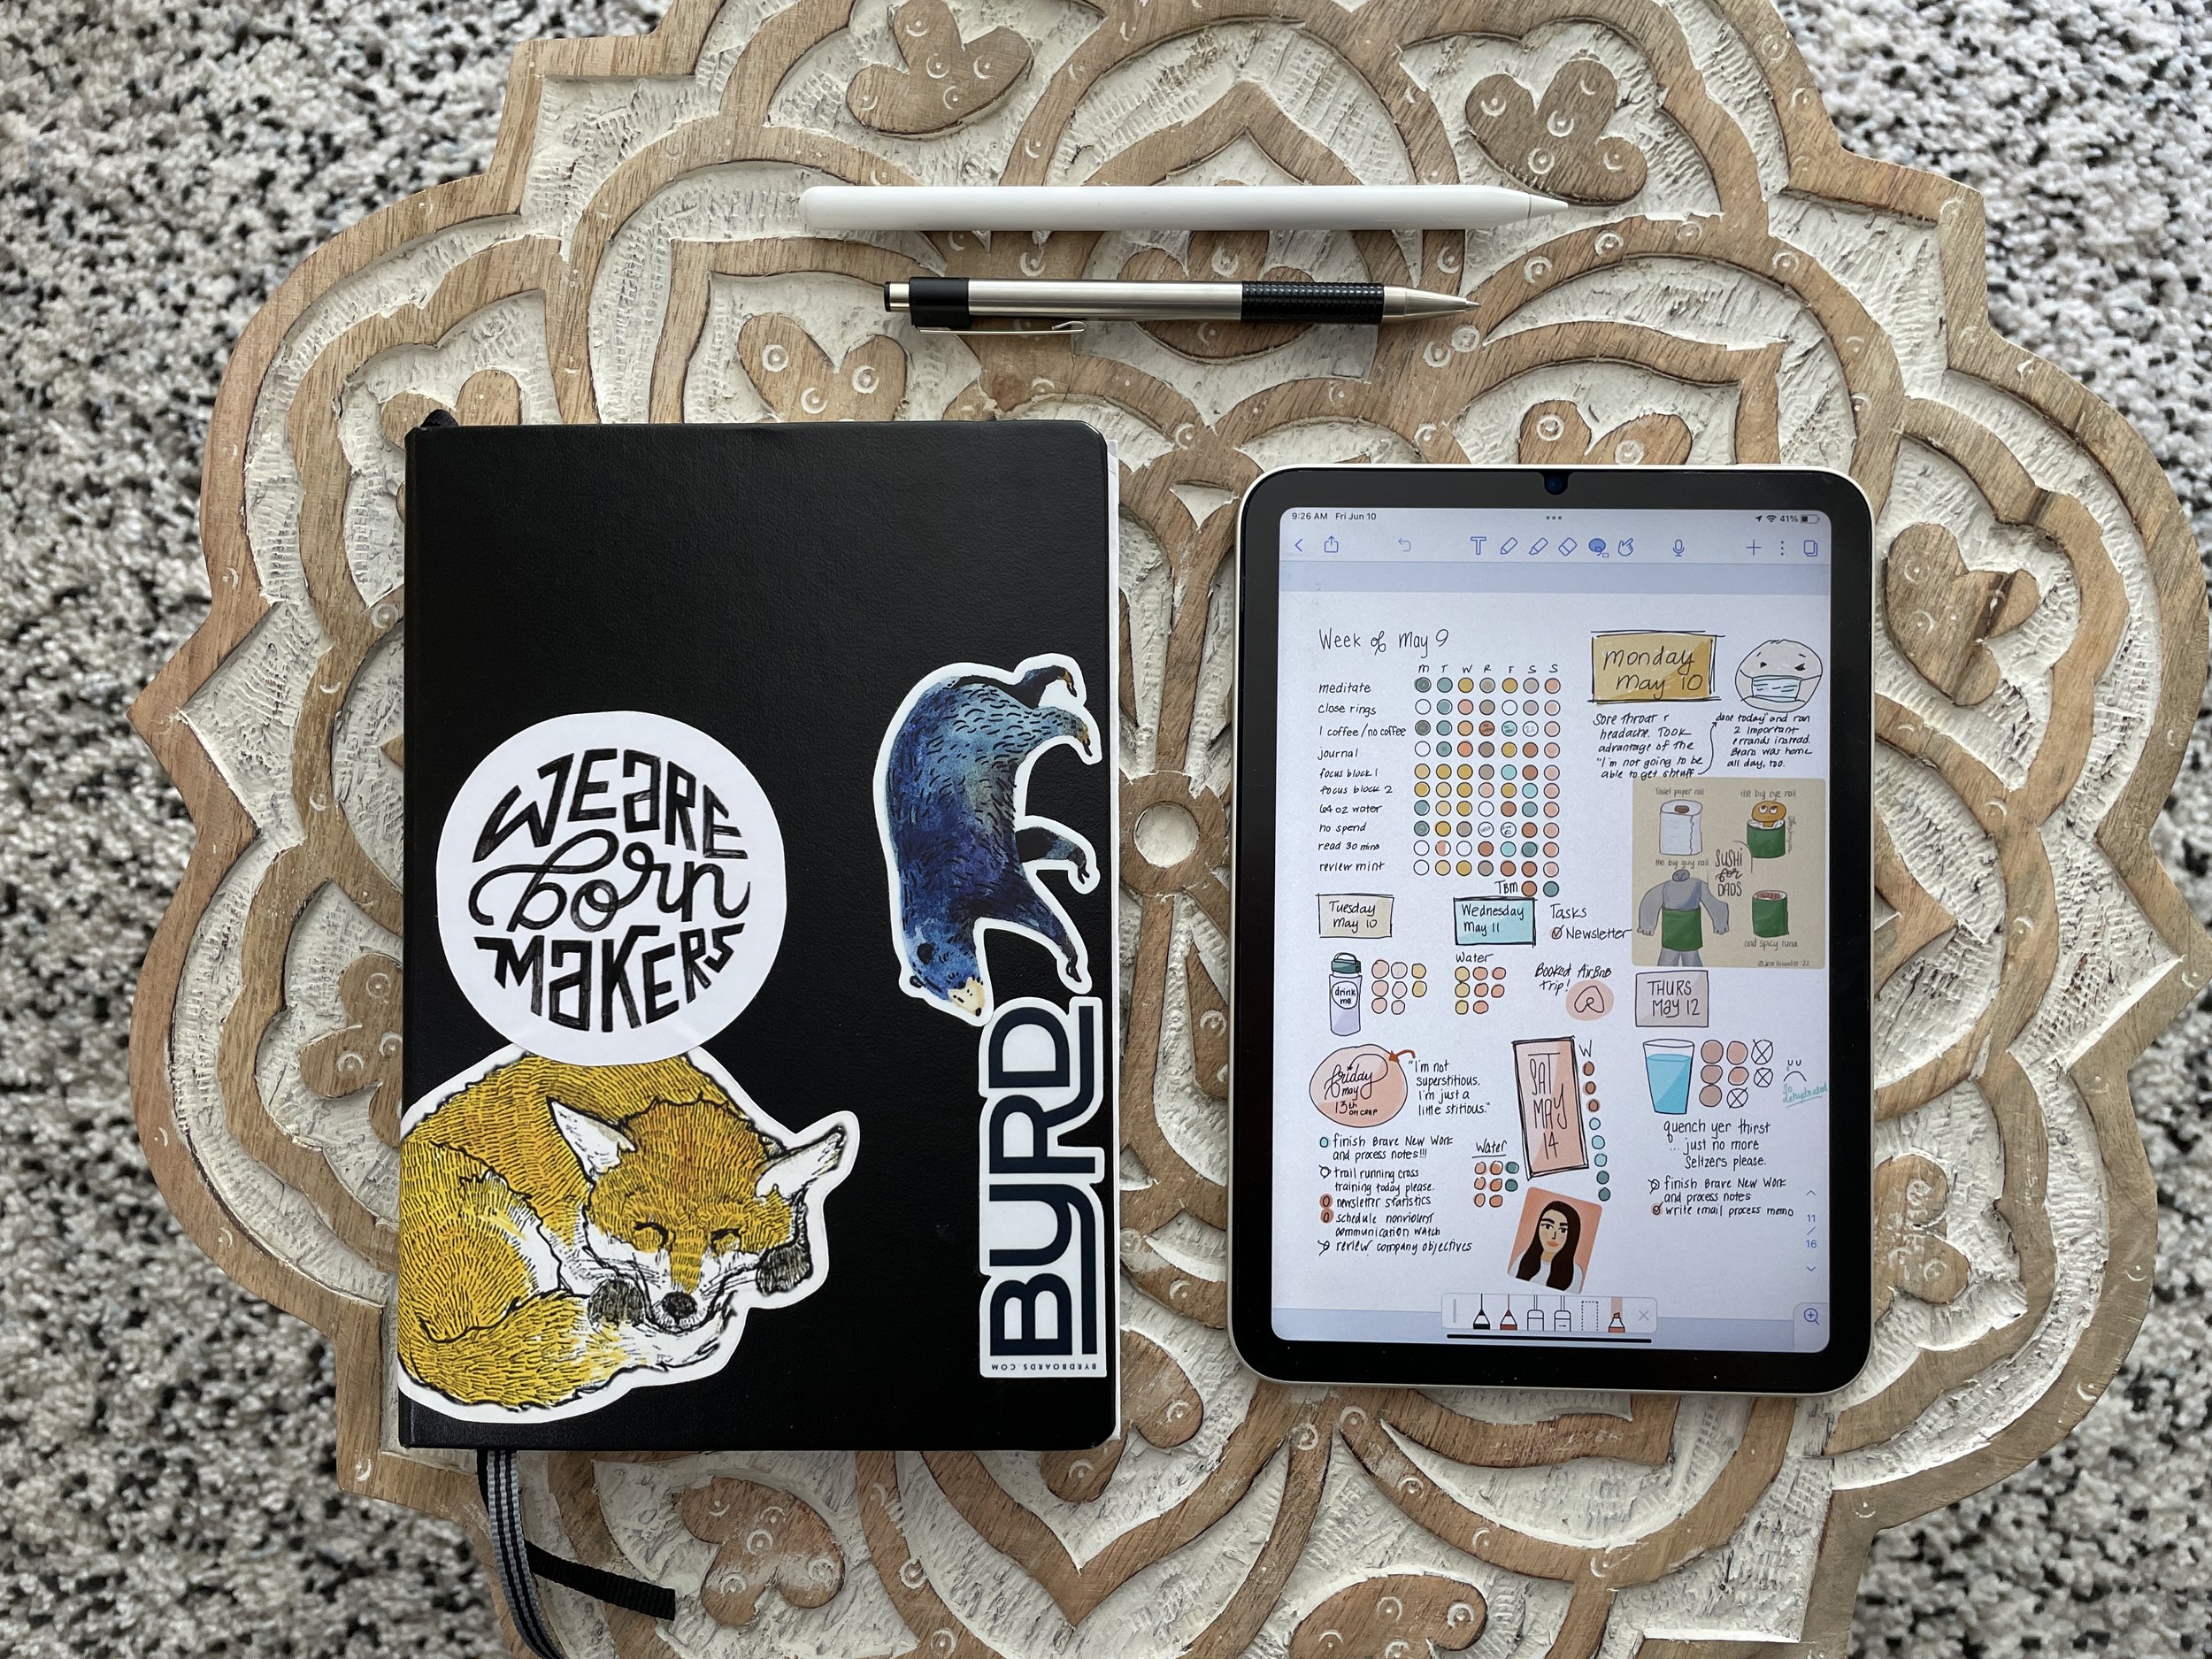
I love being able to have my bullet journal on me at any time—even if it means having a read-only "pocket" version (more on that later). Plus, because I'm now in my third trimester of pregnancy, anything I can do to lighten my daily load is a huge help for my back (i.e. not having to carry around a substantial paper notebook in addition to my laptop and my iPad and my lunch).
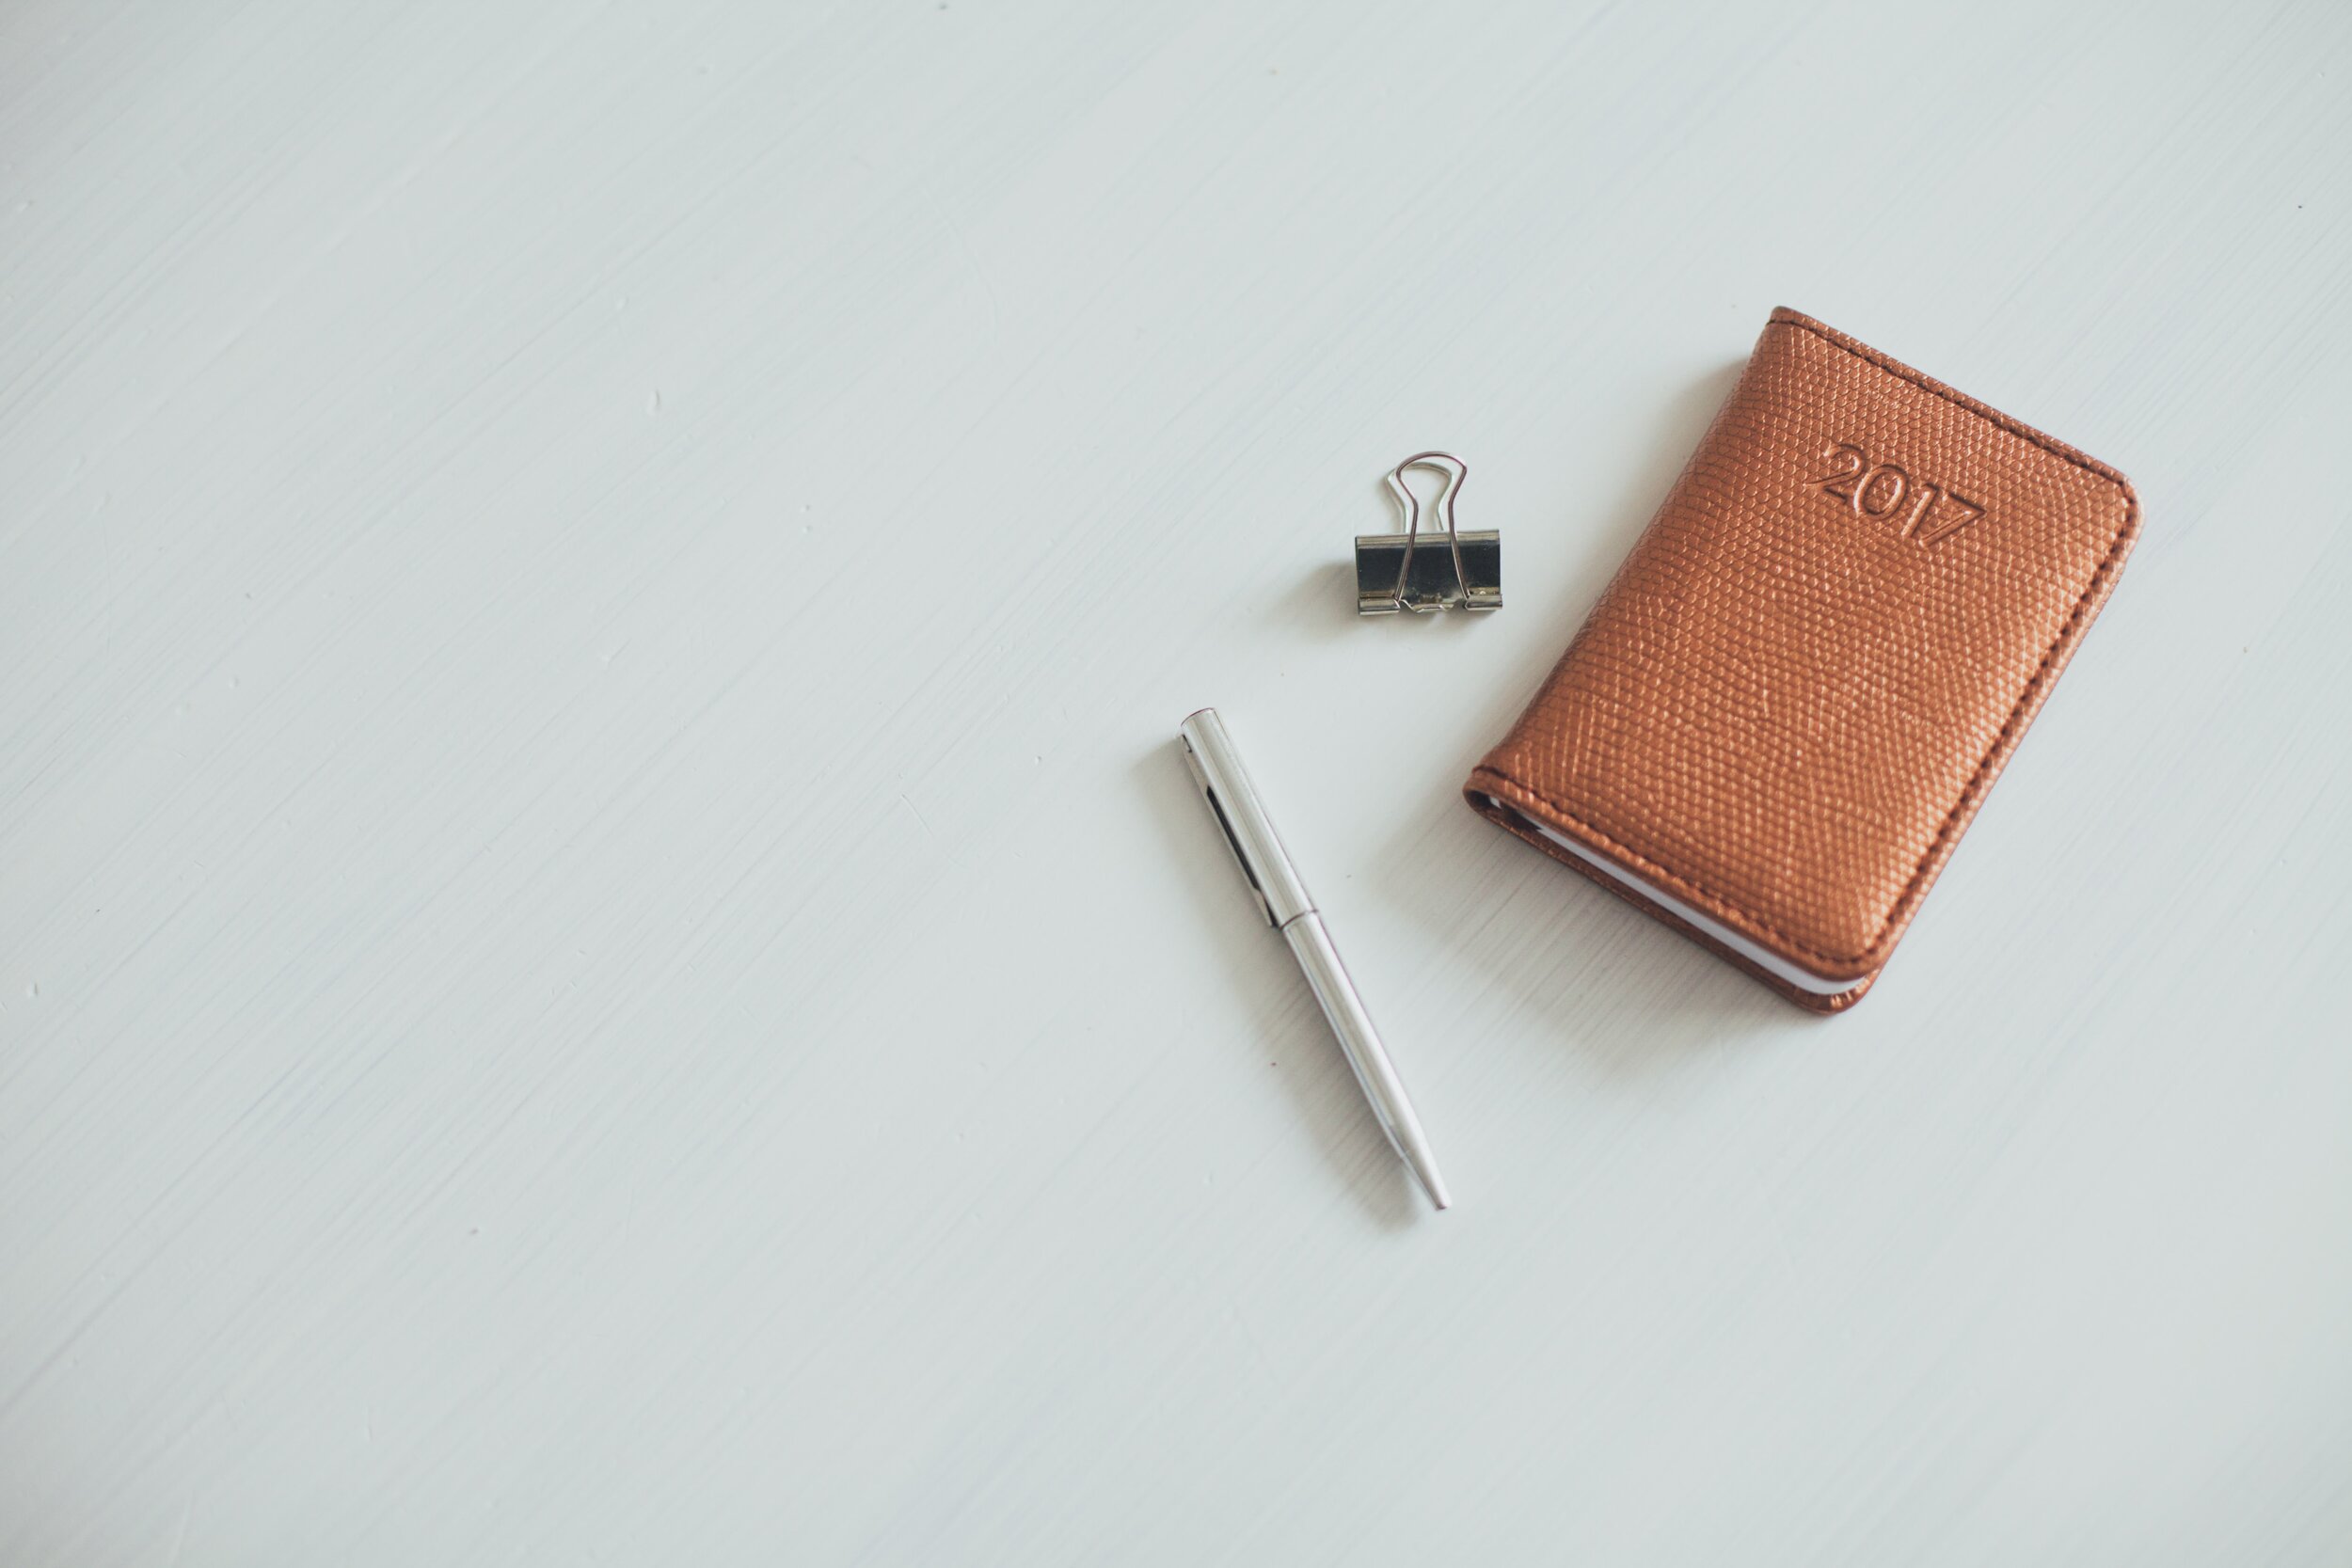
Minimal carry-around accessories is a welcome lightweight solution for my back. Photo by eleven x.
I talked about Notability briefly in my most recent YouTube video, "Digital Bullet Journal: Monthly Review in Notability", but I haven't gone on about Notability in depth.
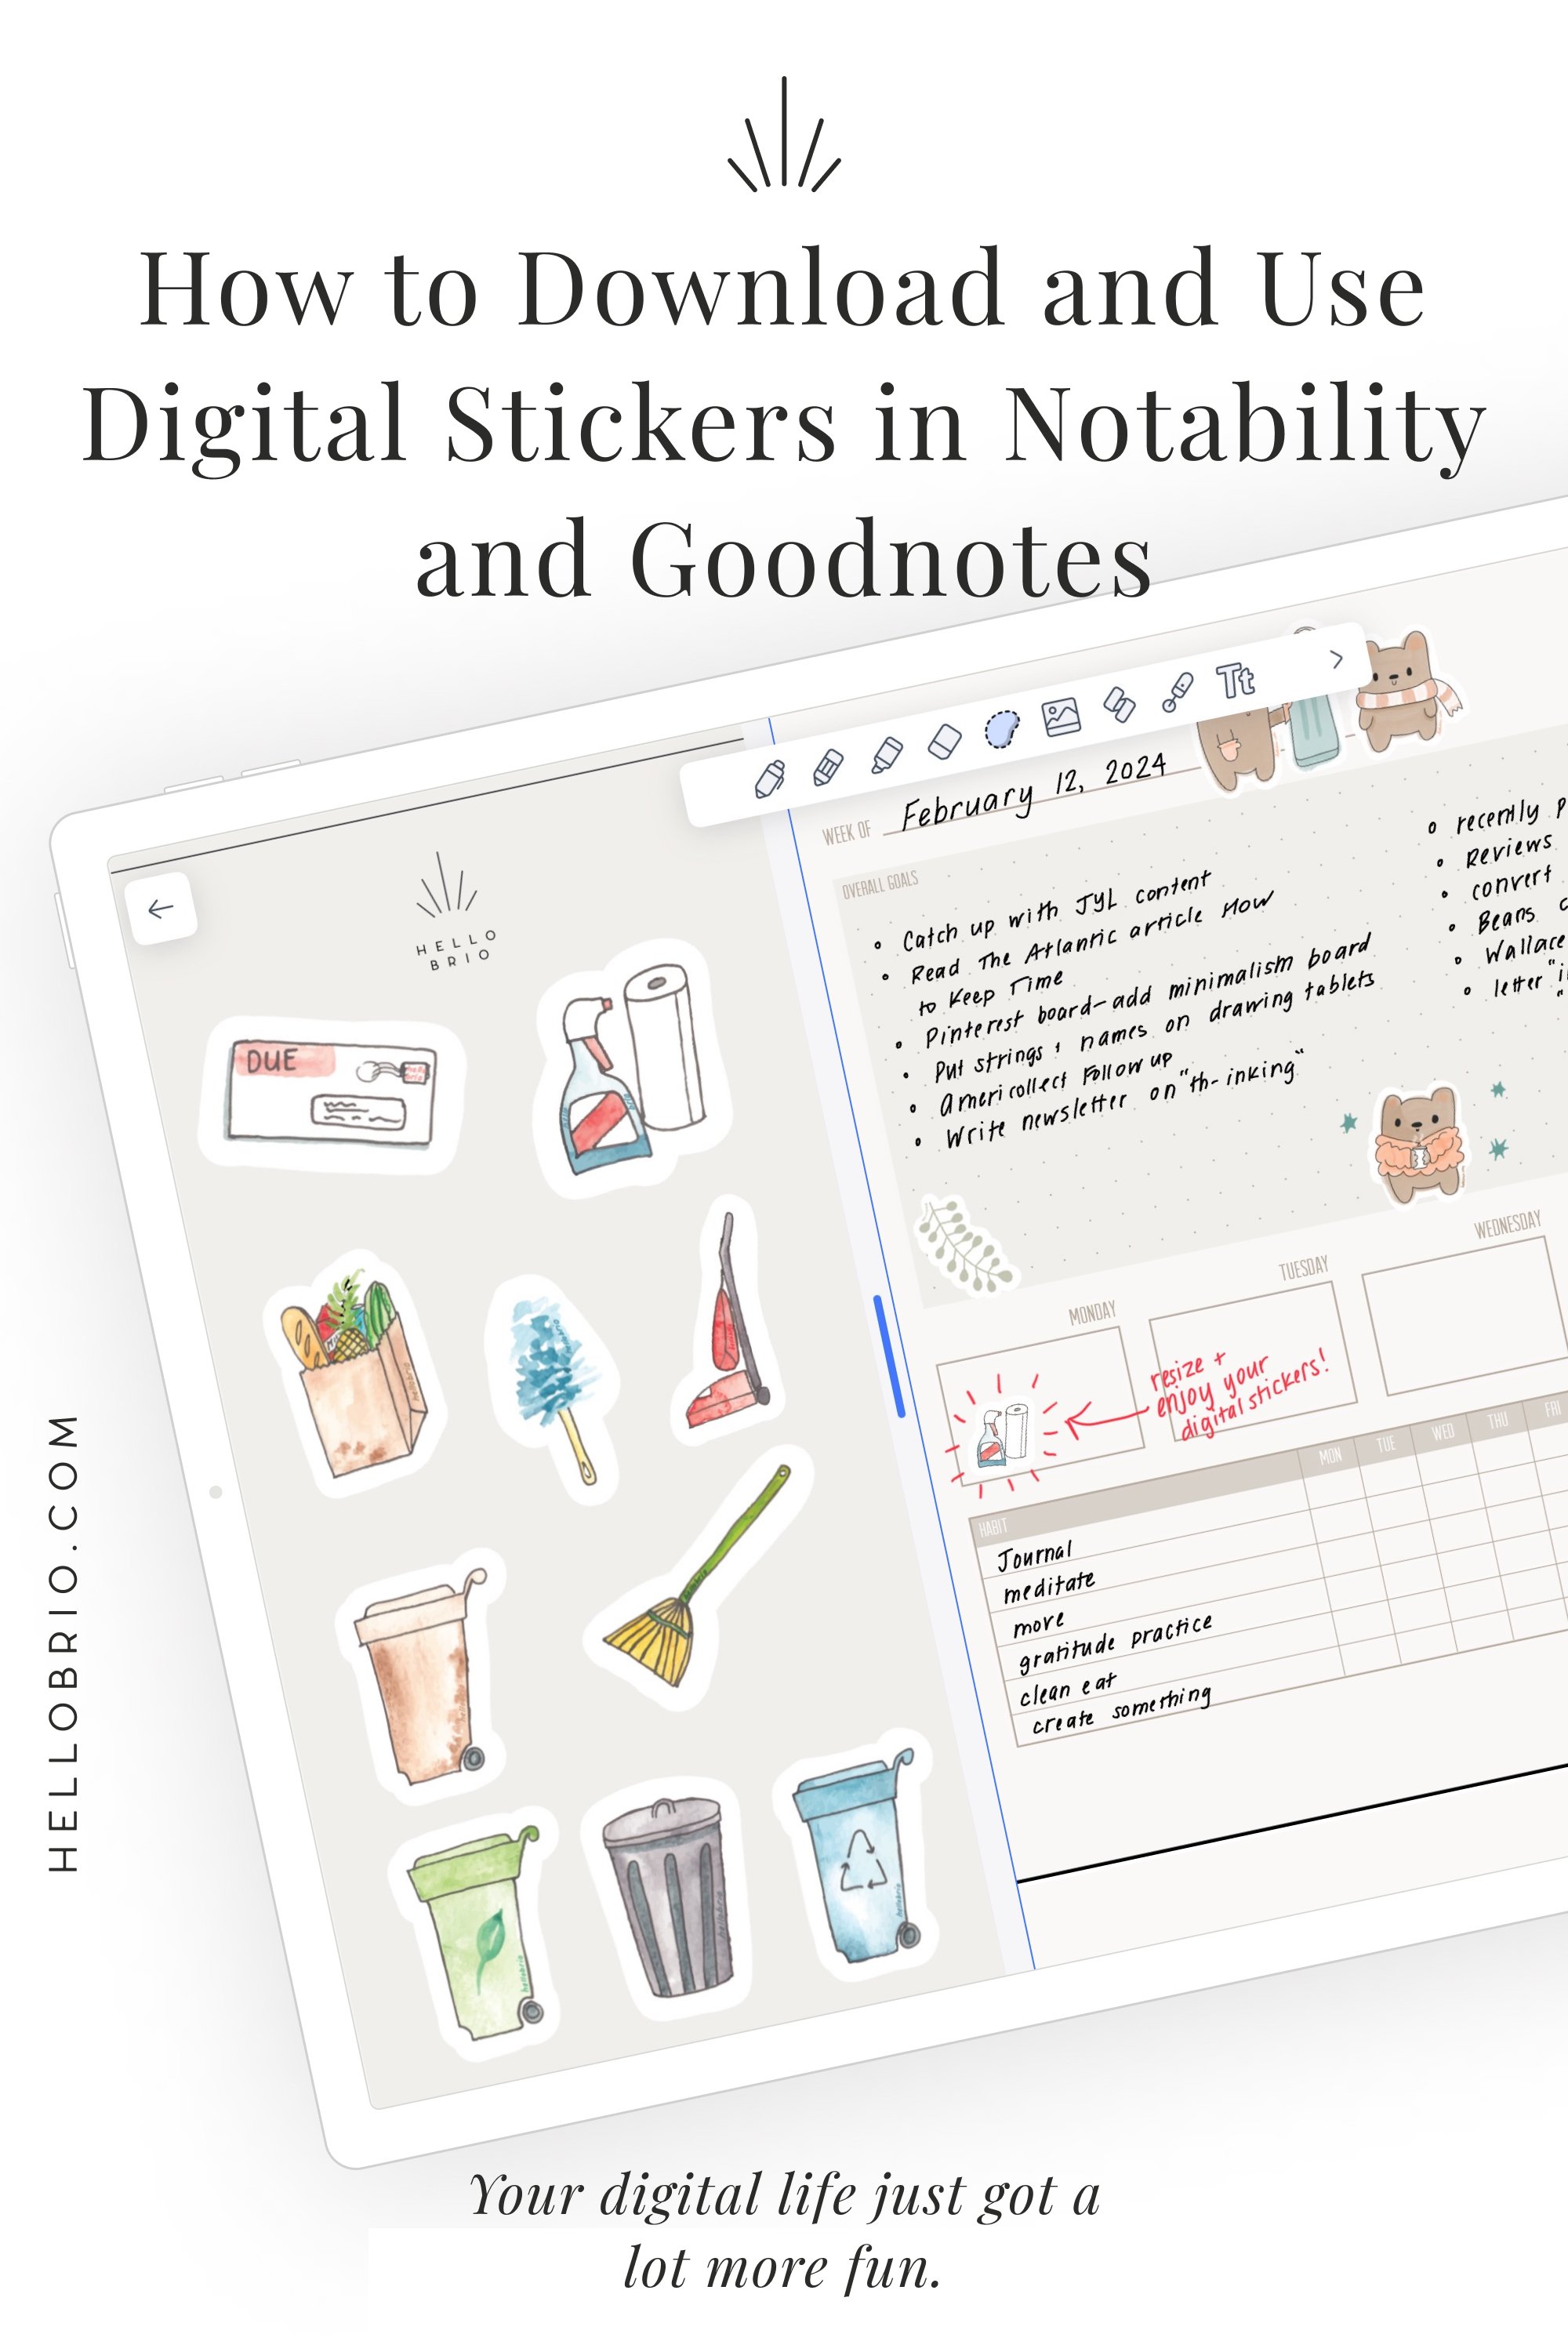
If you want to learn why Notability is a great solution for digital bullet journaling (over, say, its main competitor Goodnotes), then read on! Below I share 10 reasons why I love Notability for digital bullet journaling—why it's more efficient and more intuitive.
Pin for later
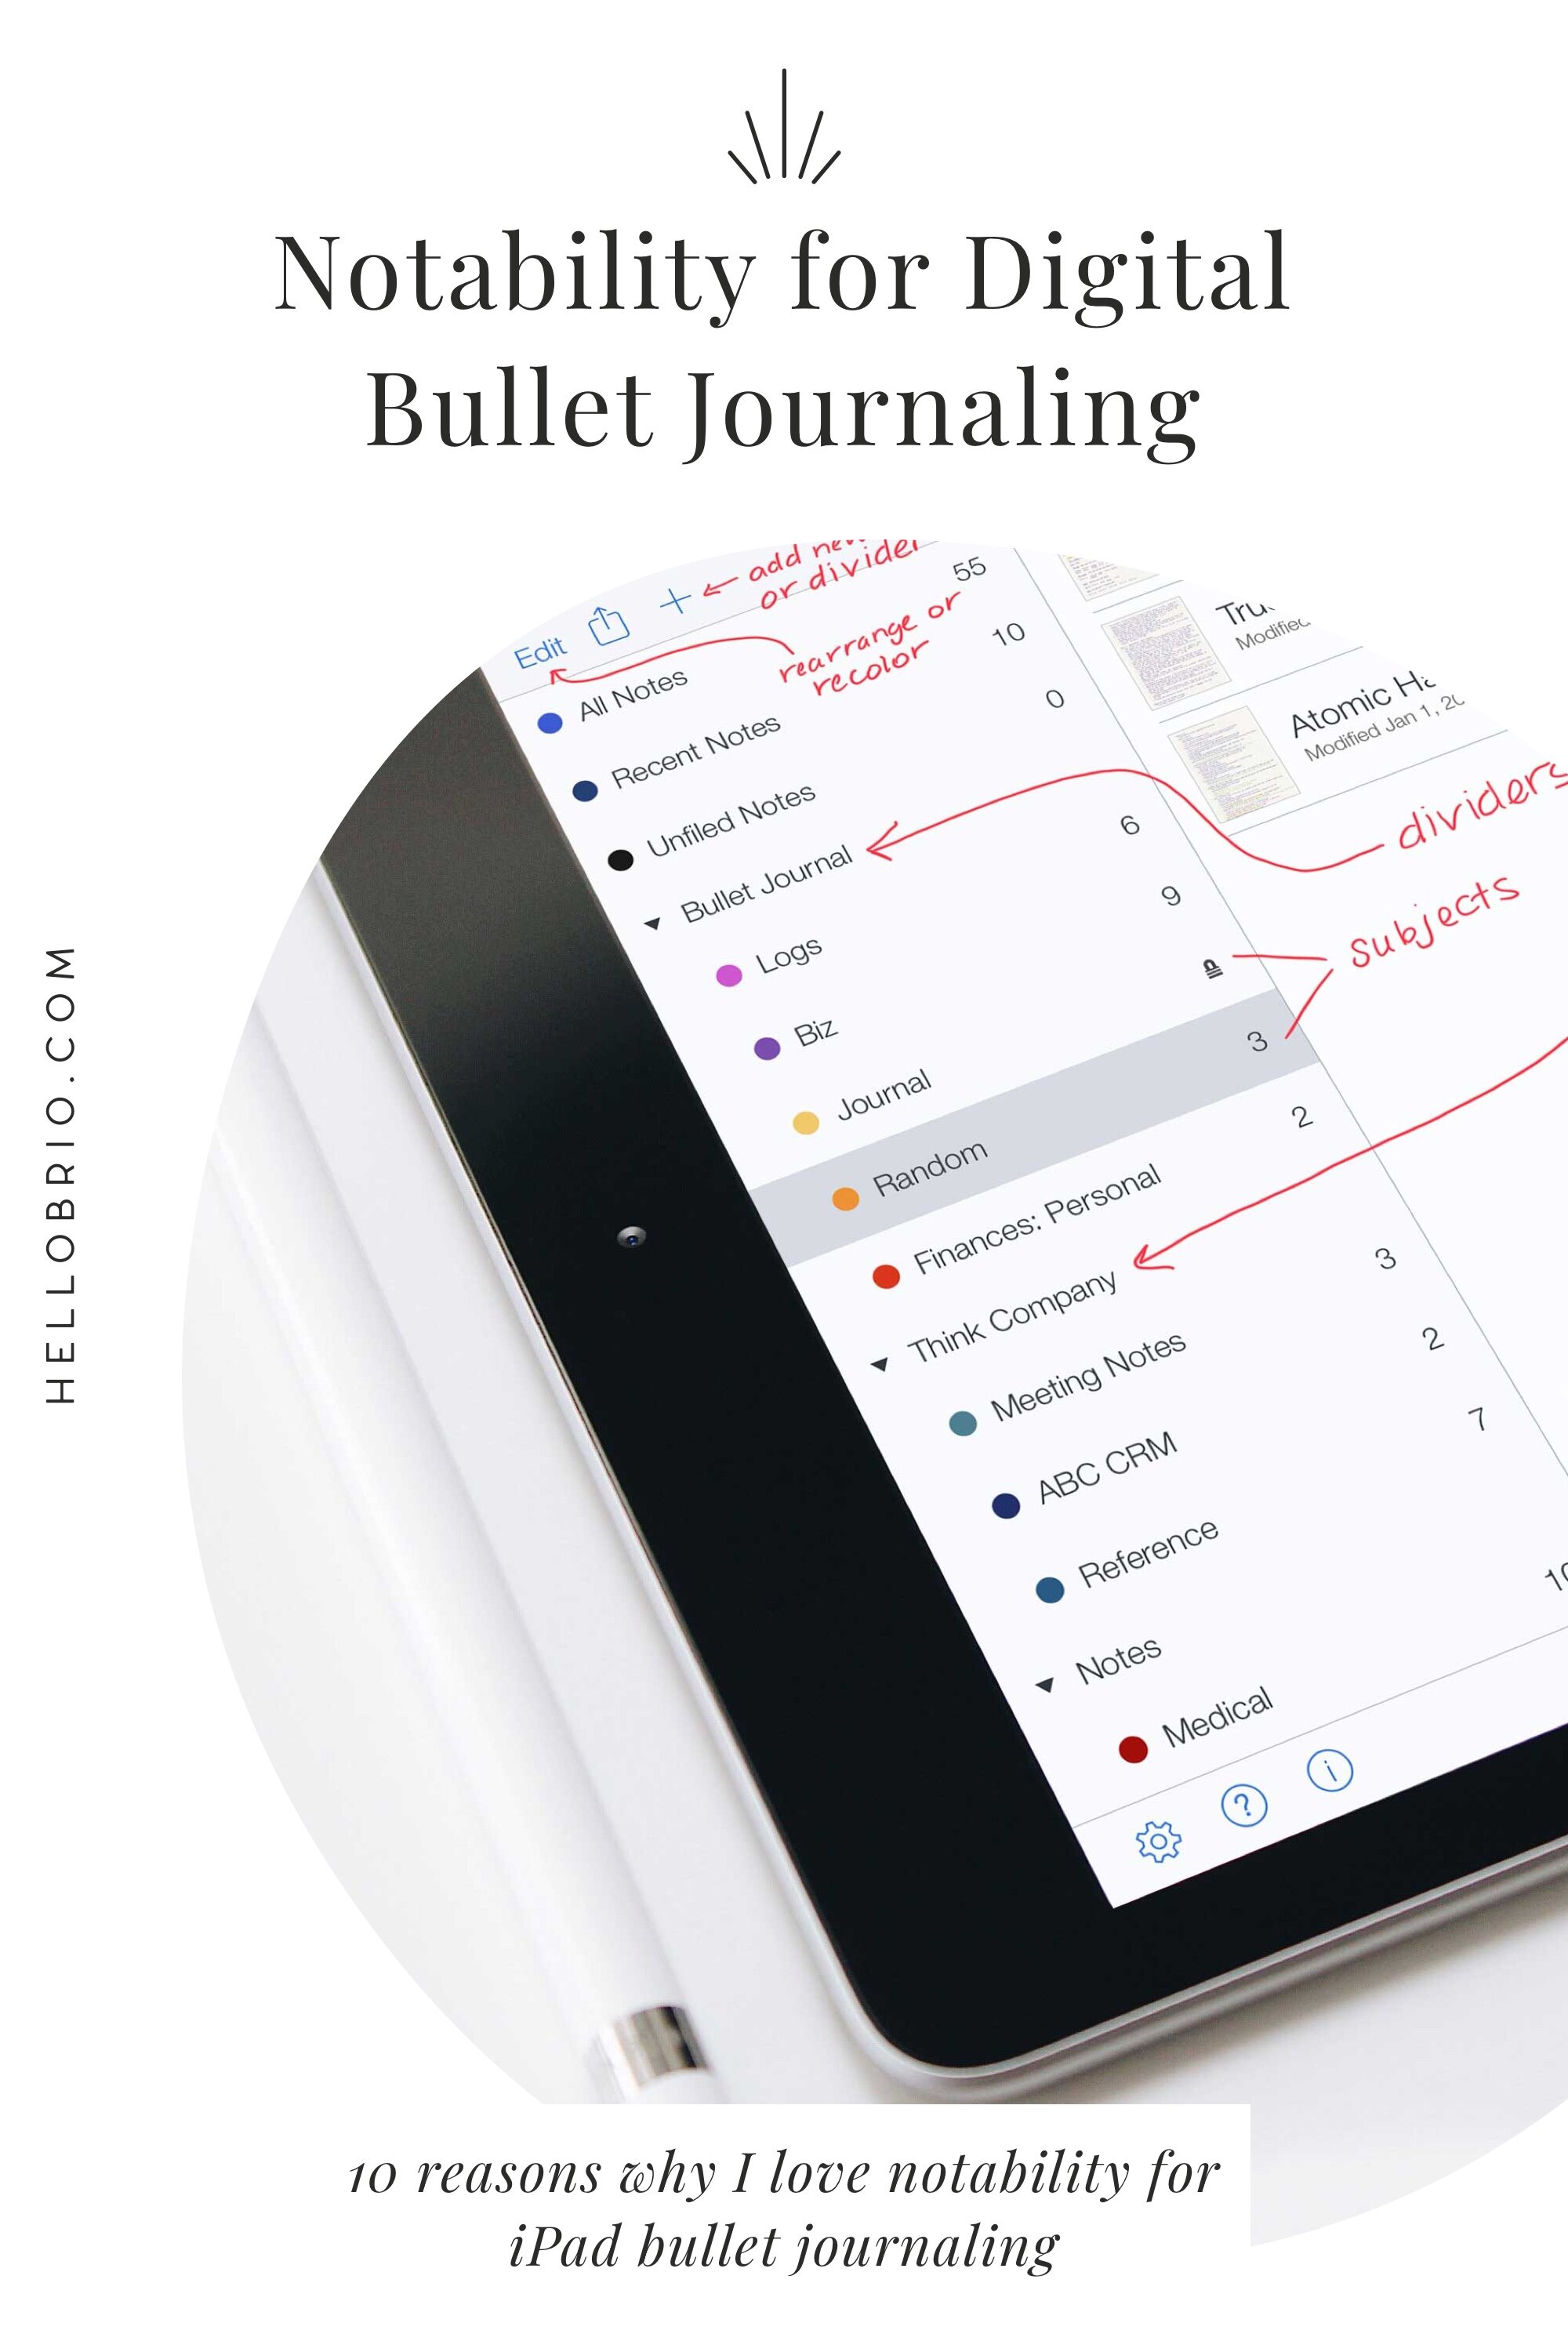
10 Reasons I love Notability for digital bullet journaling
1. Endless Scrolling
Notability is inherently different from Goodnotes App in that the pages have endless scrolling. In Goodnotes, you have to manually swipe between pages, which is reminiscent of using an actual paper journal or notebook. However, I find this to be a huge misfire in an efficient user experience: it's almost as frustrating as clicking on an article that is a multi-page slideshow when all you wanted to do is skim the list of hacks.
When you write in Notability, the pages blend together with a subtle line to denote a page change. Sure, your notes might get split up across pages if you need to export your note into a PDF, but you can pay attention to that and easily shift your notes around if needed so the page breaks are more intuitive.
Endless scrolling in Notability provides a seamless experience so you can continue to jot down notes without having to worry about coming to an end of a "page".

Endless scroll of notes for James Clear’s book, Atomic Habits.
2. More intuitive note organization
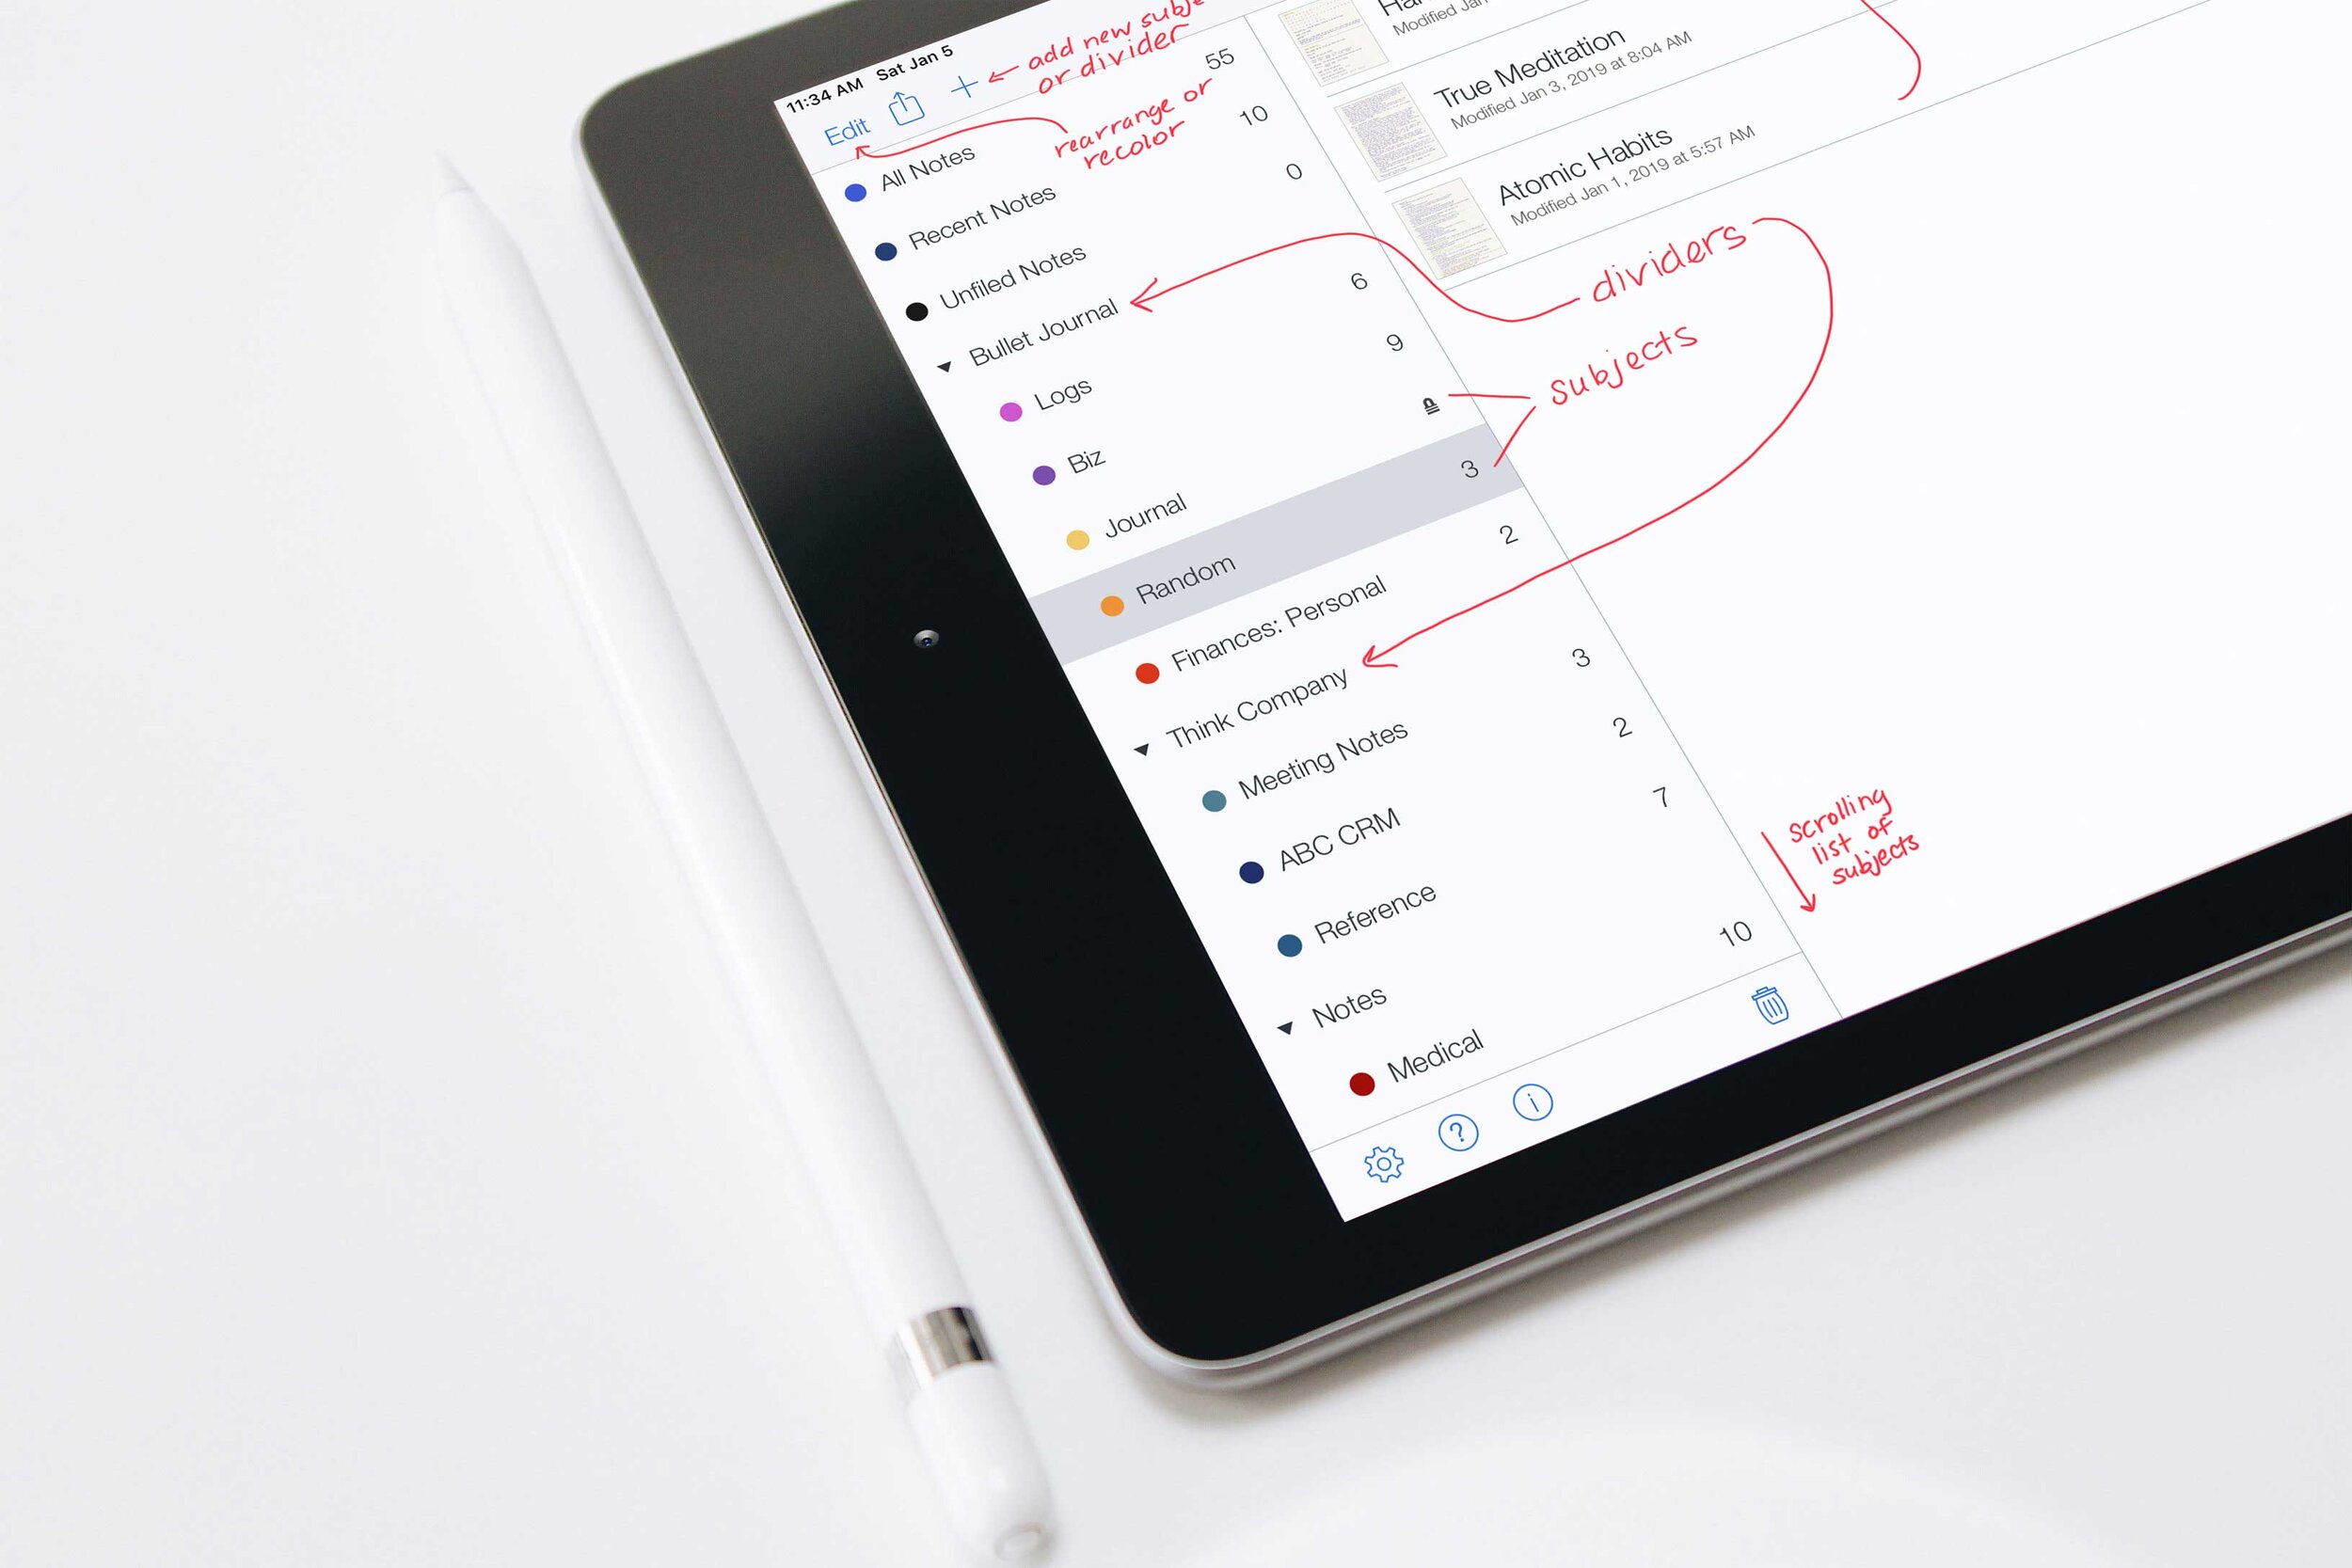
In Notability, your notes are organized into subjects and categories, and you can also color code them. This type of organization is reminiscent of Evernote, where you might have notebooks, stacks of notebooks, and multiple notes within each notebook.
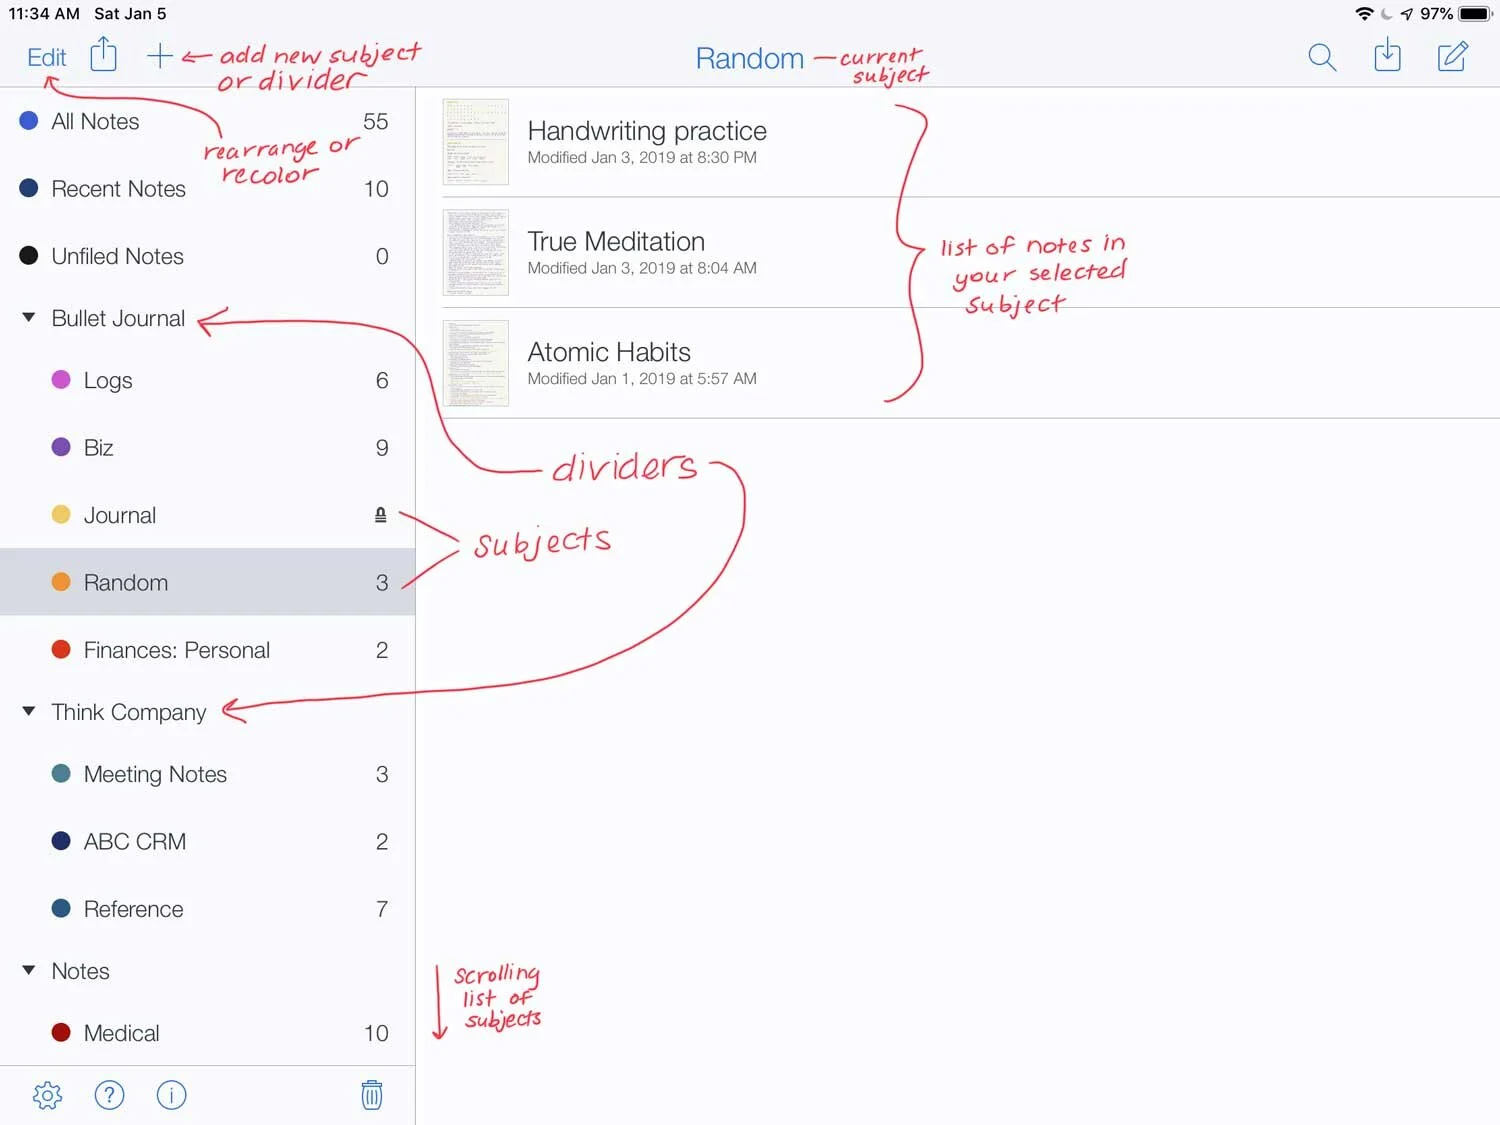
Subject and divider list in Notability
It's very easy to scan your list of categories and also reorganize your notes by dragging and dropping notes into different sections.
3. Password-protected subjects

If you have sensitive notes, you can choose to password protect those notes or subjects. I use this for my handwritten journal (like of the Dear Diary variety).
By the way—I recently made the switch to write in my journal versus using the type-based app I've been using for years (Day One), and I love it! Handwriting my thoughts daily is a lot more powerful for self-reflection, and it helps me to slow down and think about what I'm saying moreso than when I would rapid-fire type a stream of consciousness and try to hit a prefabricated word count of 500 (like, why does that even matter anyway?).
So since I can password-protect my Journal subject but leave the other subjects unlocked, it's a lot easier for me to use Notability for daily tasks like note taking and bullet journaling, and then only have to enter my password when I want to read or write in my journal (instead of having to type in my password whenever I opened Notability in general).
4. Fast-switching between notes
Notability allows for fast switching between notes by swiping in from the left.
A lot of times, I'll be taking notes in a work meeting and then suddenly be assigned a task. I'm able to simply swipe from the left to see a list of my recently edited notes, and choose my bullet journal log for that month. Then I can quickly add my new task for the day (or for the month) and then swipe back to my original note document.

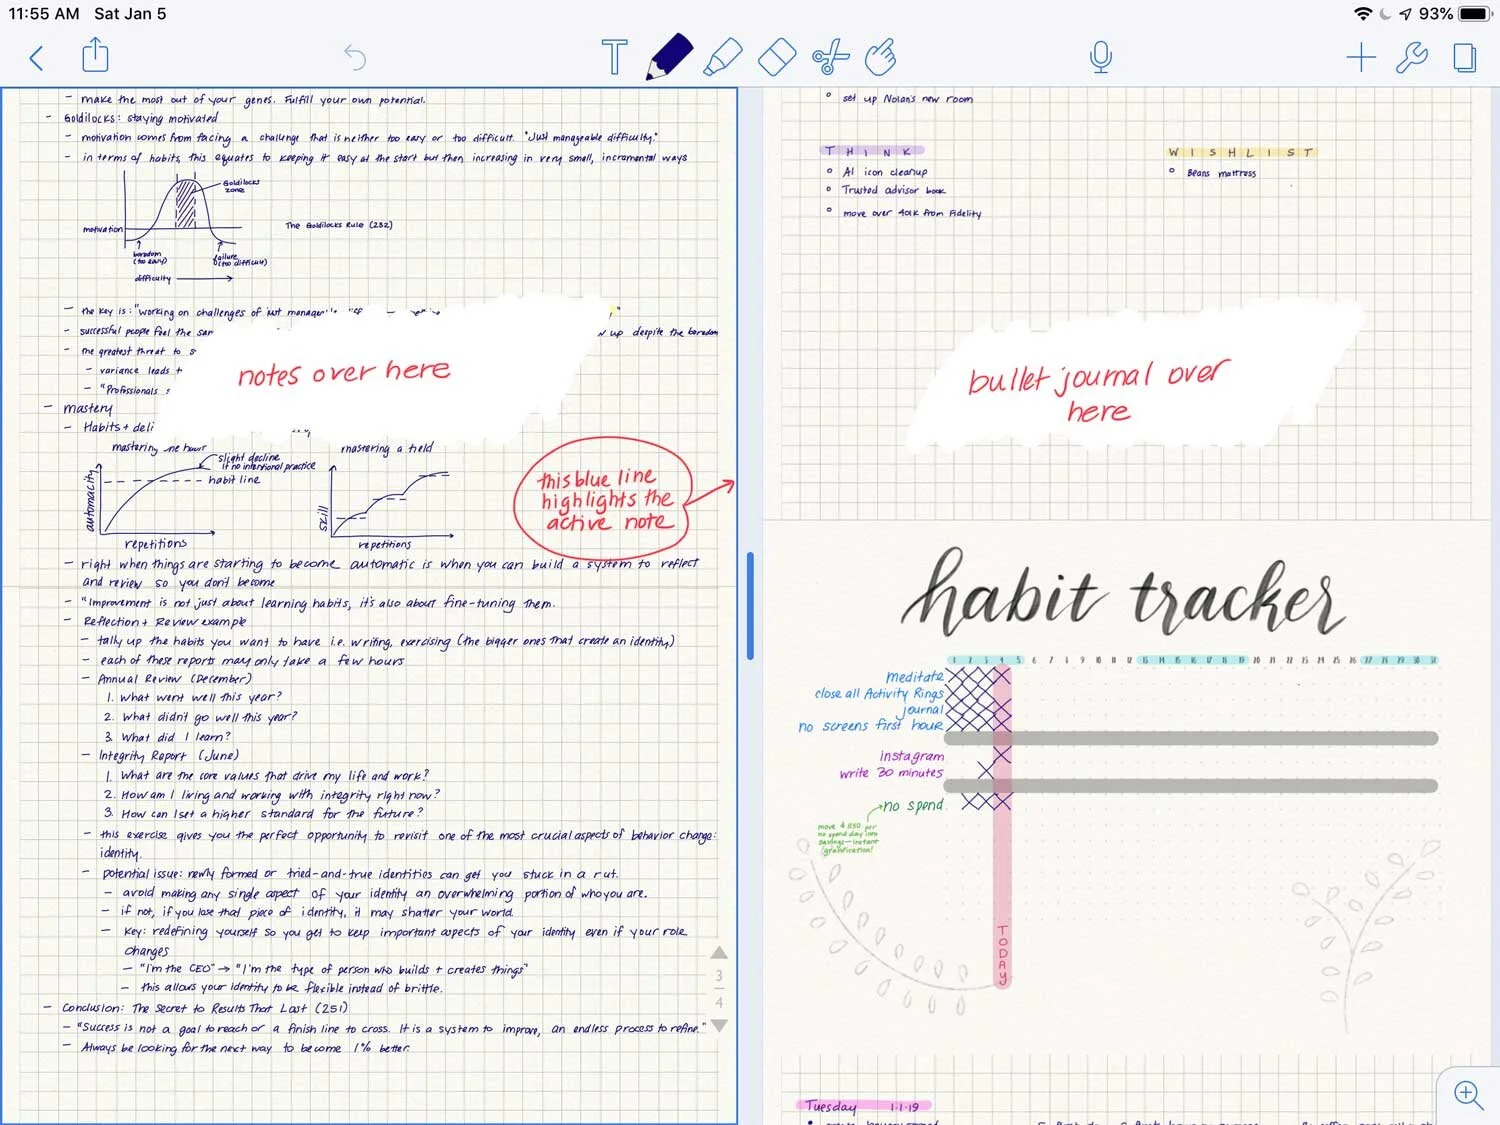
5. Side by side notes
If you need to see notes side by side, you can do it all within Notability (instead of having to export the note and do a hack where you're reading one note in Photos or a PDF reader and then using Notability on the other side of your iPad).
This is especially helpful when doing monthly reviews and moving still-open tasks from the previous month into the next month, or when reading notes and adding tasks from those notes into your bullet journal.
6. Limited, yet limitless, color and size options for your pen
We all know that too many choices can be paralyzing. Notability offers pre-selected colors and sizes for your pen instead of a slider and a limitless color wheel. Because of a recent update, you can now also dial in your desired custom colors and save them on a universal color palette.

This is great, because I like having "my colors" readily available—but I don't like to approximate them. Once I add a custom color, it's there.
In terms of pen sizes, I really only use one pen size, and maybe two highlighter sizes. Because of the 12 choices, I know exactly which ones they are, and I don't have to worry about using a slider to approximate the pen size whenever I switch tools.
7. A stroke-based eraser (instead of pixel-based)
This is a personal preference, but I really like how Notability uses a stroke-based eraser. This means if I have a word I need to erase, I just need to make sure to select each stroke of the word instead of having to erase every pixel of the word (like in Goodnotes).
8. A rectangular lasso tool for selecting
Frequently, I'll be writing notes and then realize I need more room somewhere. In Notability, I'm able to use the rectangular lasso tool to select a block of text and move it. Much like the eraser tool, the lasso tool in Notability is also stroke-based instead of pixel-based, so I only need to worry about "catching" a portion of the word in order to grab the whole word.

There's also an option for a freehand lasso tool in Notability, but I rarely use it.
In Goodnotes, there's only a freehand lasso tool, and again, it's pixel-based so you have to be really careful about where you're selecting and where you're not, or else you may slice a word in half.
8. Intuitive page map
The page map in Notability is very easy to access and is way more intuitive than the one in Goodnotes, in my opinion. You can easily tap the top-right button to see a list of your pages, and each page has a menu icon so you can add a page, cut, copy, clear page, and delete the page. You can also hold and drag to reorder pages fast. I like this experience much more than the page viewer in Goodnotes.
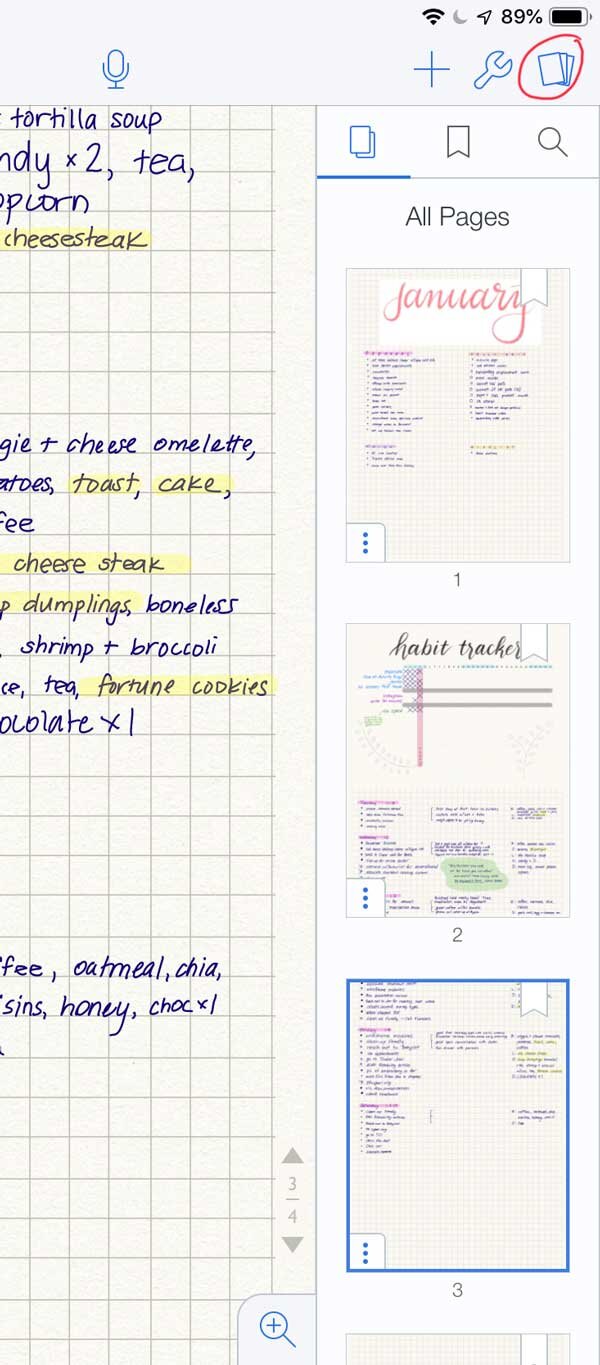
I use this a lot when I’m in my monthly bullet journal note (which I keep one month in just one note)—because then I can access the main task list and my habit tracker quickly which lives at the top of my bullet journal note.
9. Better experience writing longways across the page
In Goodnotes, you can use the zoom tool to get in there and write a long string of text. When you get close to the end of the line, a little blue box appears on the left which indicates that if you start writing in there, it will shift to that new area and not lose your place. This experience was never intuitive for me, so I rarely used the zoom tool (and therefore rarely used Goodnotes).
In Notability, there's a pre-determined and adjustable blue box that appears on the right hand side of the zoom tool for writing longer notes. It will automatically push to the right or create a line break when you get to that blue box if you pause in your writing. This is so easy to use and the estimation for a line break jump is really accurate for me.
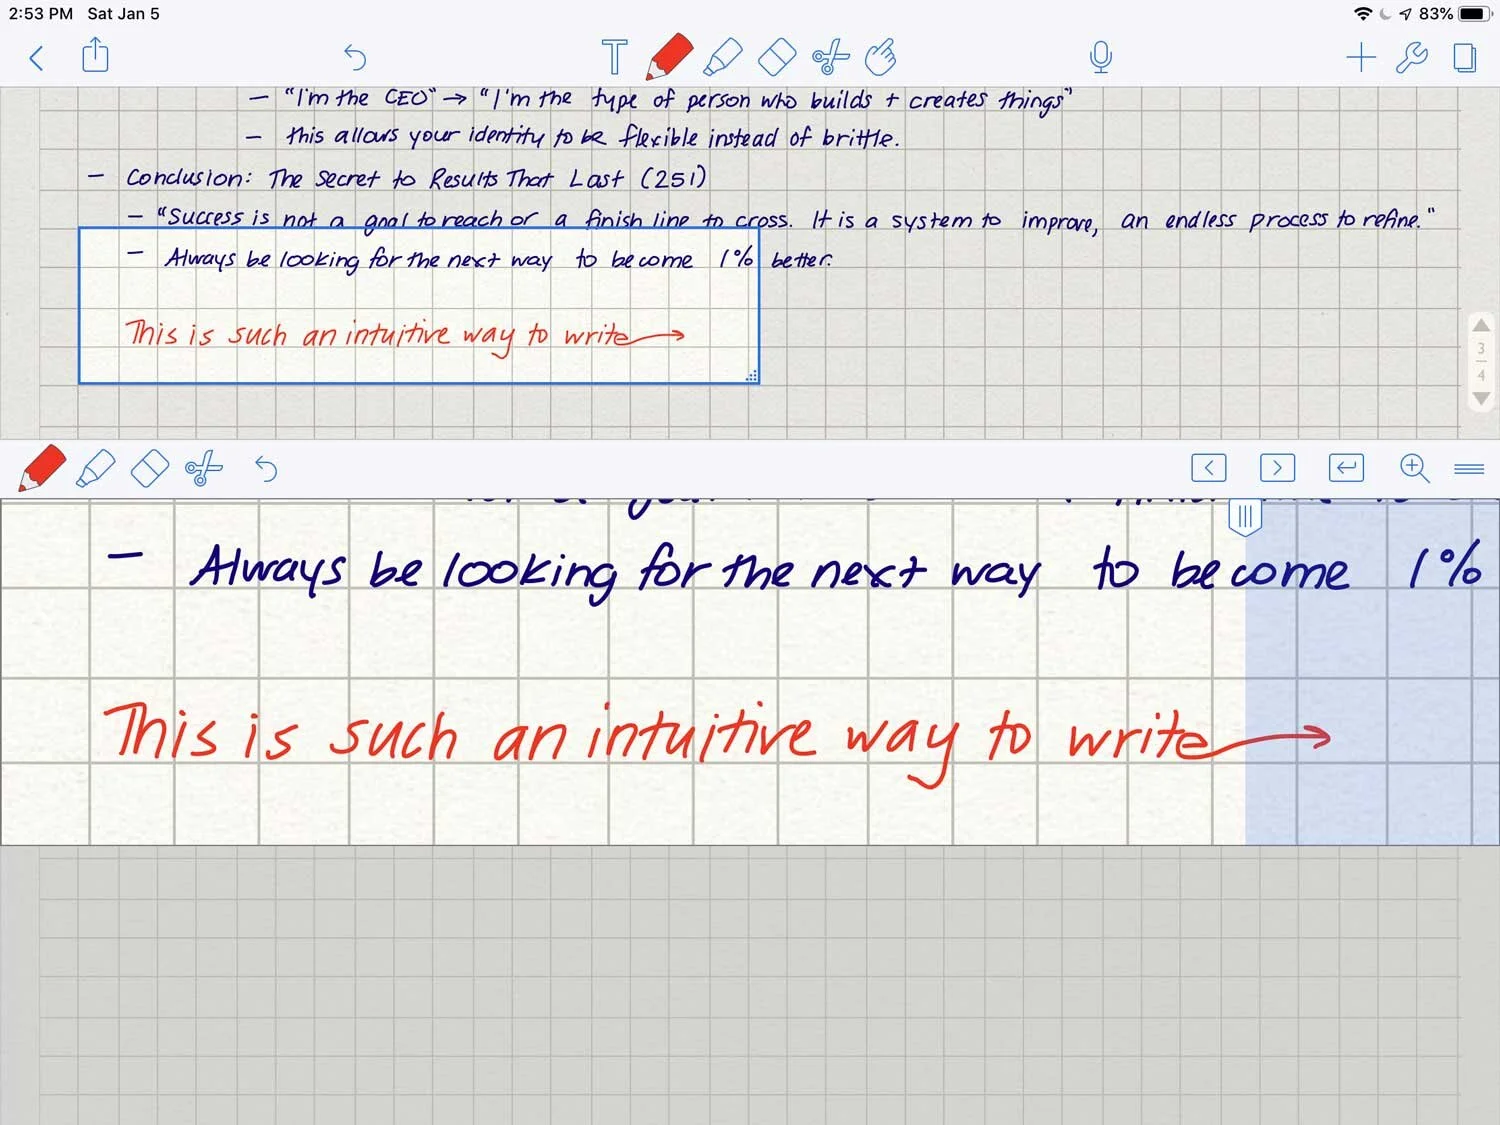
Once you start writing in the blue area to the right and pause for long enough (it’s pretty quick), the page will automatically advance to the right or will jump to the next line.
I hope this list of reasons why I love Notability for digital bullet journaling will cause you to try their app, especially if you're been looking to digitally bullet journal but haven't found the right app.
If you have any questions about Notability or digital bullet journaling, please leave them in the comments below.
Cover photo by Kerde Severin, simulated screen.