
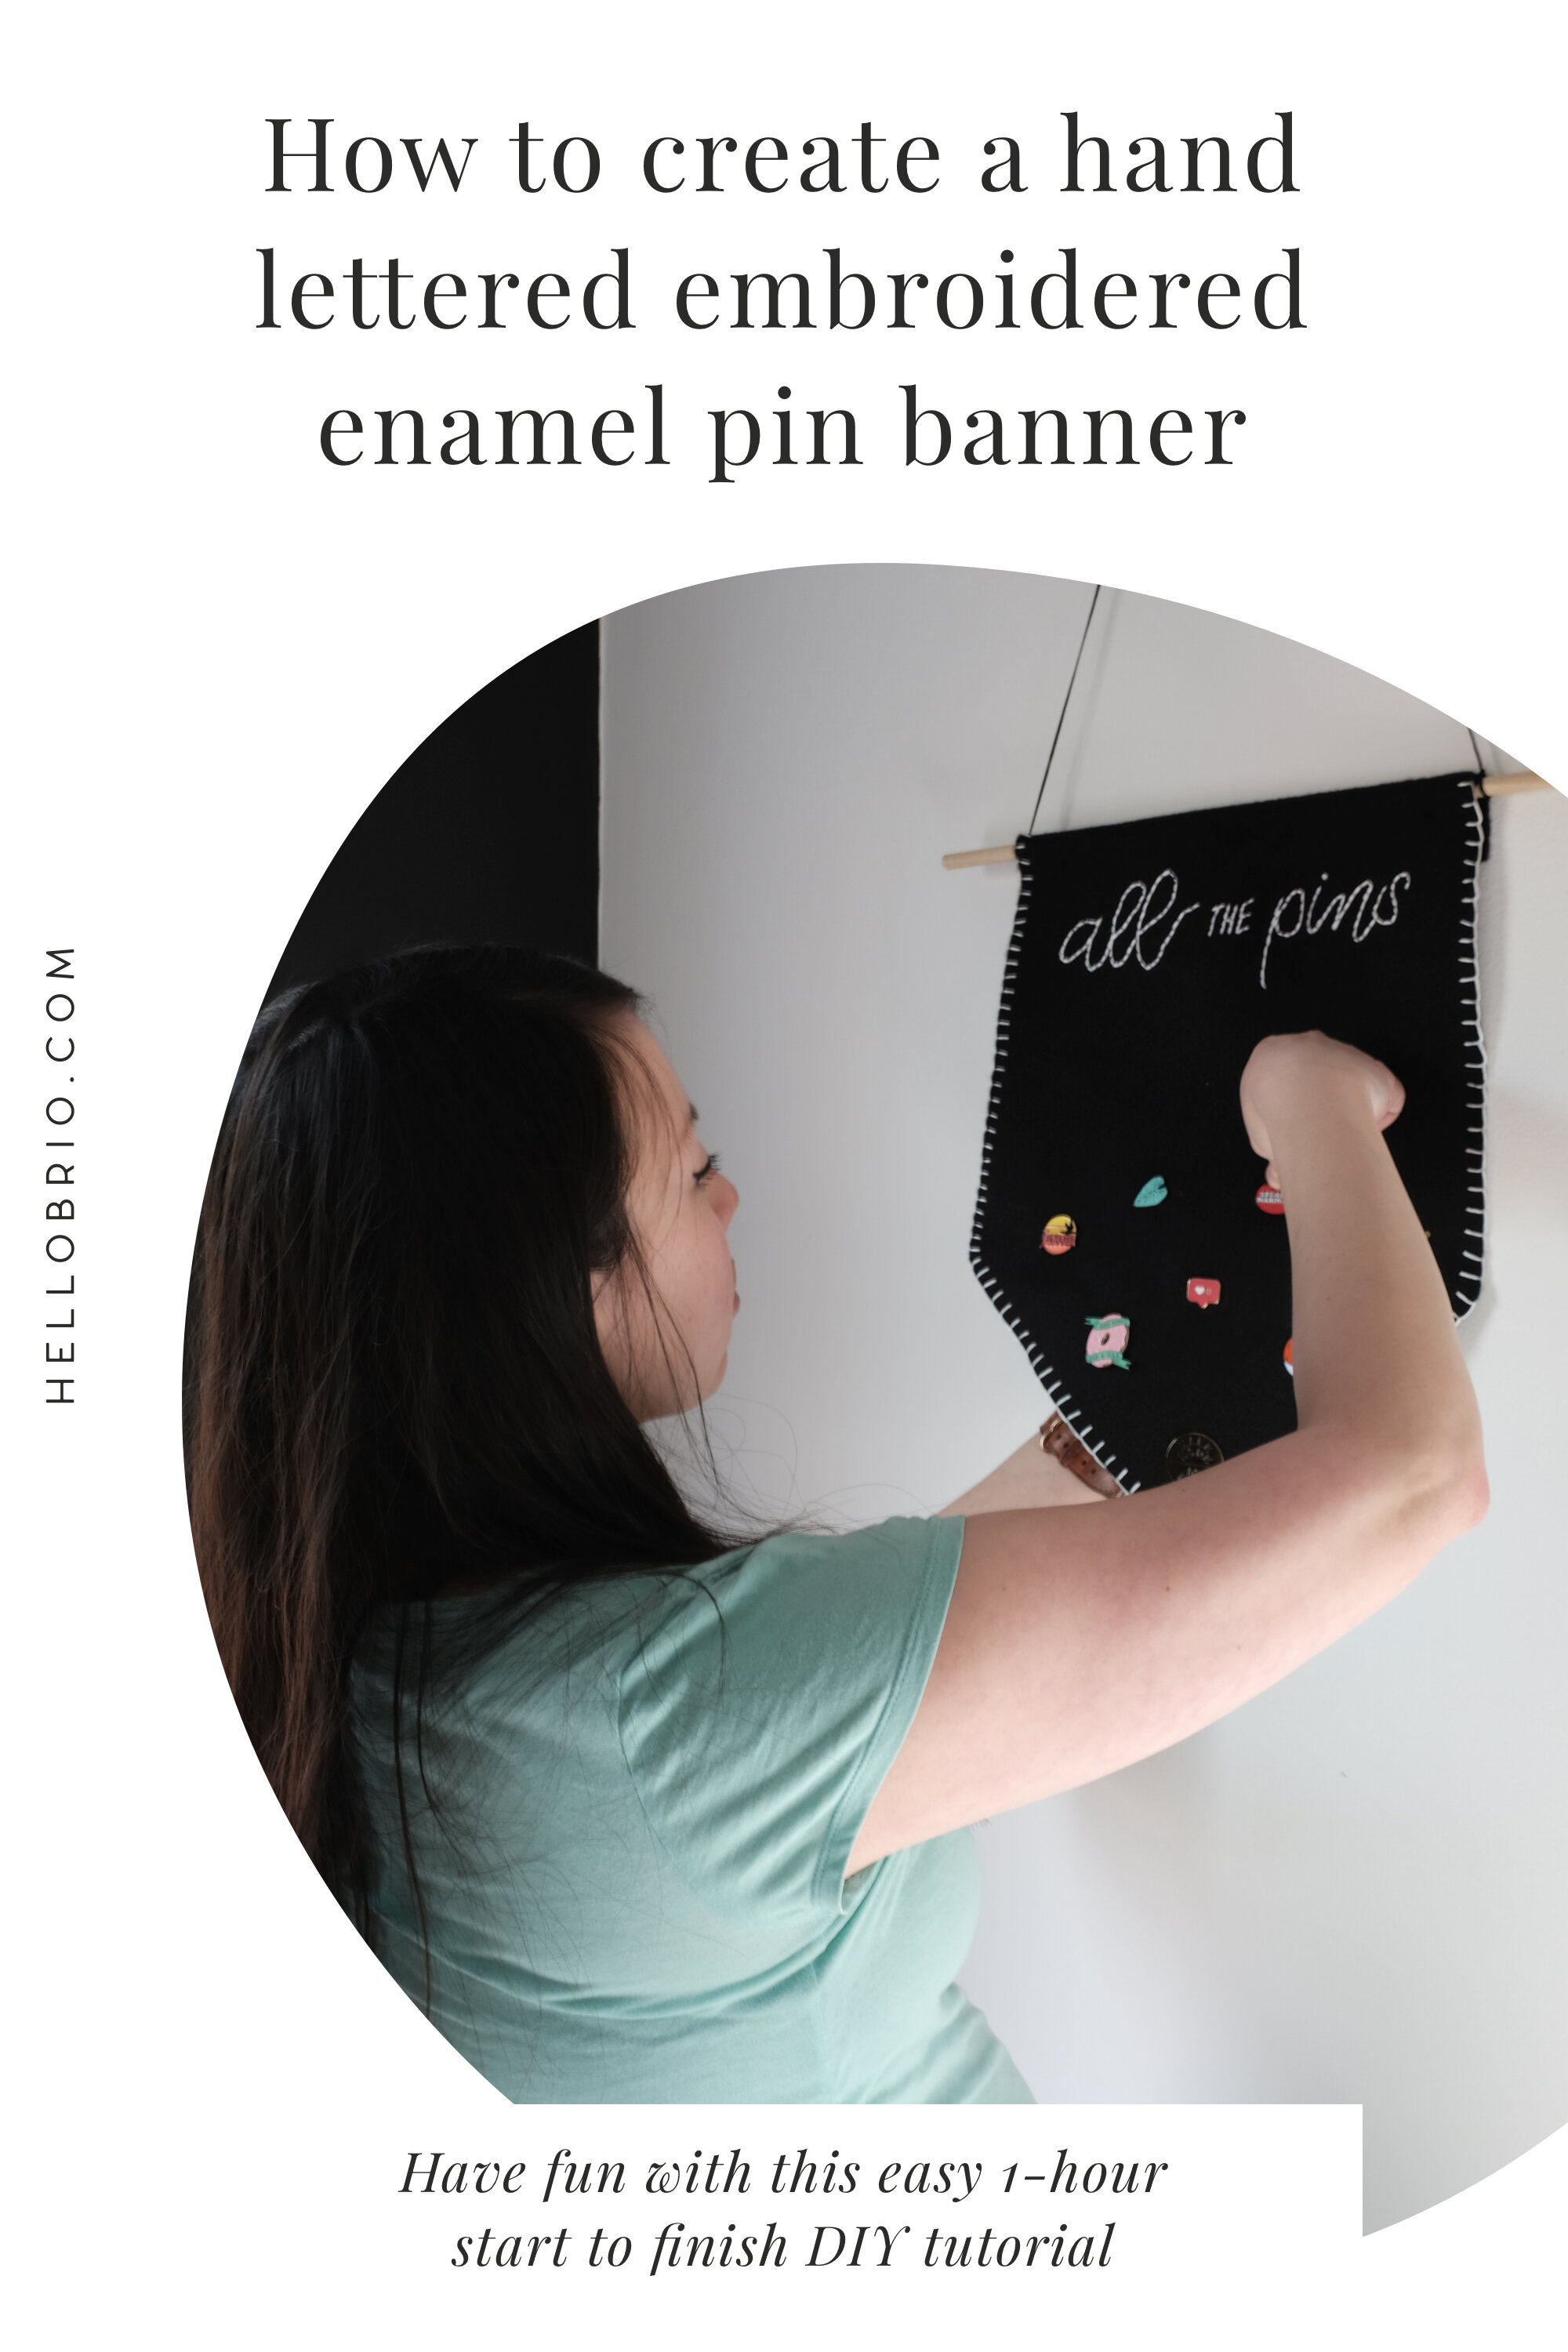
DIY Project: Craft an Embroidered Enamel Pin Banner
What’s better than displaying your collection of enamel pins on a prominently displayed felt banner? One that’s personalized with embroidered hand lettering—and completely made by you!
If you follow me on Instagram, it’s no secret that I love embroidery. Especially when I’m able to combine hand lettering and embroidery! Let’s add one more fun and adorable thing to the mix: enamel pins.
Below is a tutorial on how to craft a hand-lettered and embroidered enamel pin banner on black felt.
Not only will this teach you a fun way to combine hand lettering and embroidery, but it’ll also show you a method of how to transfer your designs onto darker fabric. Enjoy!
I know this seems super off-topic from minimalism and intentional living… but in the spirit of the definition behind Hello Brio, I wanted to share a slow-living-friendly craft that brings me a ton of joy.
Even better… you can complete this project in about an hour once you gather your supplies.
Pin for later
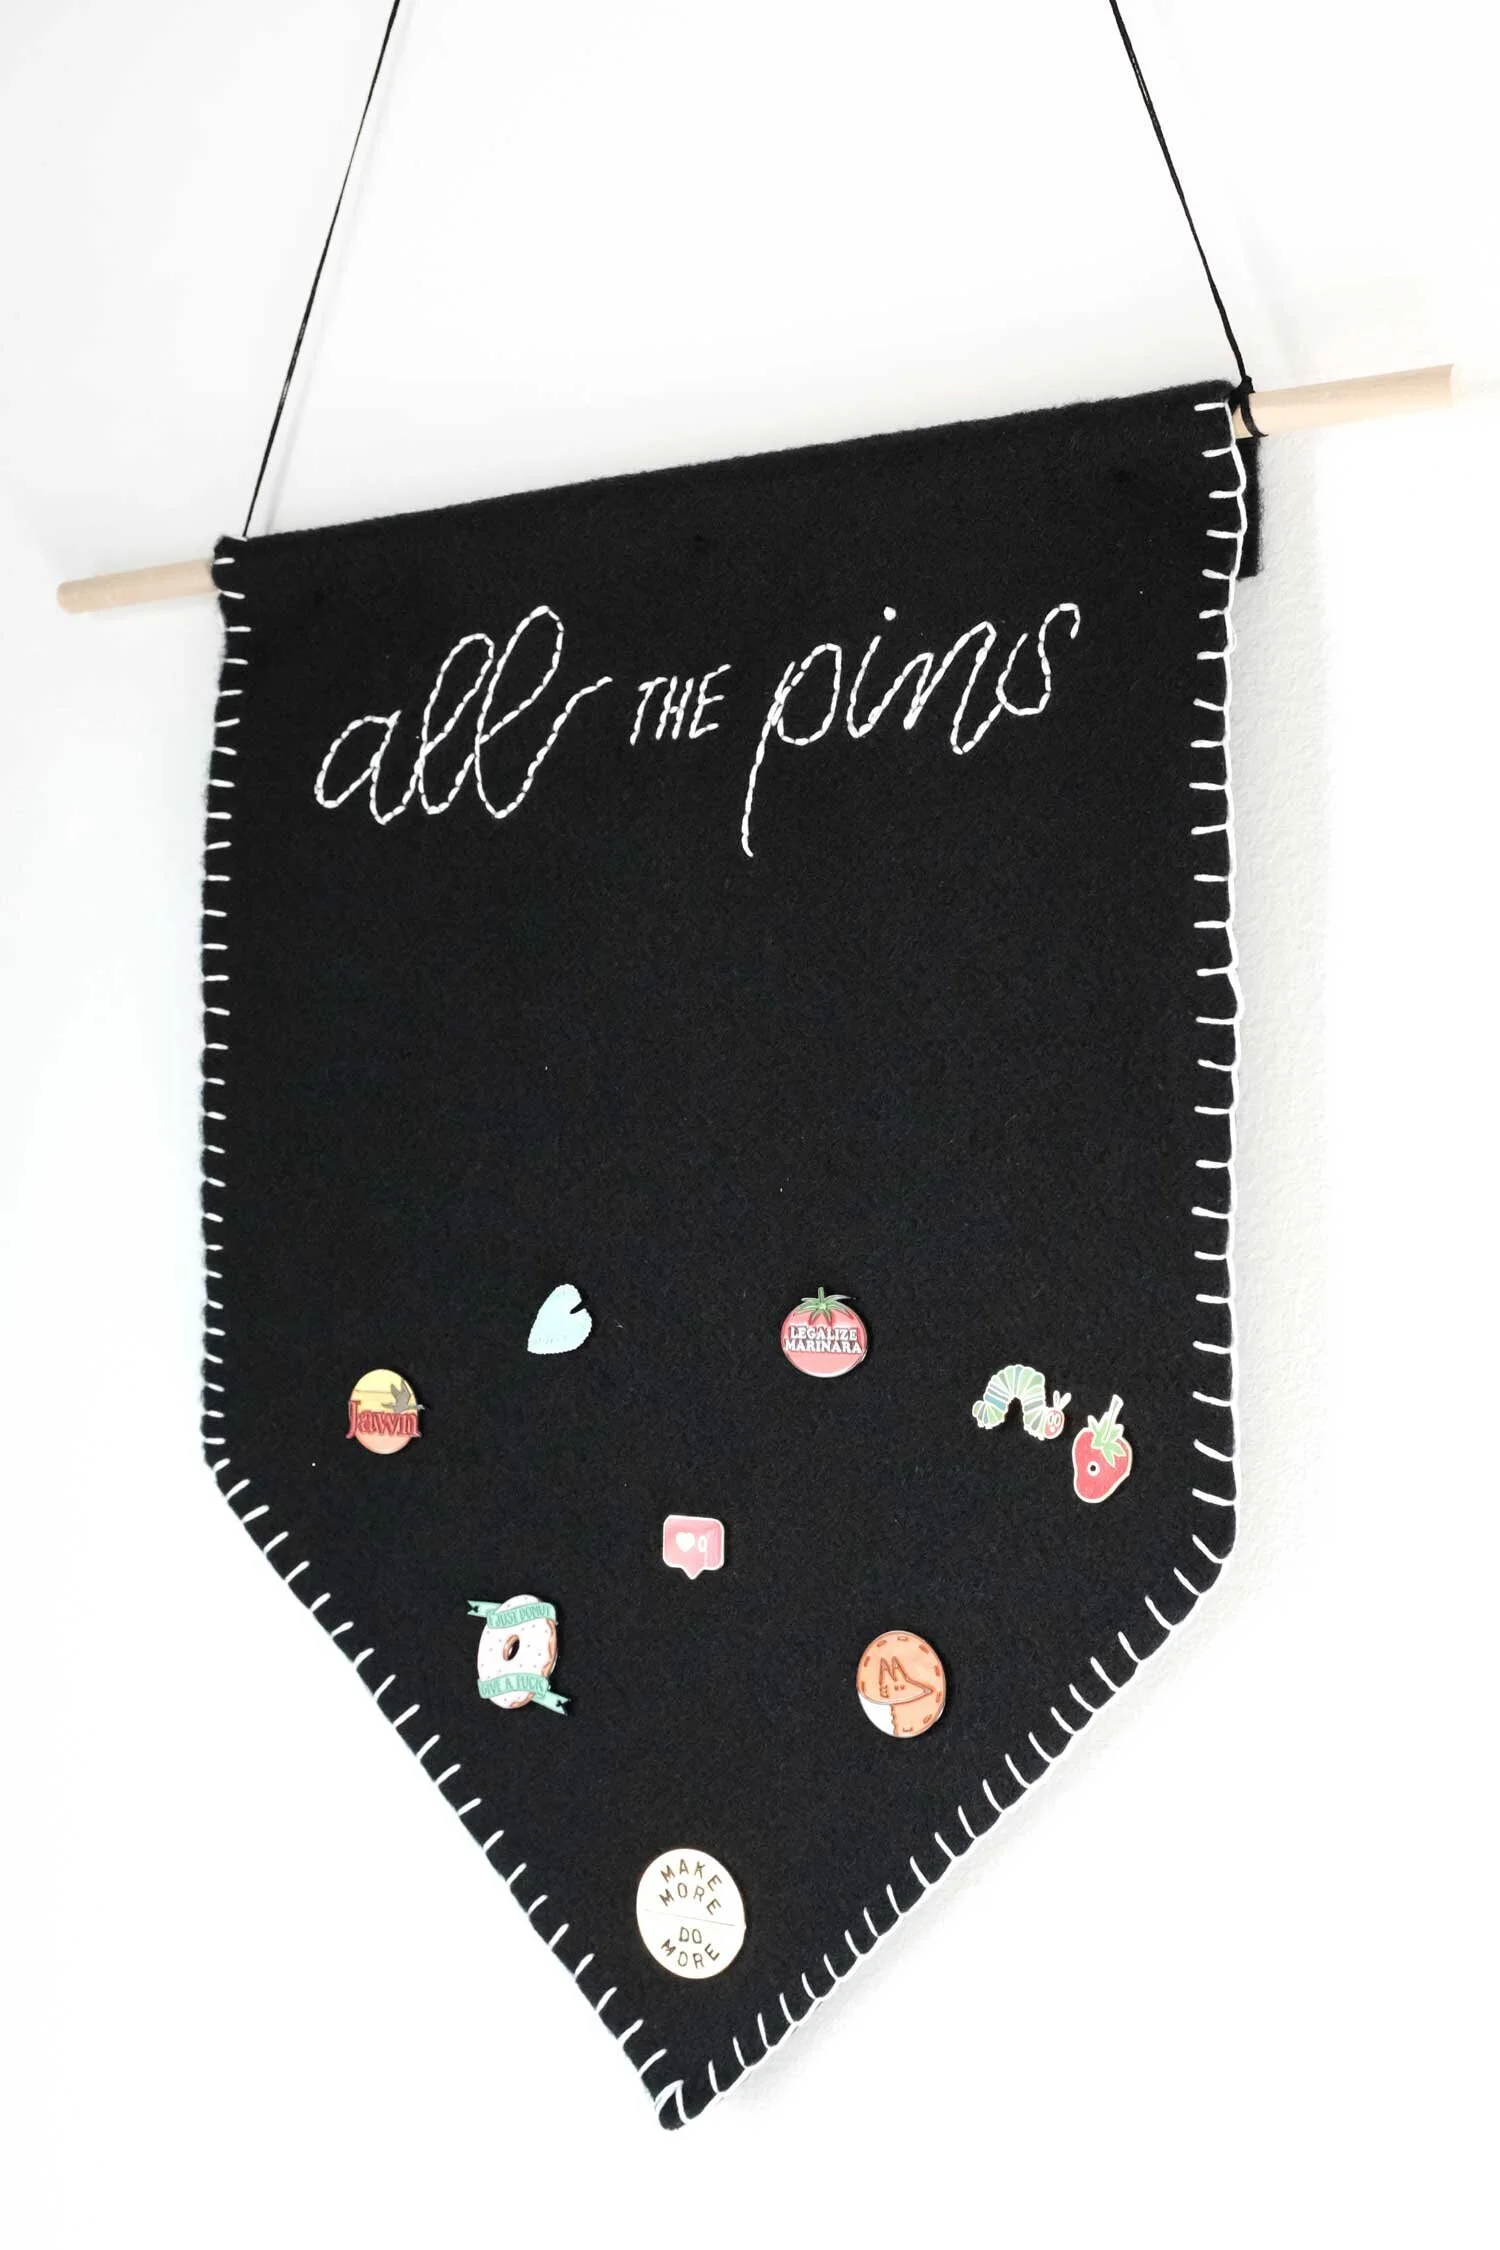
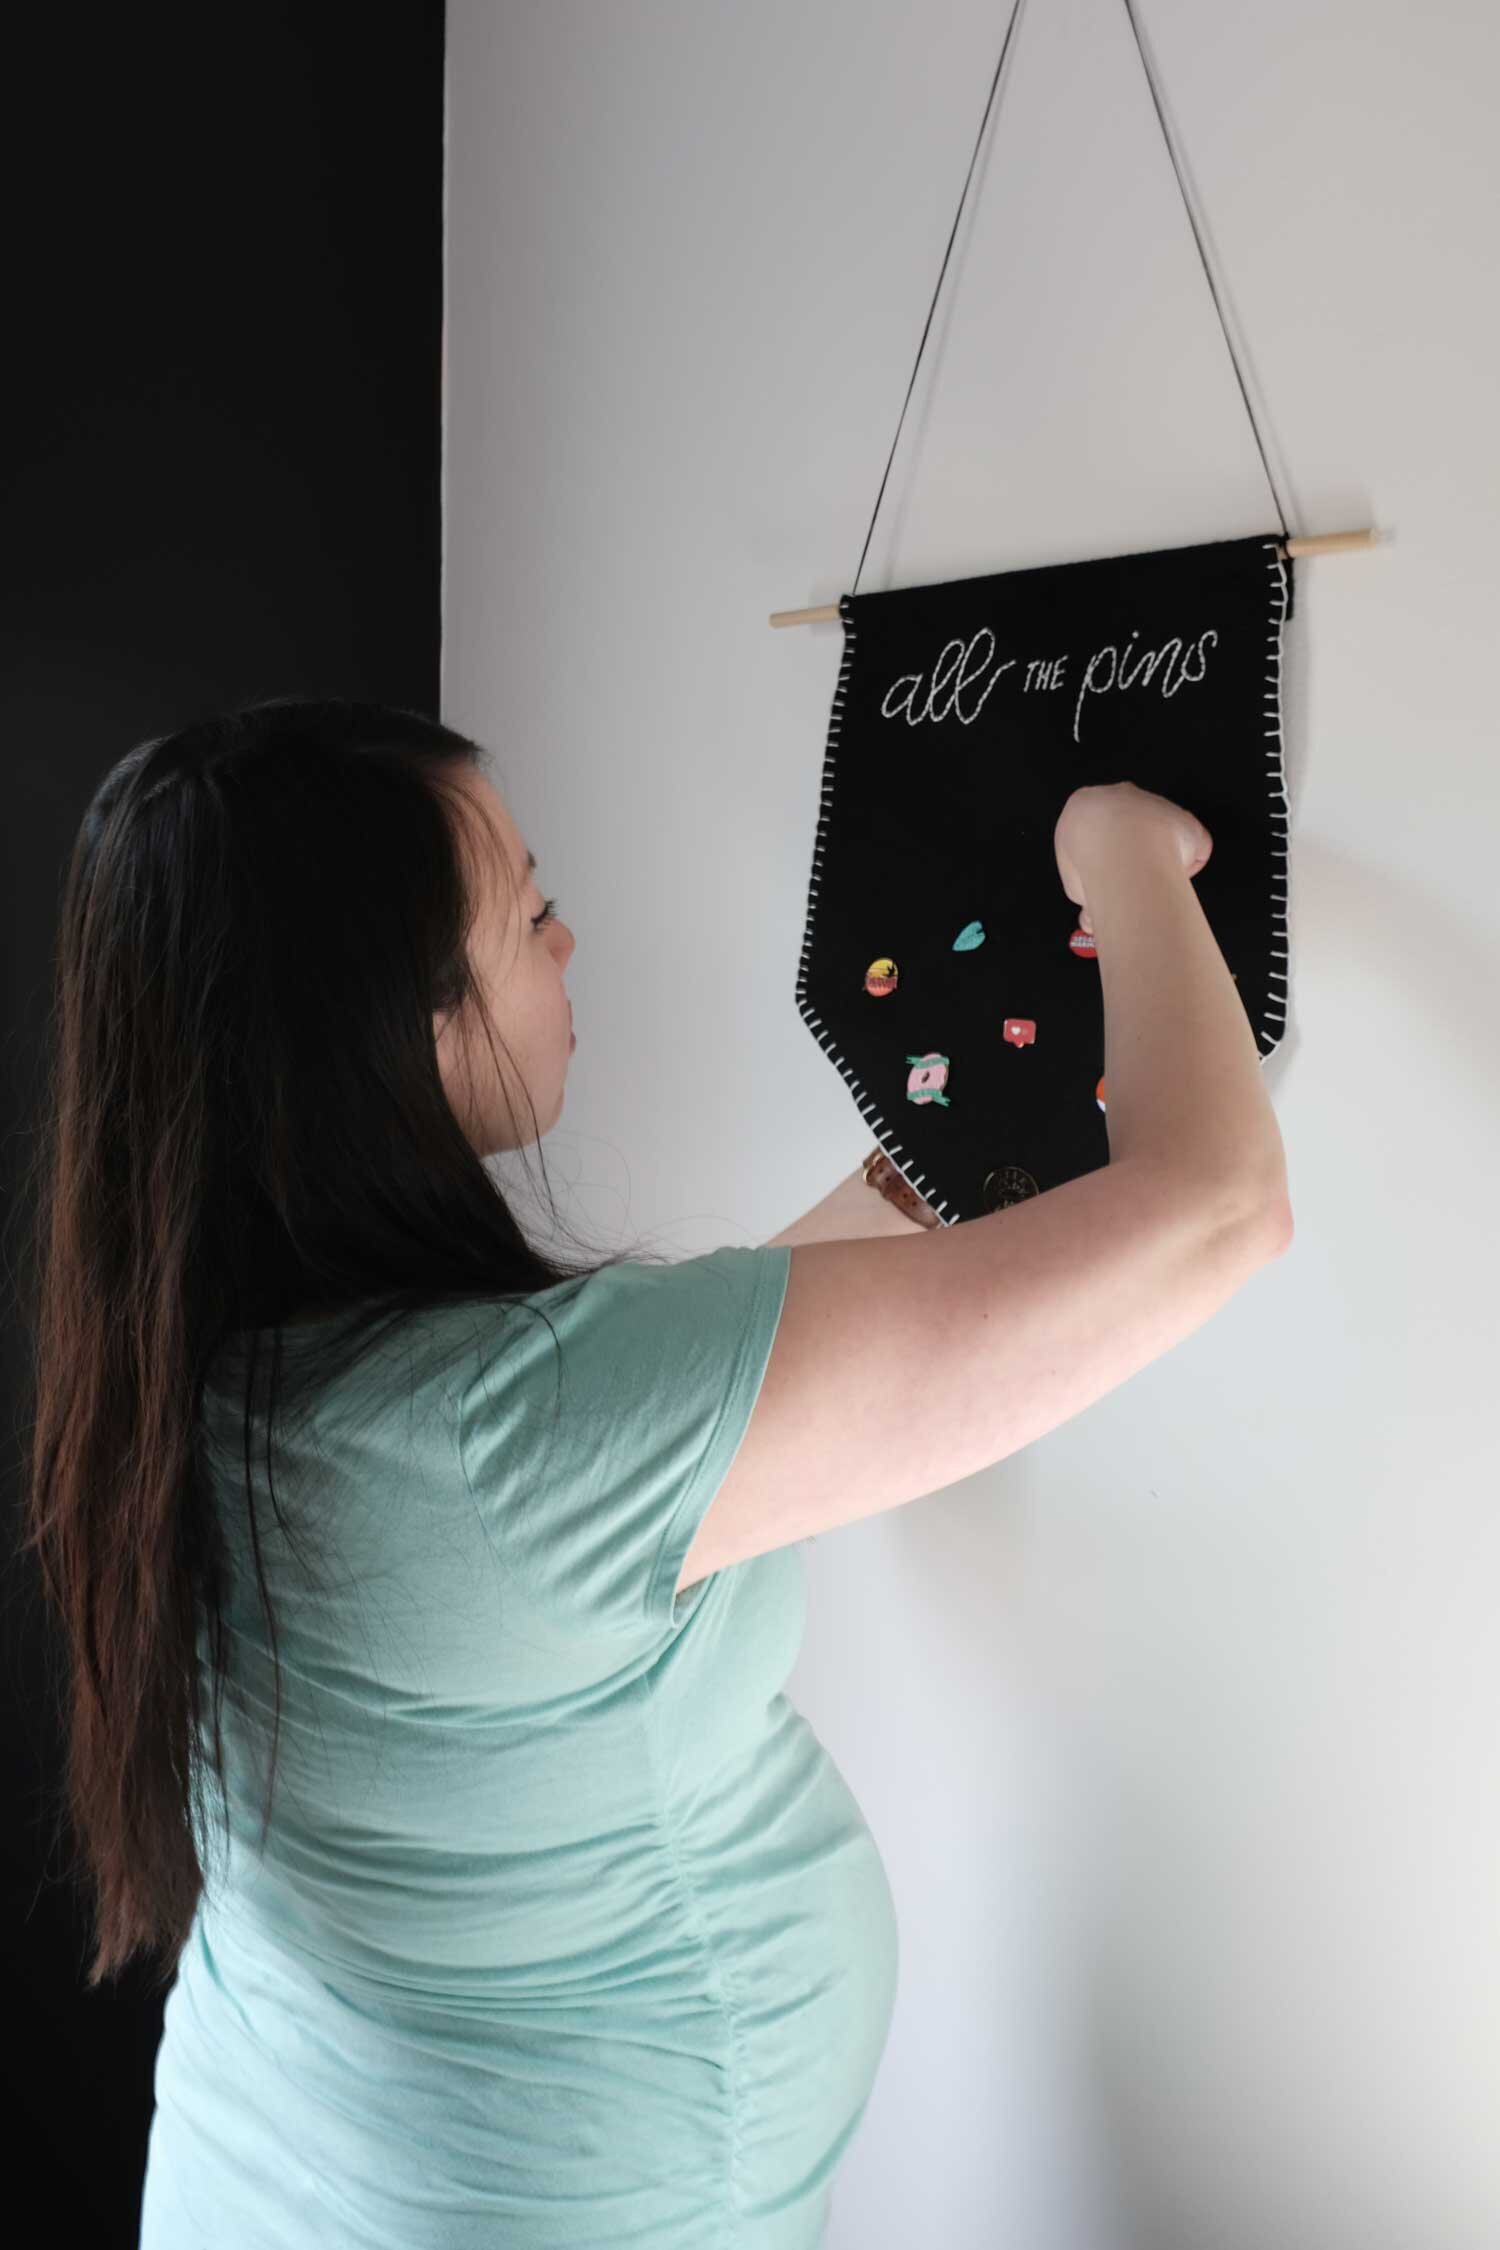
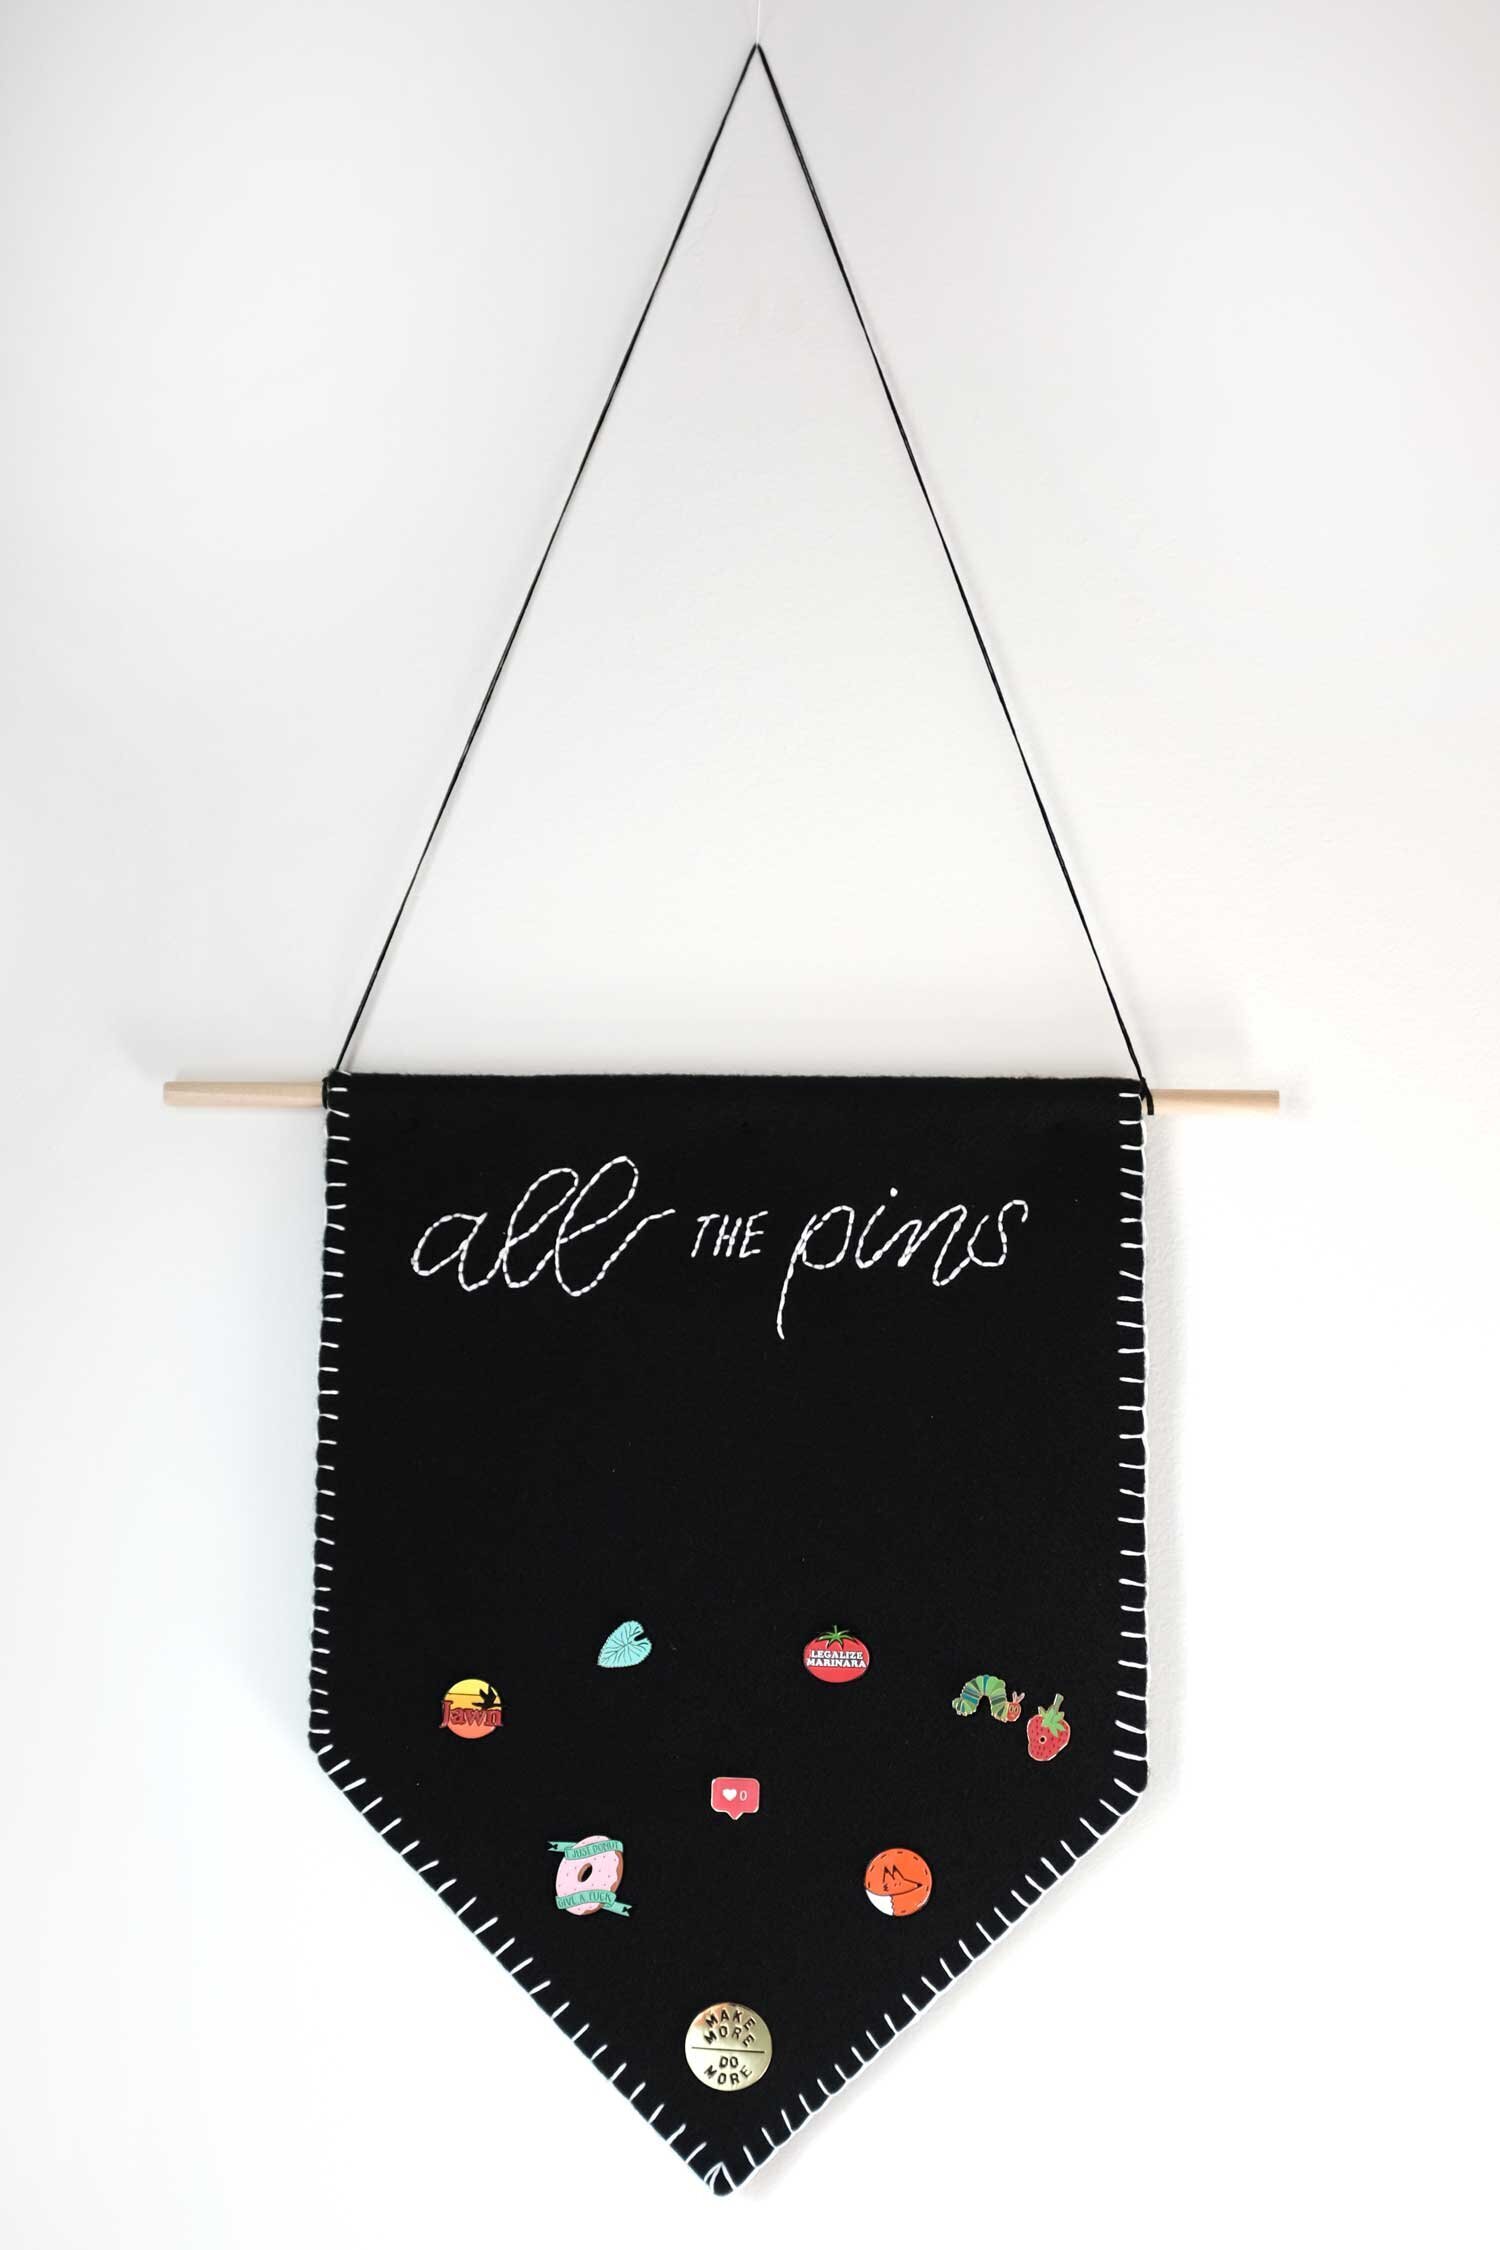
I love this project so much. My hand-lettered and embroidered enamel pin banner is a treat to look at and matches my black-and-white minimalist decor perfectly.
Of course, you can choose a different phrase. Some punny ideas that came to mind:
Pin THIS!
Pinny-pin-pins
Pin Love Forever
Pin Zone
Can’t Touch This
I went with “all the pins” as an homage to the ever-popular phrase “all the things.”
Tools and Supplies Needed
You’ll need the following:
Large piece of black felt (or color of your choice—but enamel pins really pop when put against black felt!). I used a 12” by 18” piece of felt.
White embroidery floss (or color of your choice). I recommend two skeins depending on your sewing style and lettering piece of choice.
Black embroidery floss (to match the color of your felt)
Large embroidery needle - I used the largest-eye needle of the pack
Fabric scissors… or a rotary cutter, metal ruler, and self-healing mat
Any fine-tip marker or pen. I recommend the skinny side of a black Tombow Dual Brush pen.
A wooden dowel or stick from your yard at about 1/4” diameter, at least 16” long
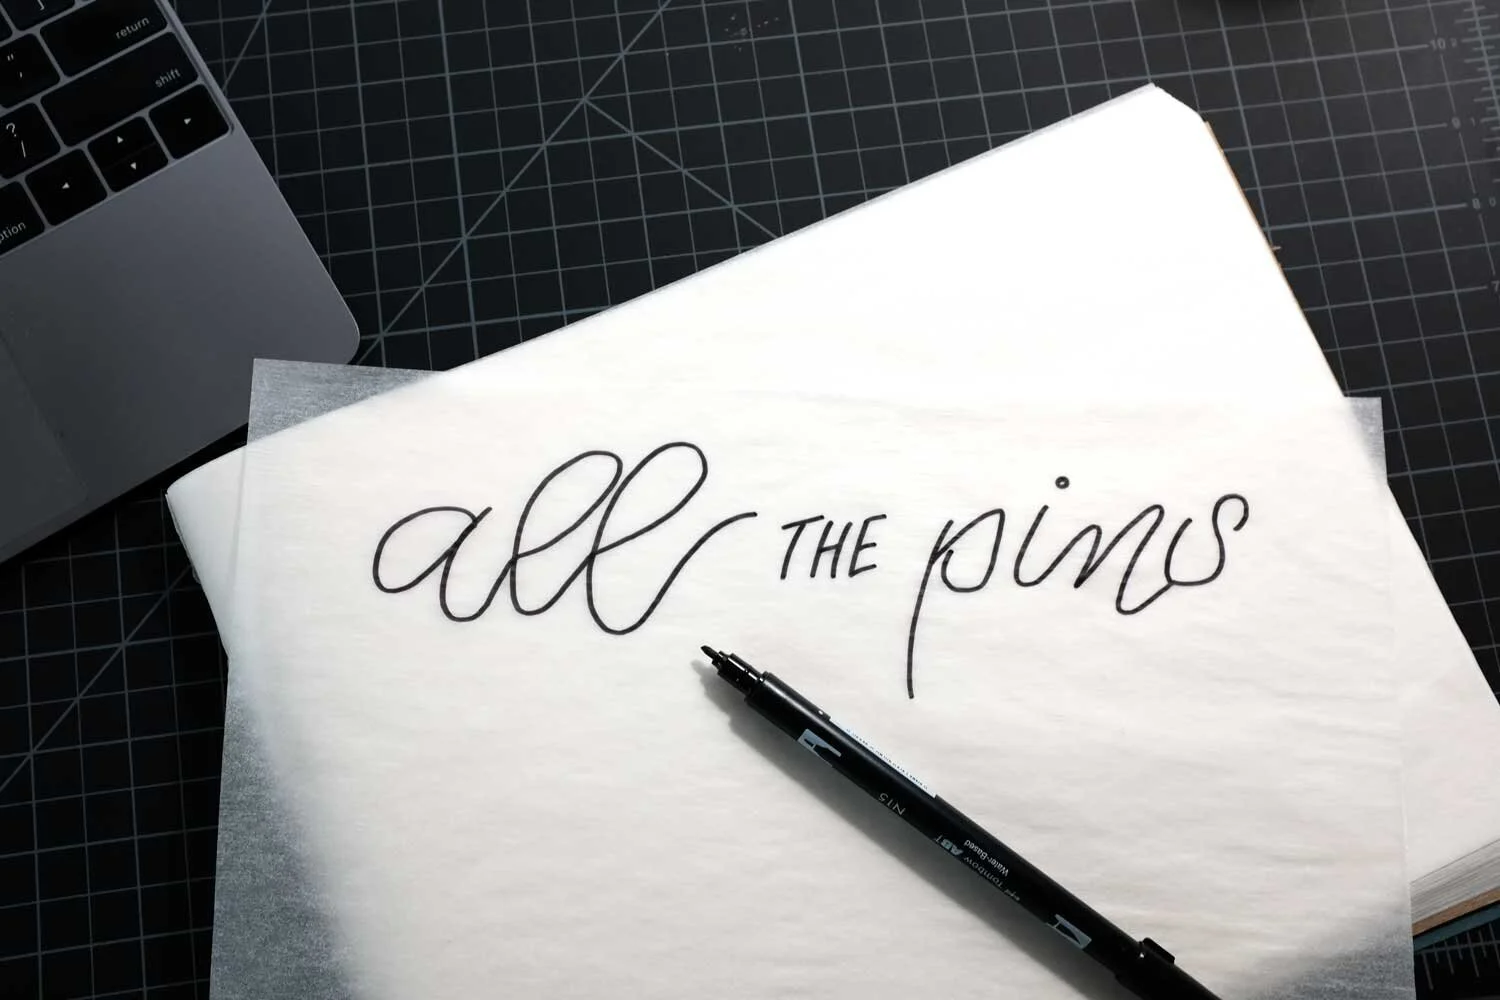
Step 1: Draw Your Hand Lettering Onto Tracing Paper
Because black felt is nearly impossible to transfer a pattern onto, you can use tracing paper or tissue paper to create your design, then pin your tracing paper directly to your felt.
Bonus lettering tip: hand lettering on tracing paper is really fun, because if you mess up you can just layer your tracing paper to tweak lines or placement until you get it perfect!
Step 2: Prepare Your Felt
Depending how you want your felt shaped, you’ll want to cut your felt down to size first.
I opted for a 45º angle pointed tip. If you want to do the same and your cutting mat has a 45º angle cut line, you can just use your metal ruler and rotary cutter and roll away the extra pieces of felt!

Cut along the green dotted lines; fold back along the yellow dotted line.
If you’re just working with fabric scissors instead, I recommend measuring 6” up on each side, marking the side and the bottom center, and then making a straight cut.
Fold about a 1-1/2” to 2” piece back and down along the top to accommodate for the dowel, and pin this down.
Step 3: Blanket Stitch the Outside Border
This is completely optional, but I really like how the white embroidery floss along the outside edge finishes the piece and adds a little more embroidery flair to the overall project!
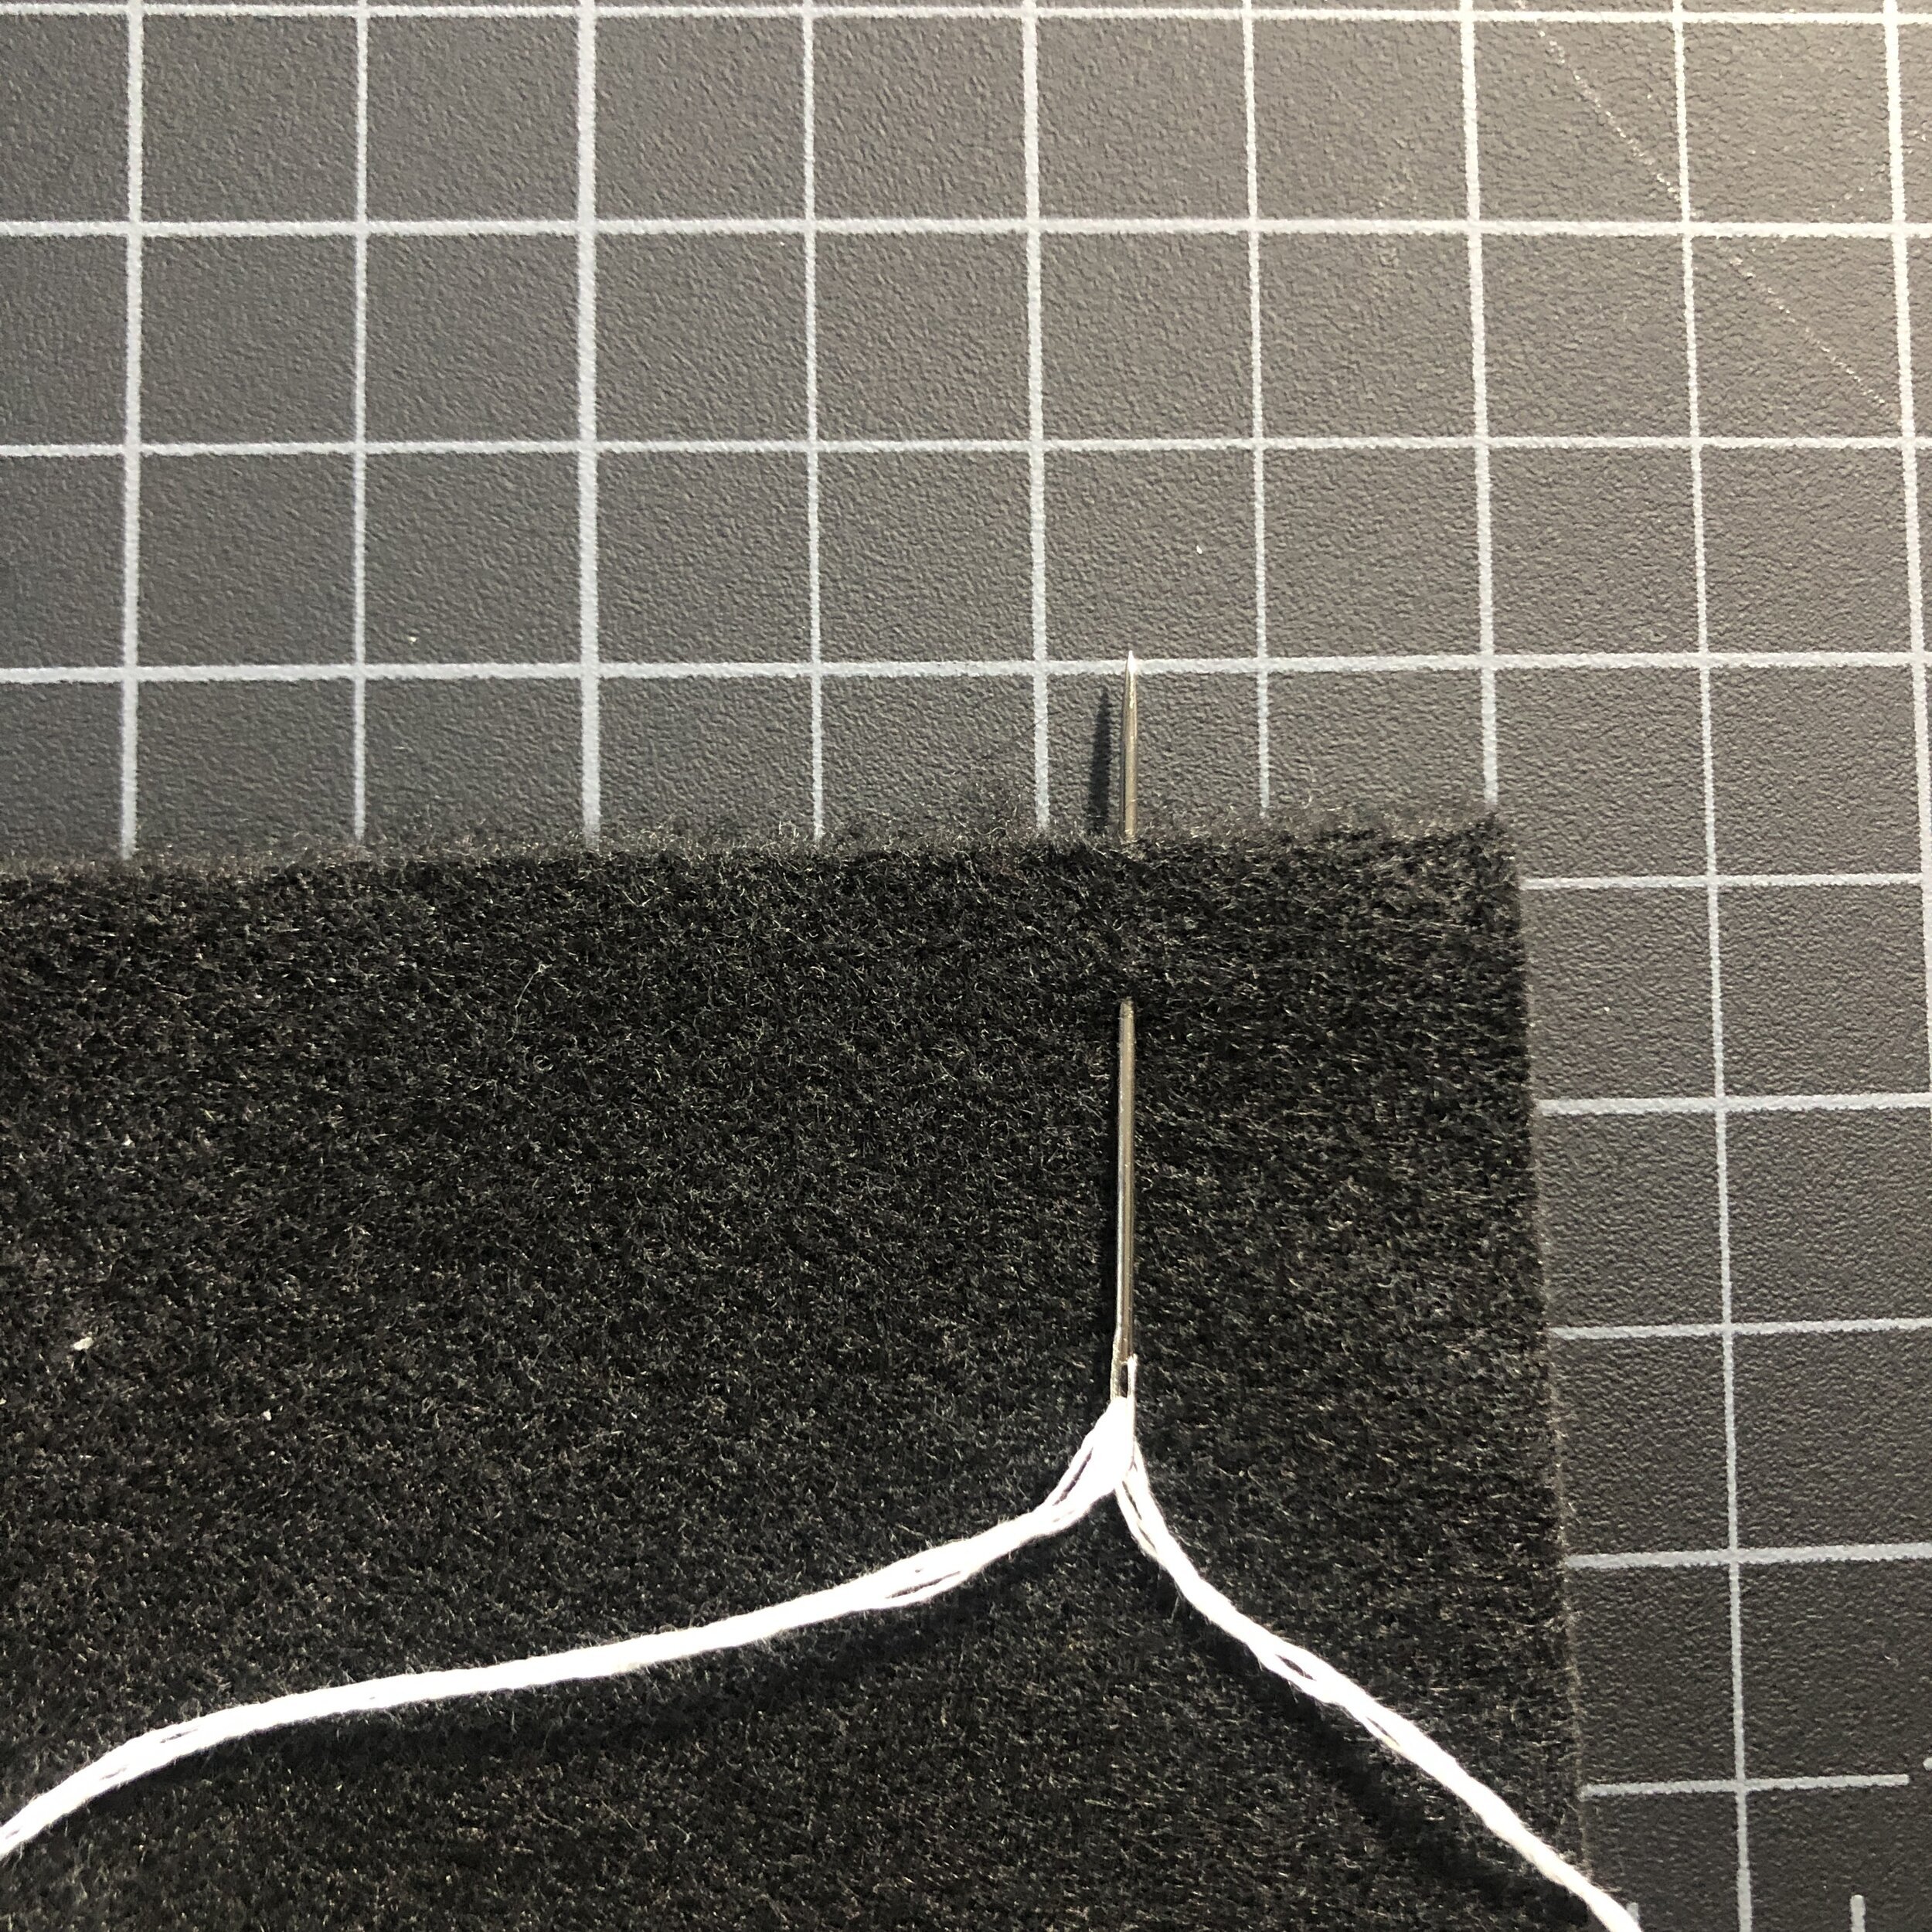
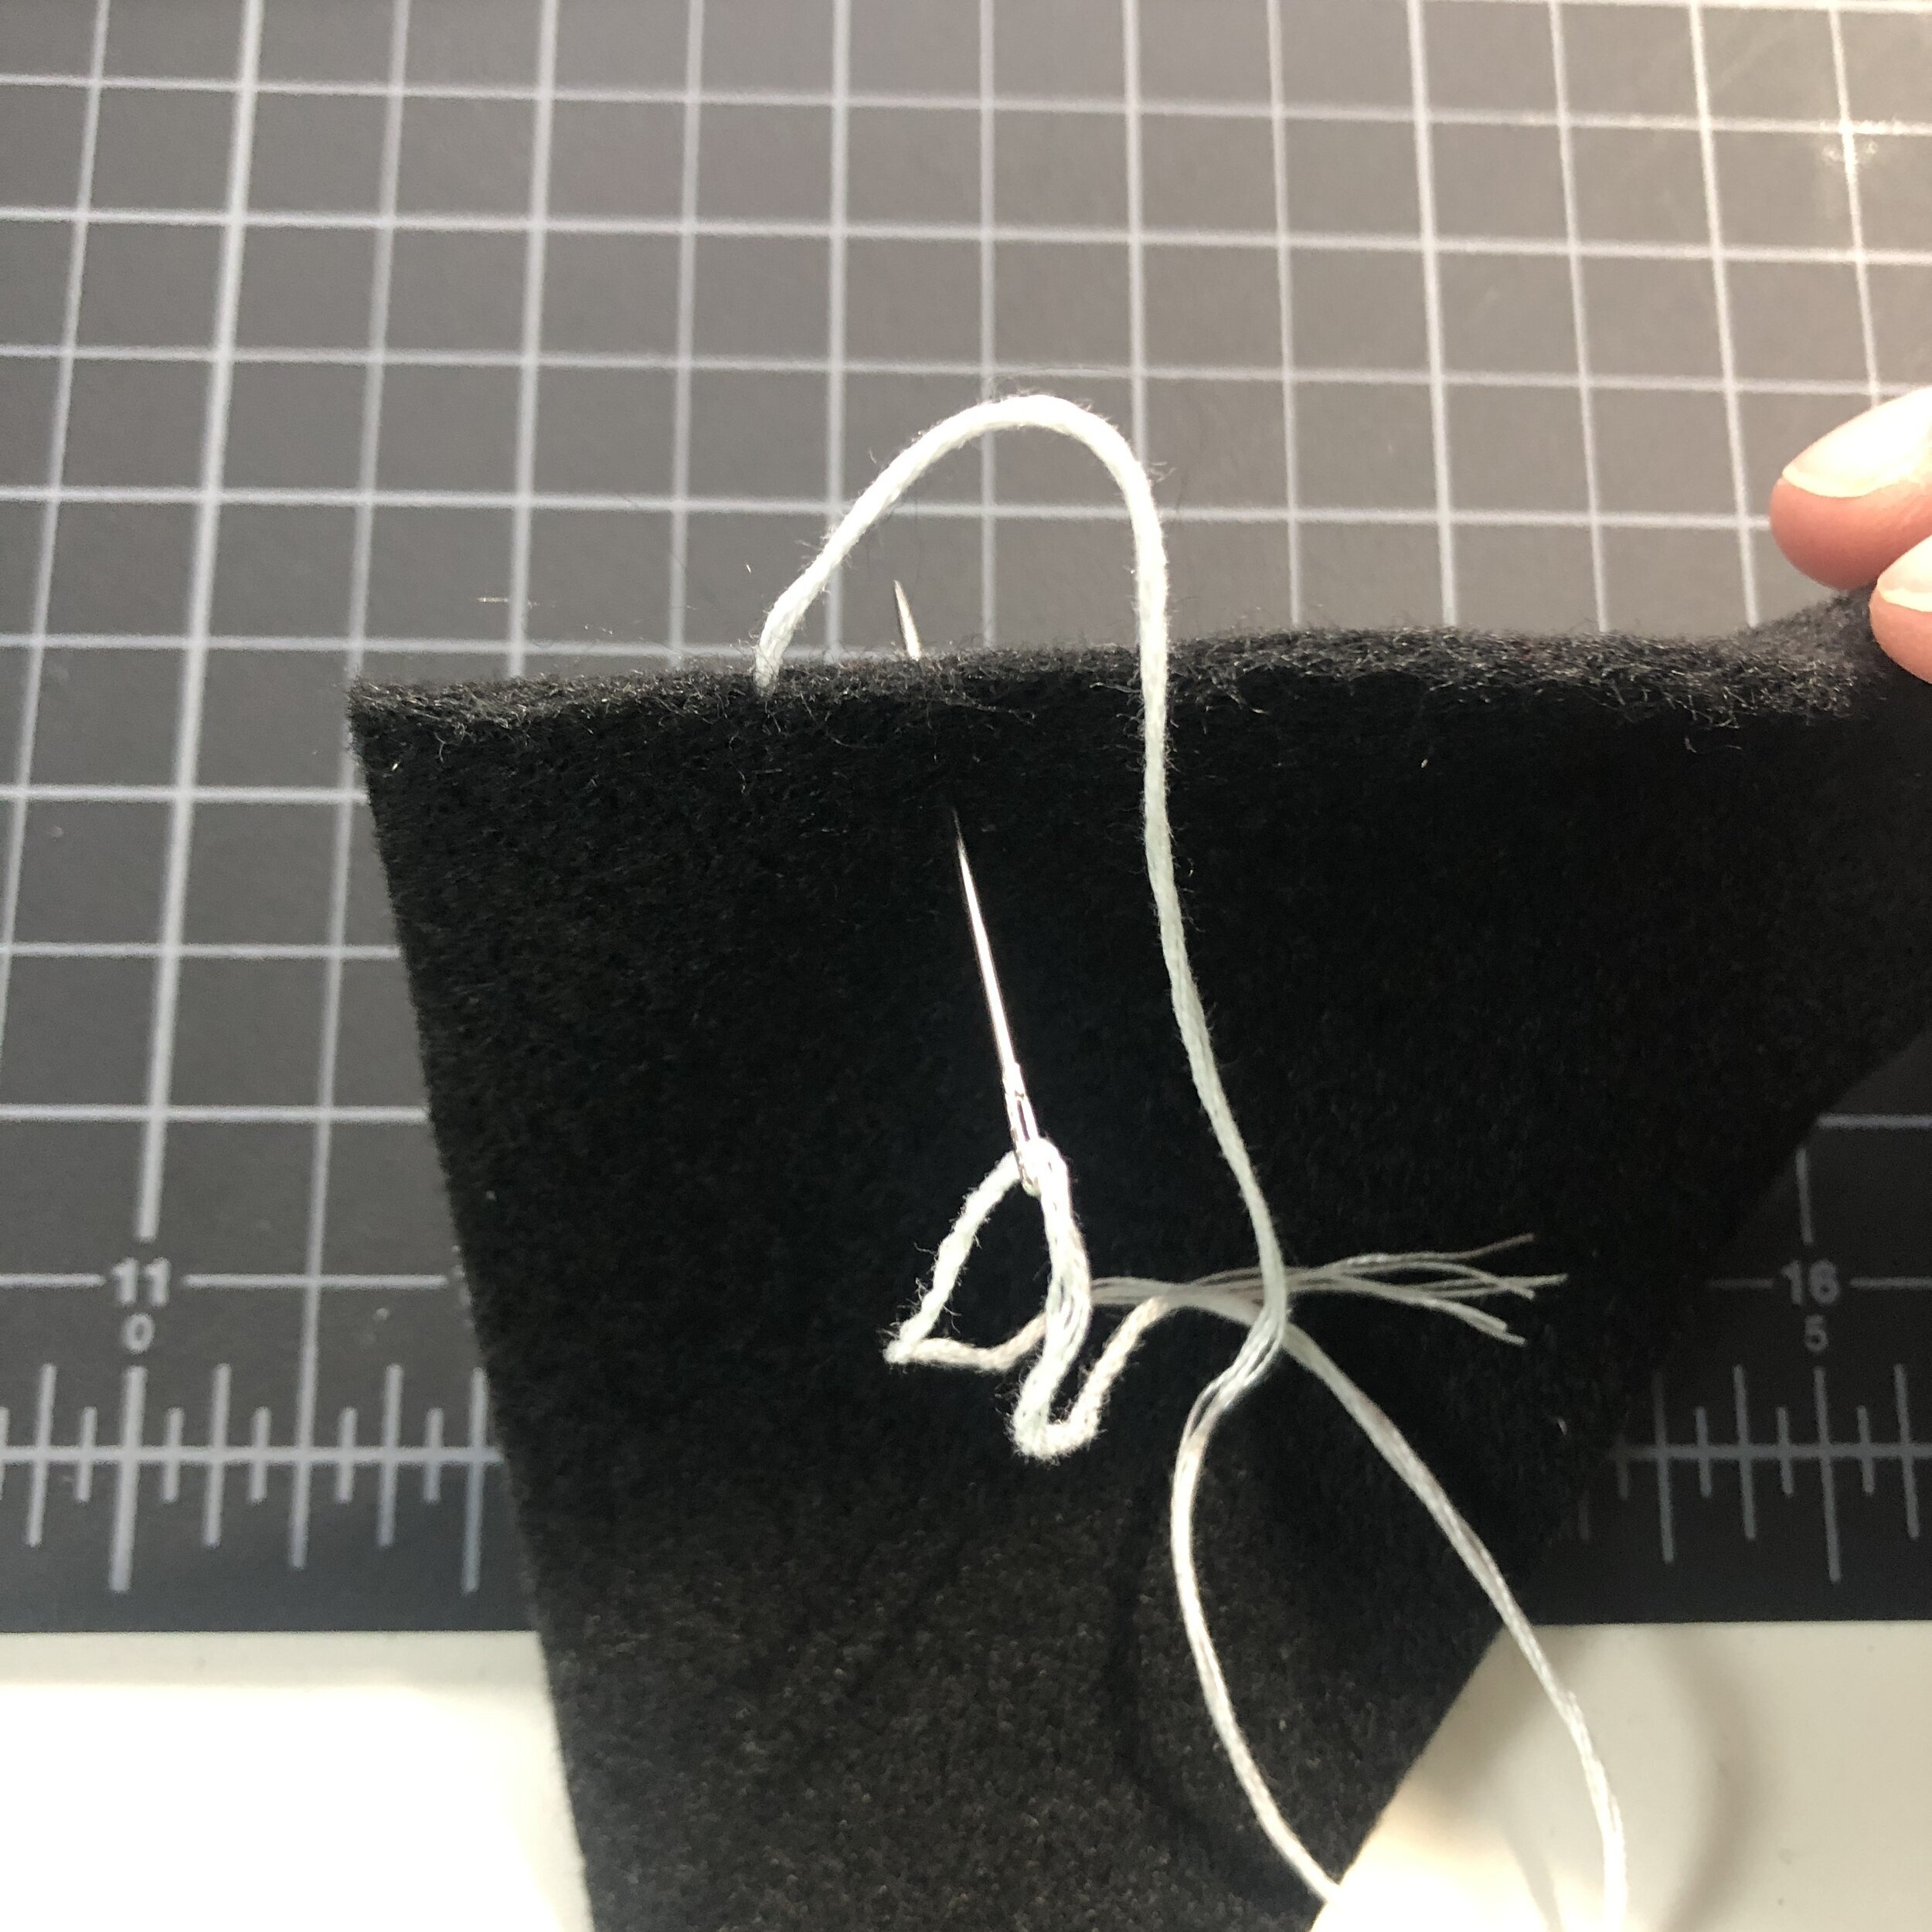
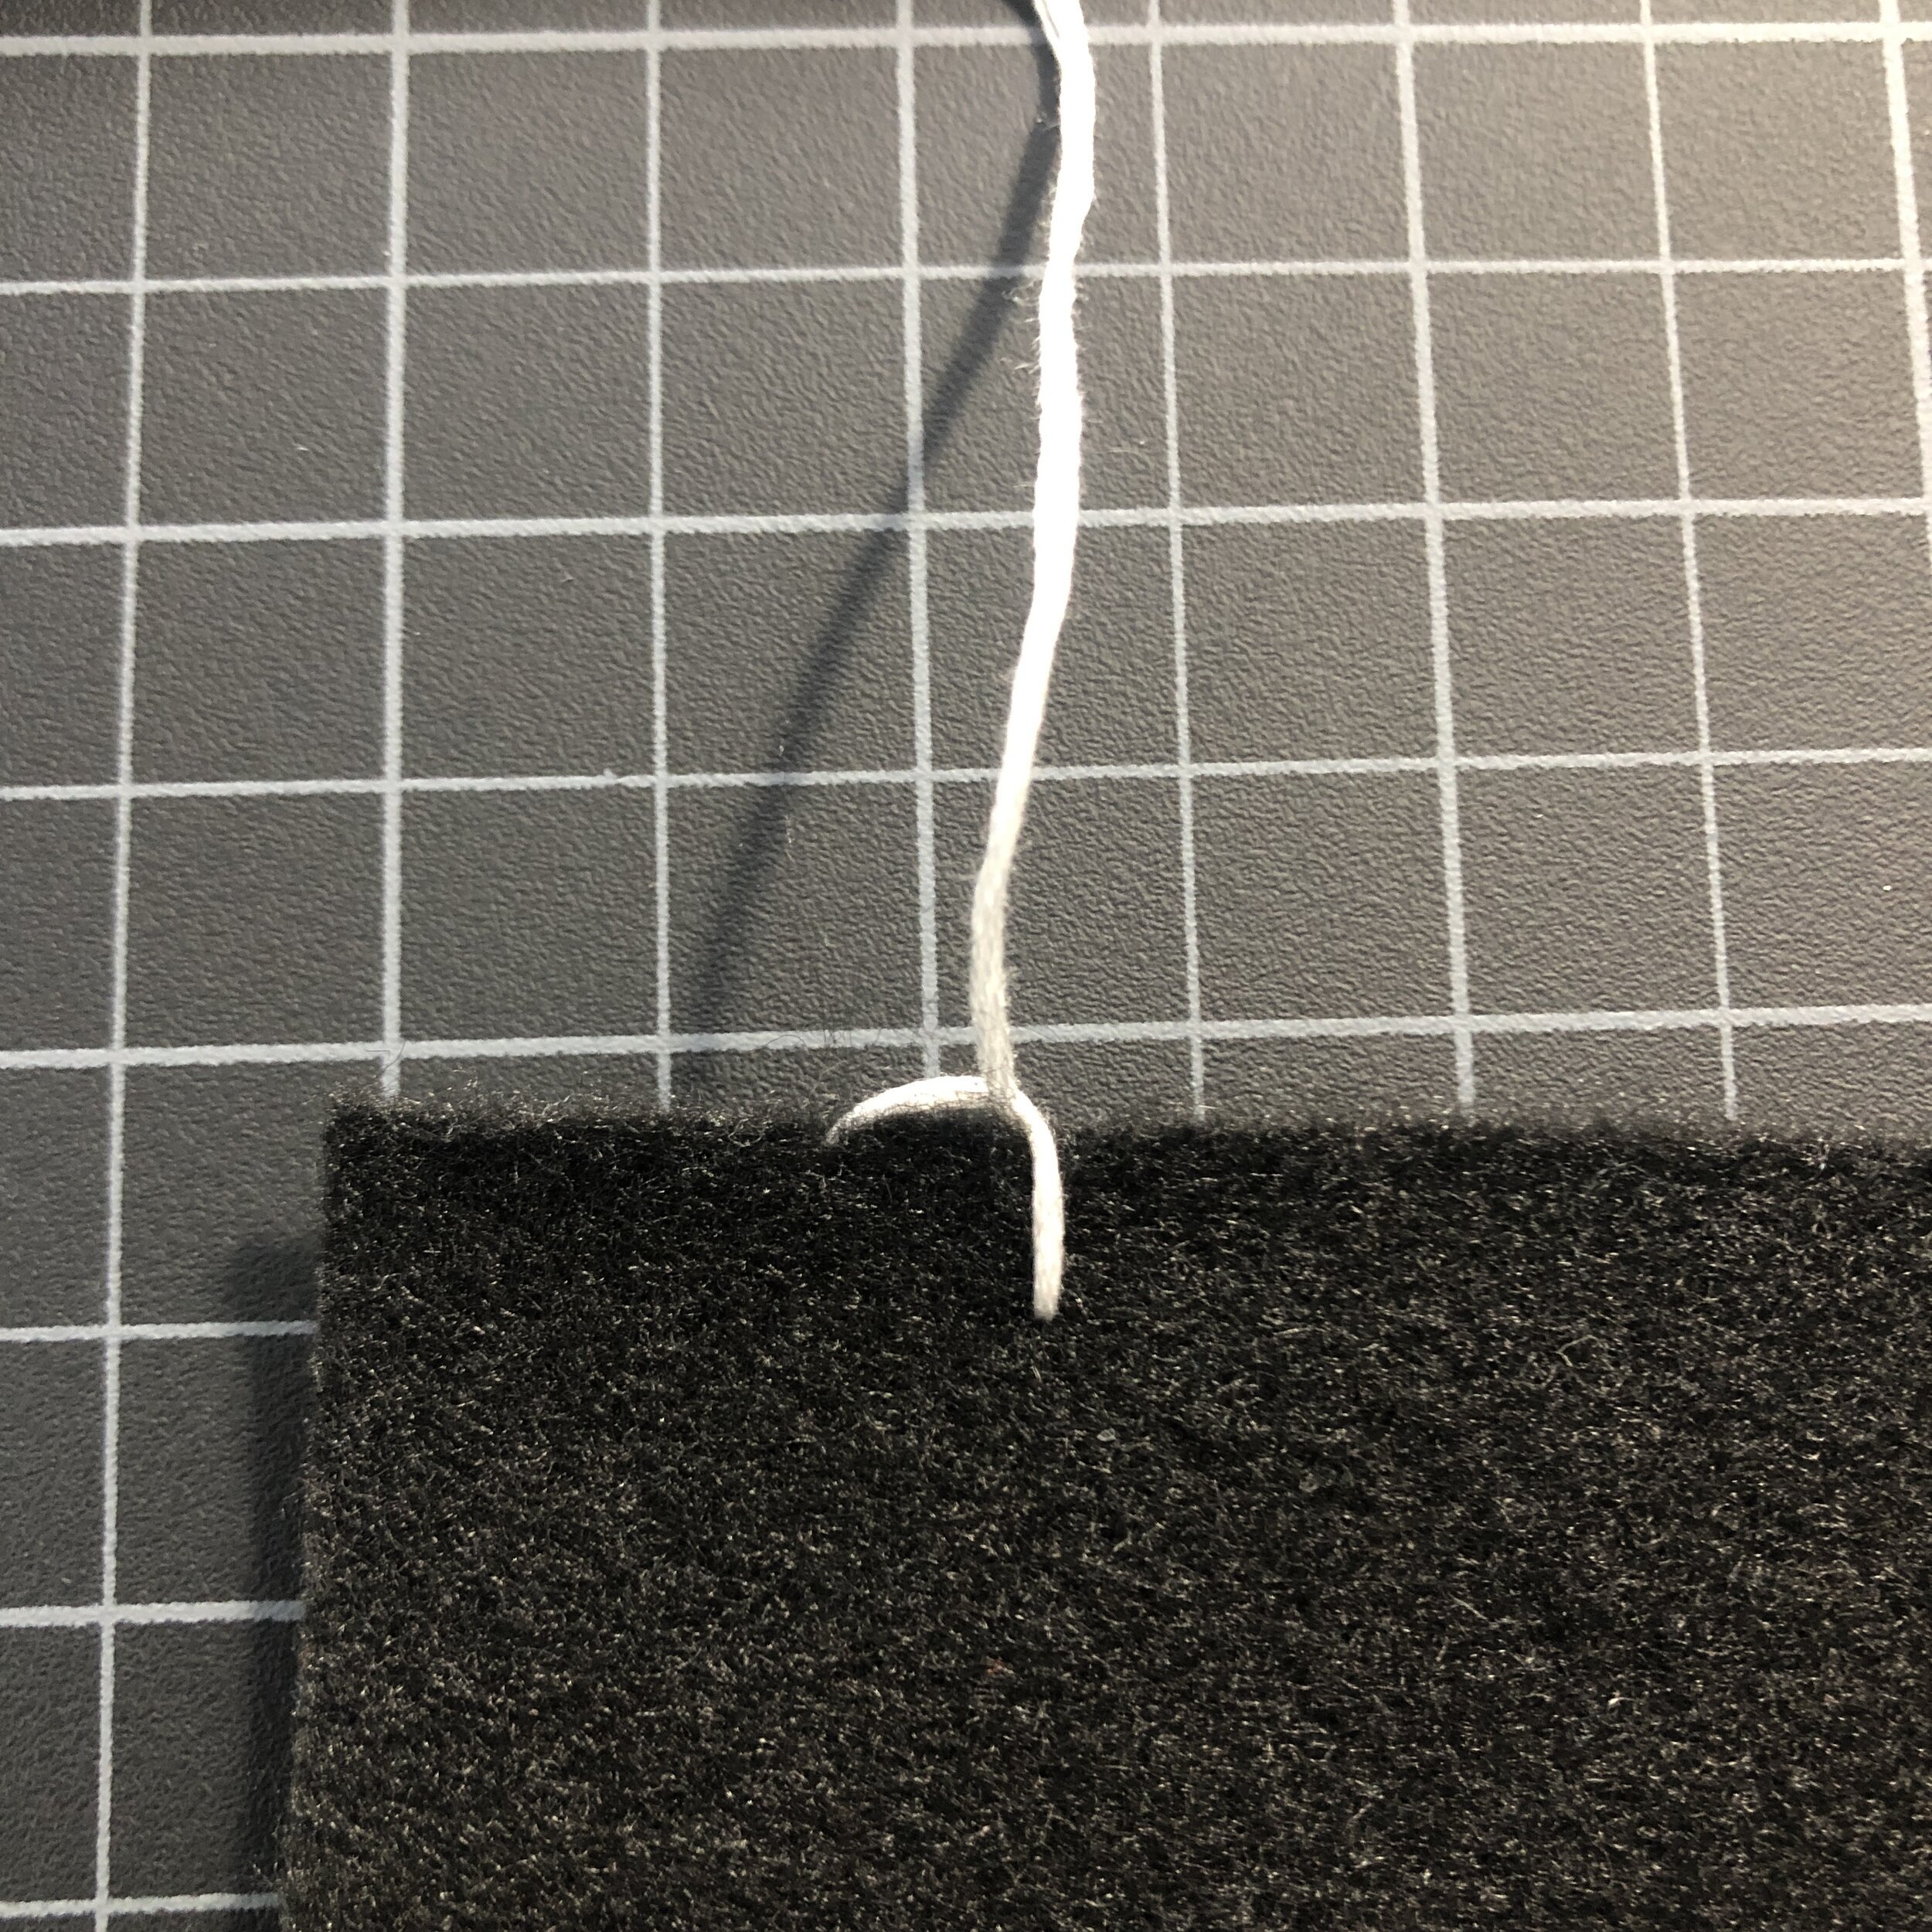
Here’s a doodle to help. First, you have the thread come out of the top of the felt. To do this, you can sandwich the needle from the back so the thread comes out of the top (point 1).
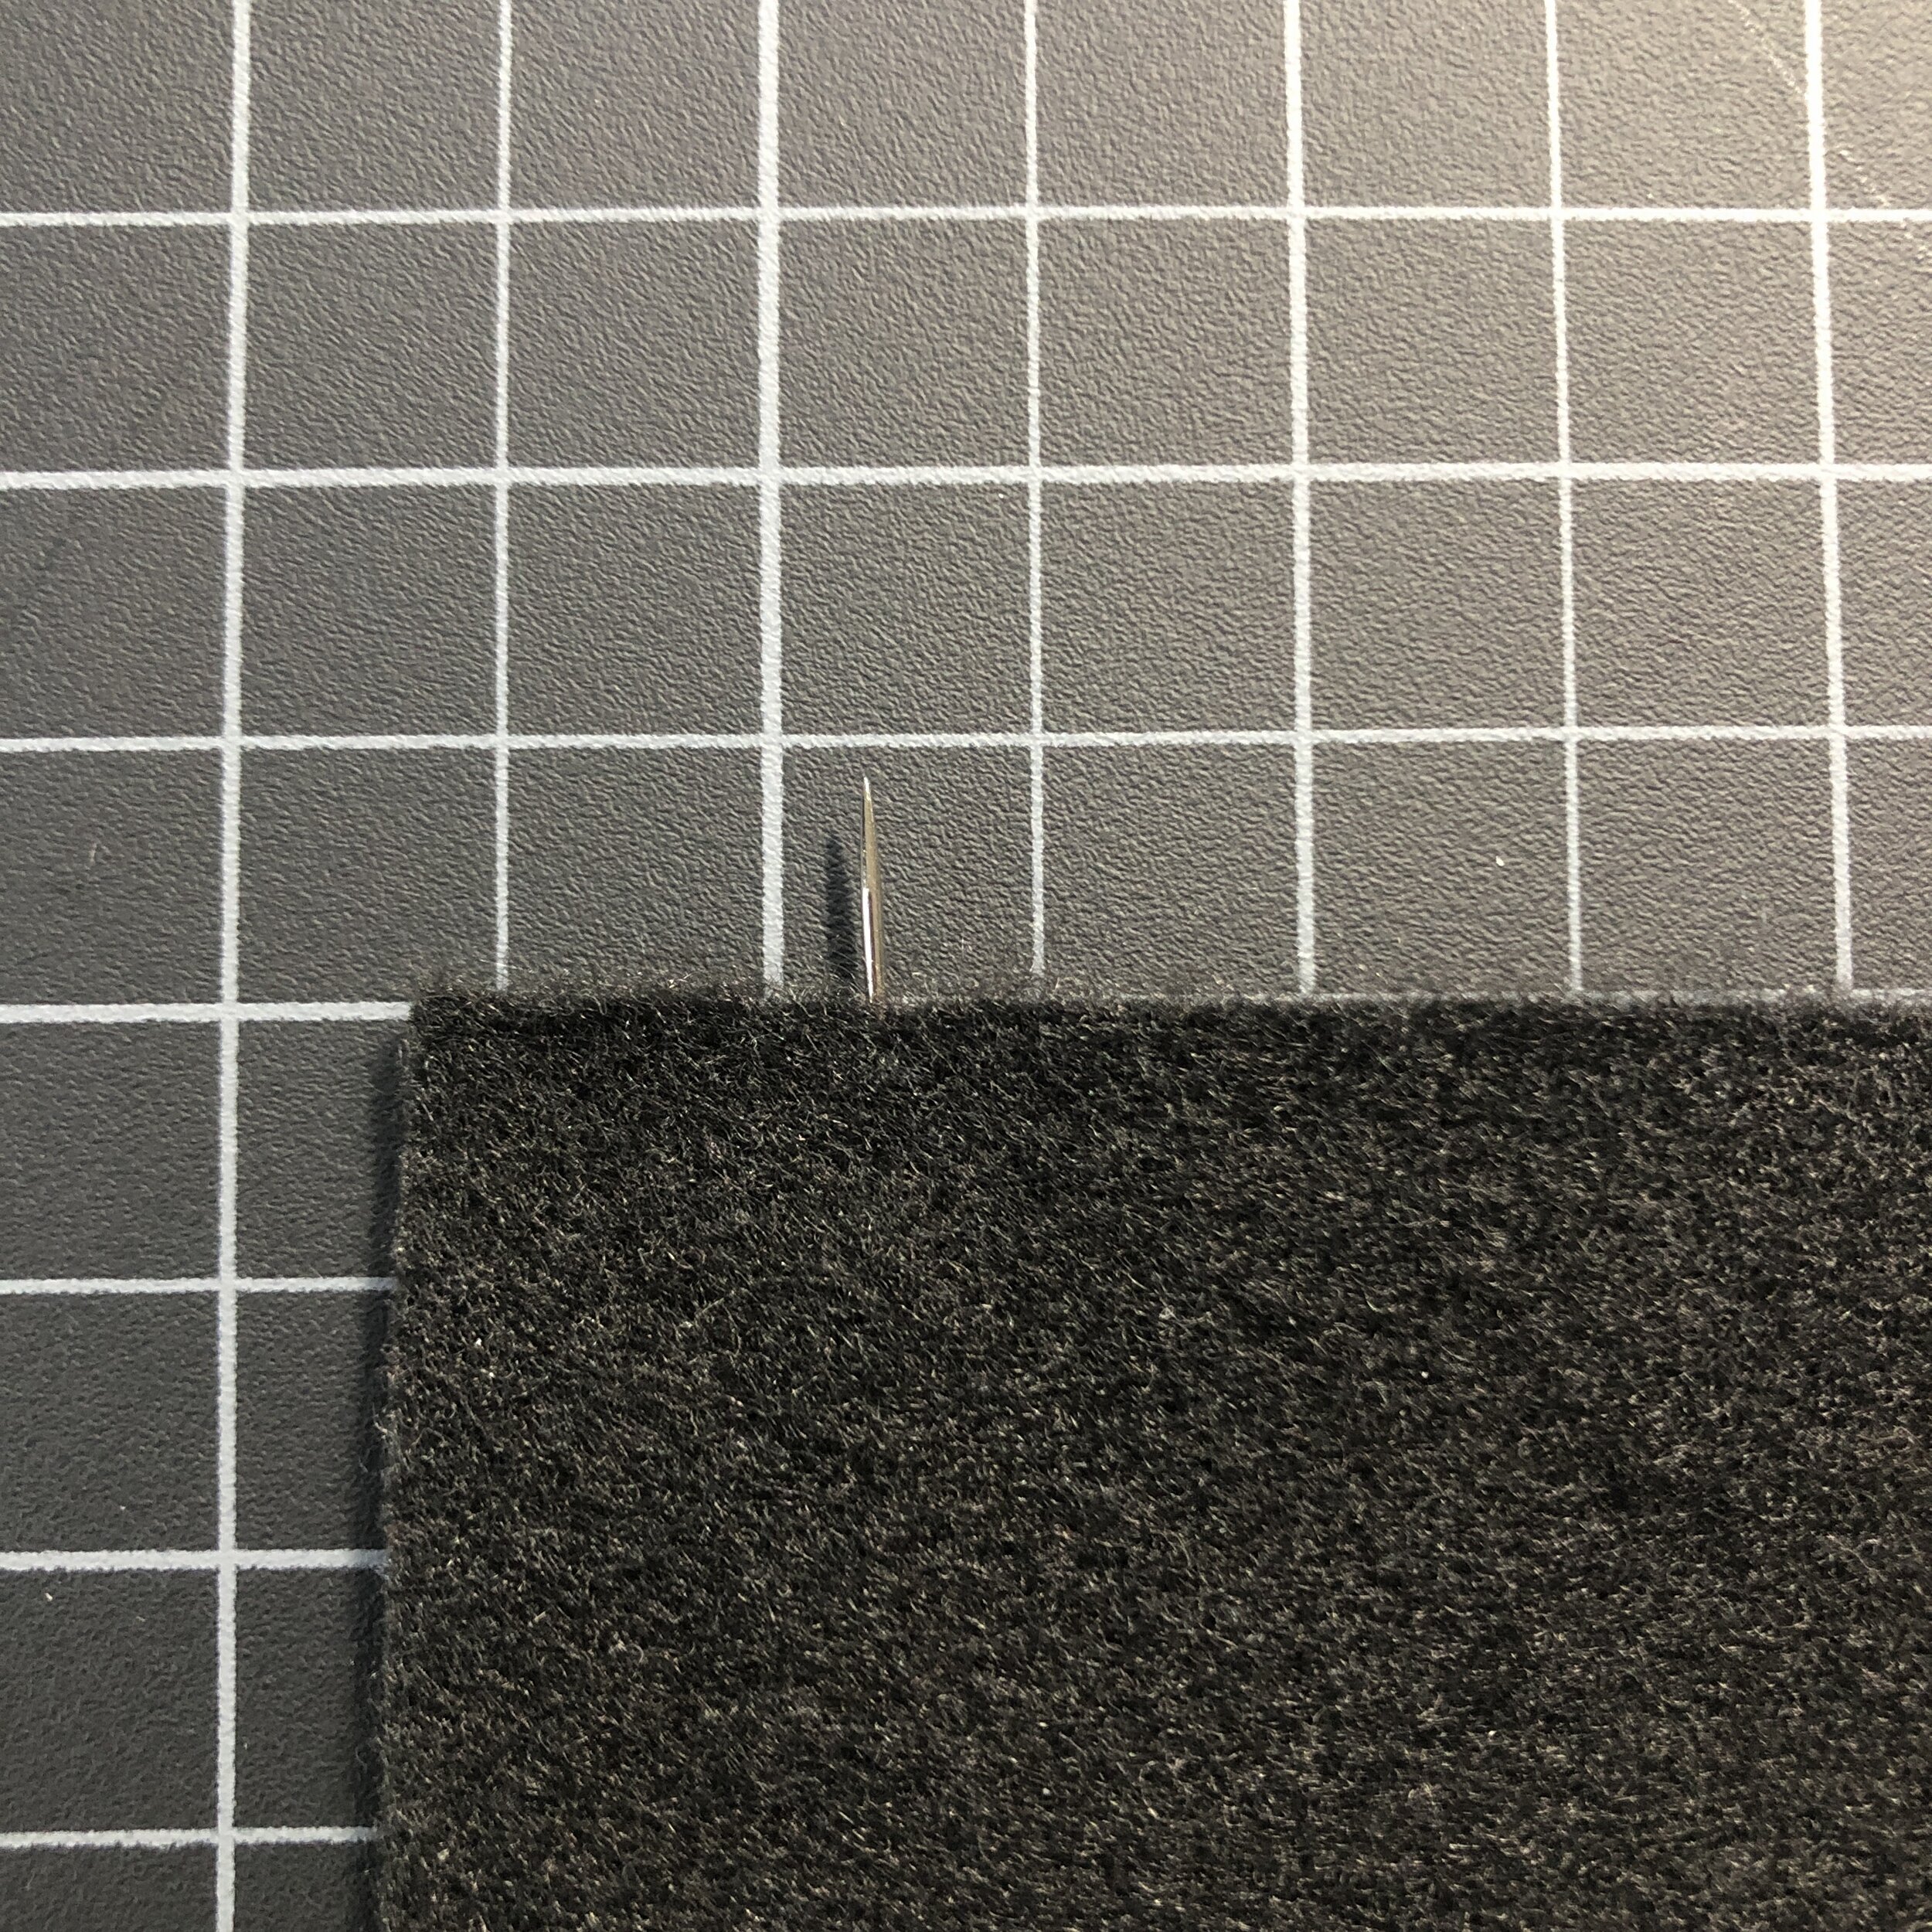
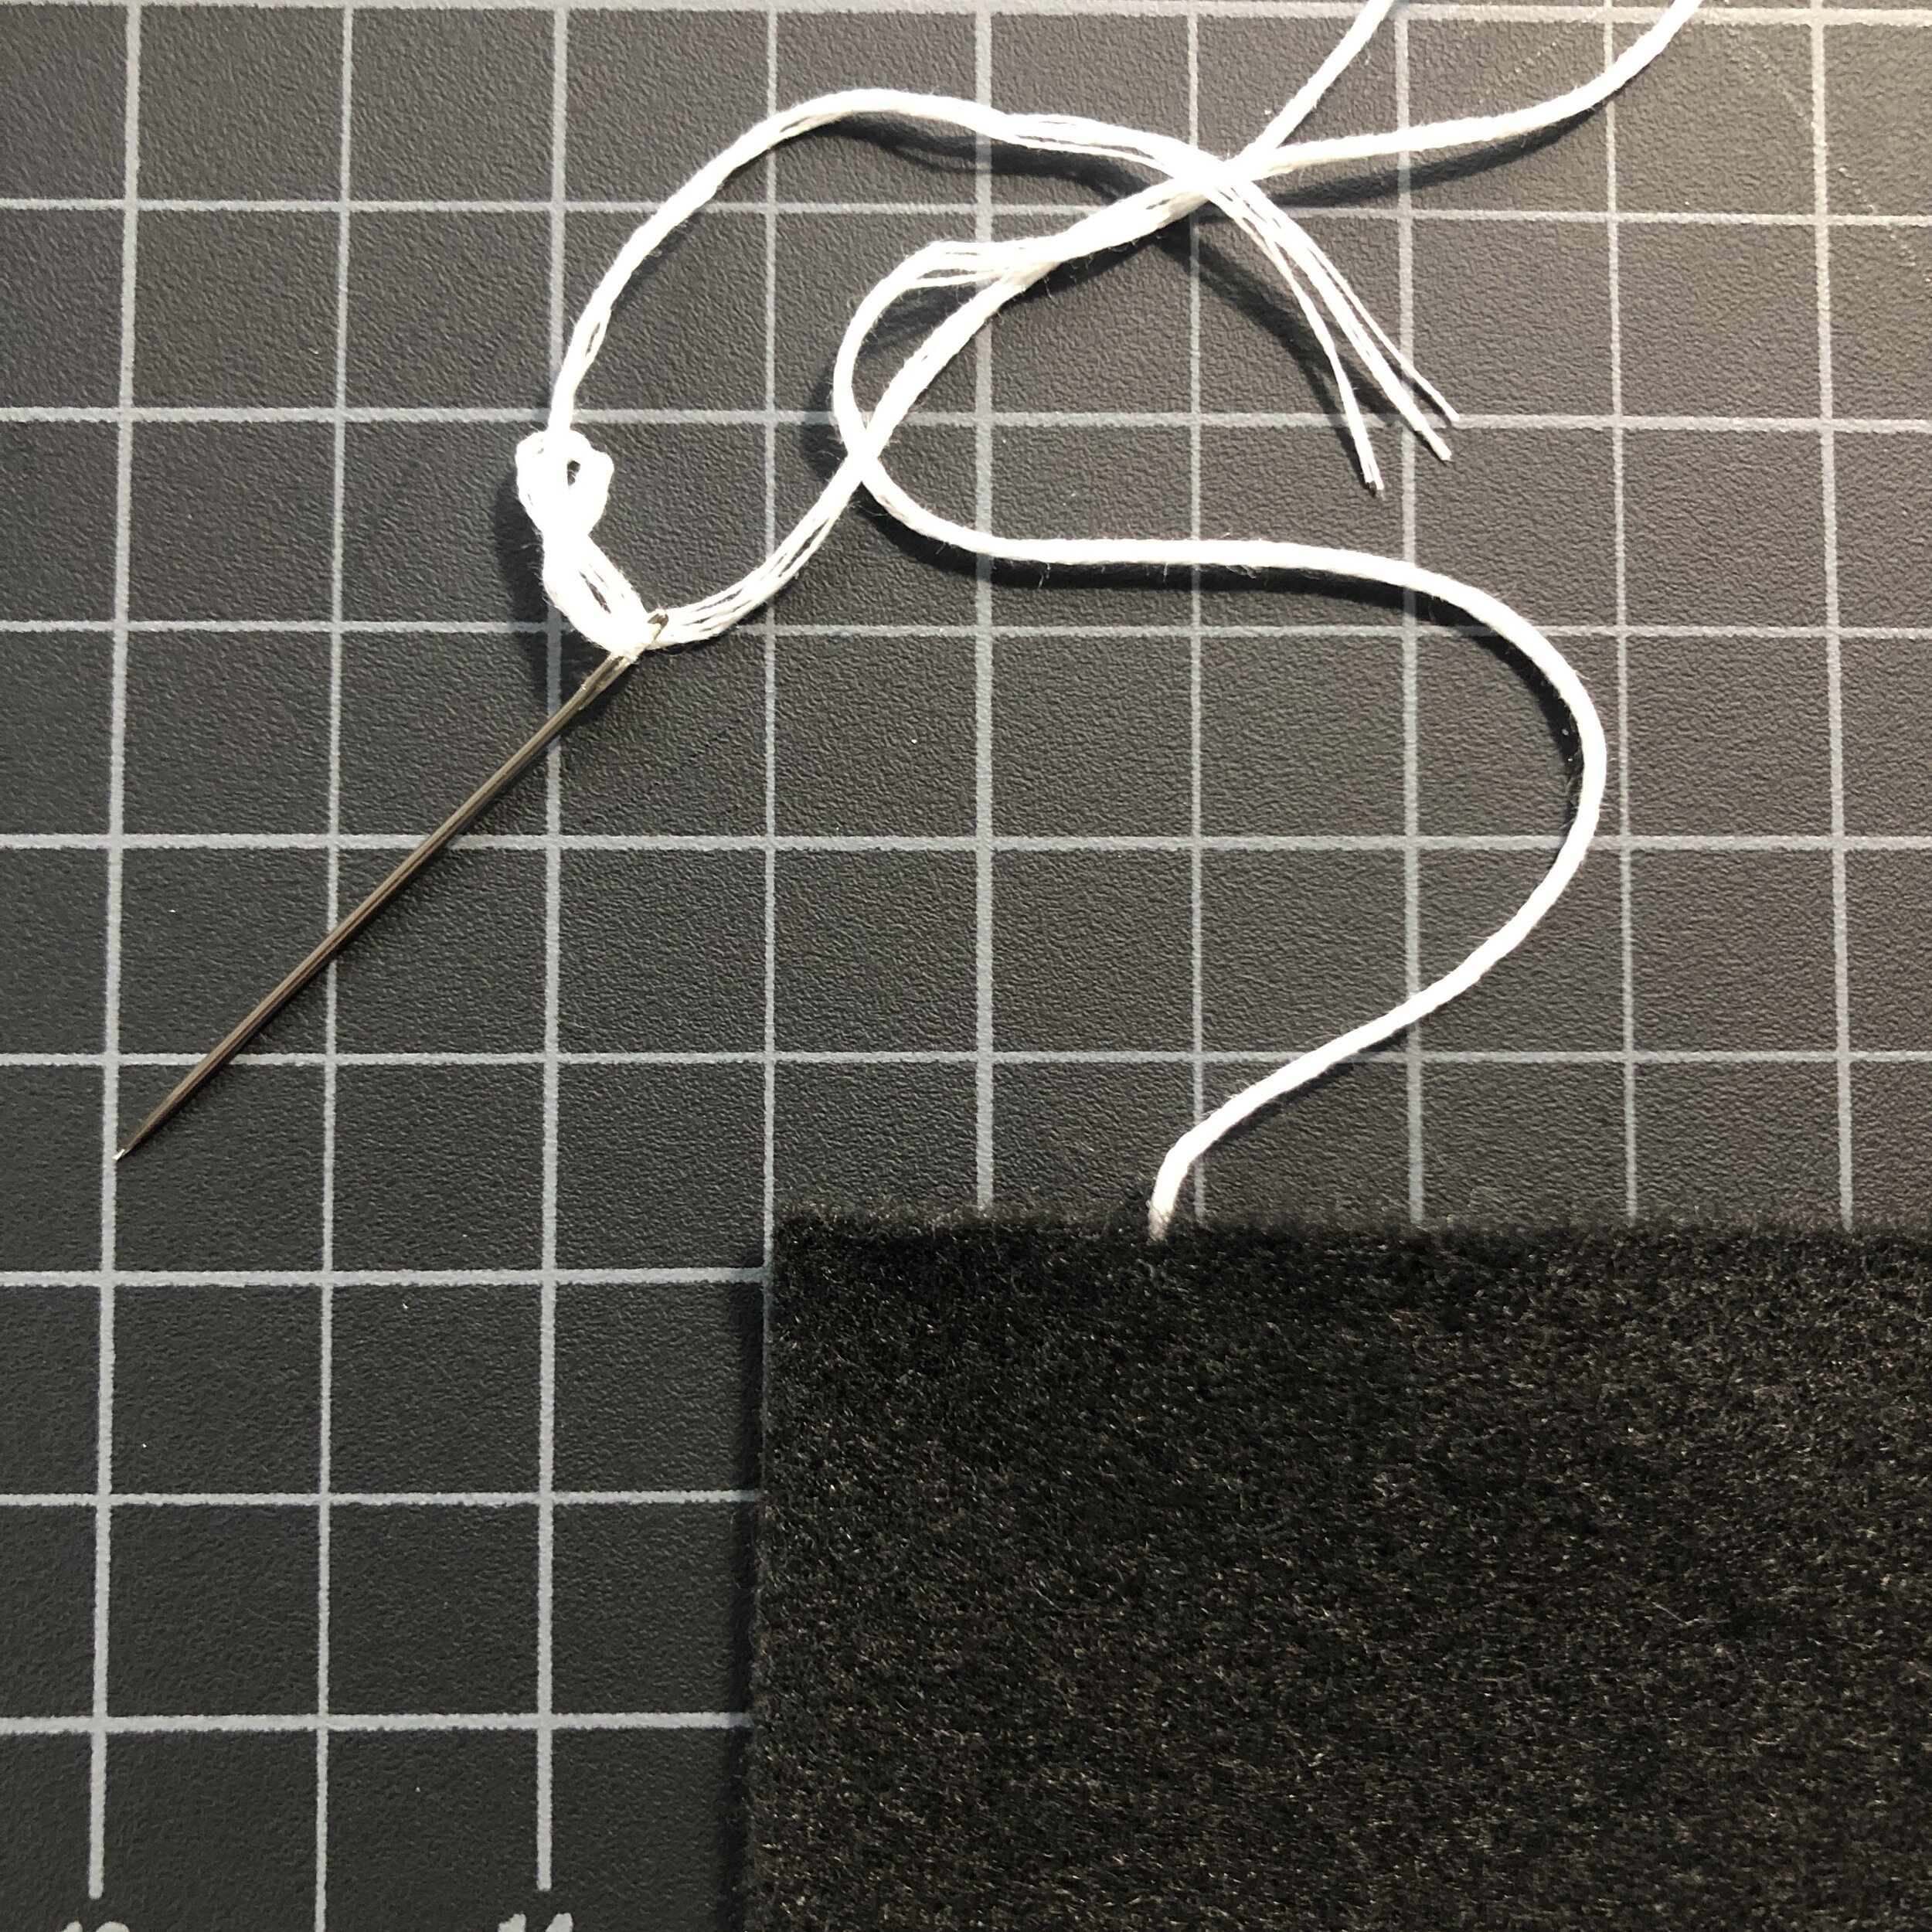
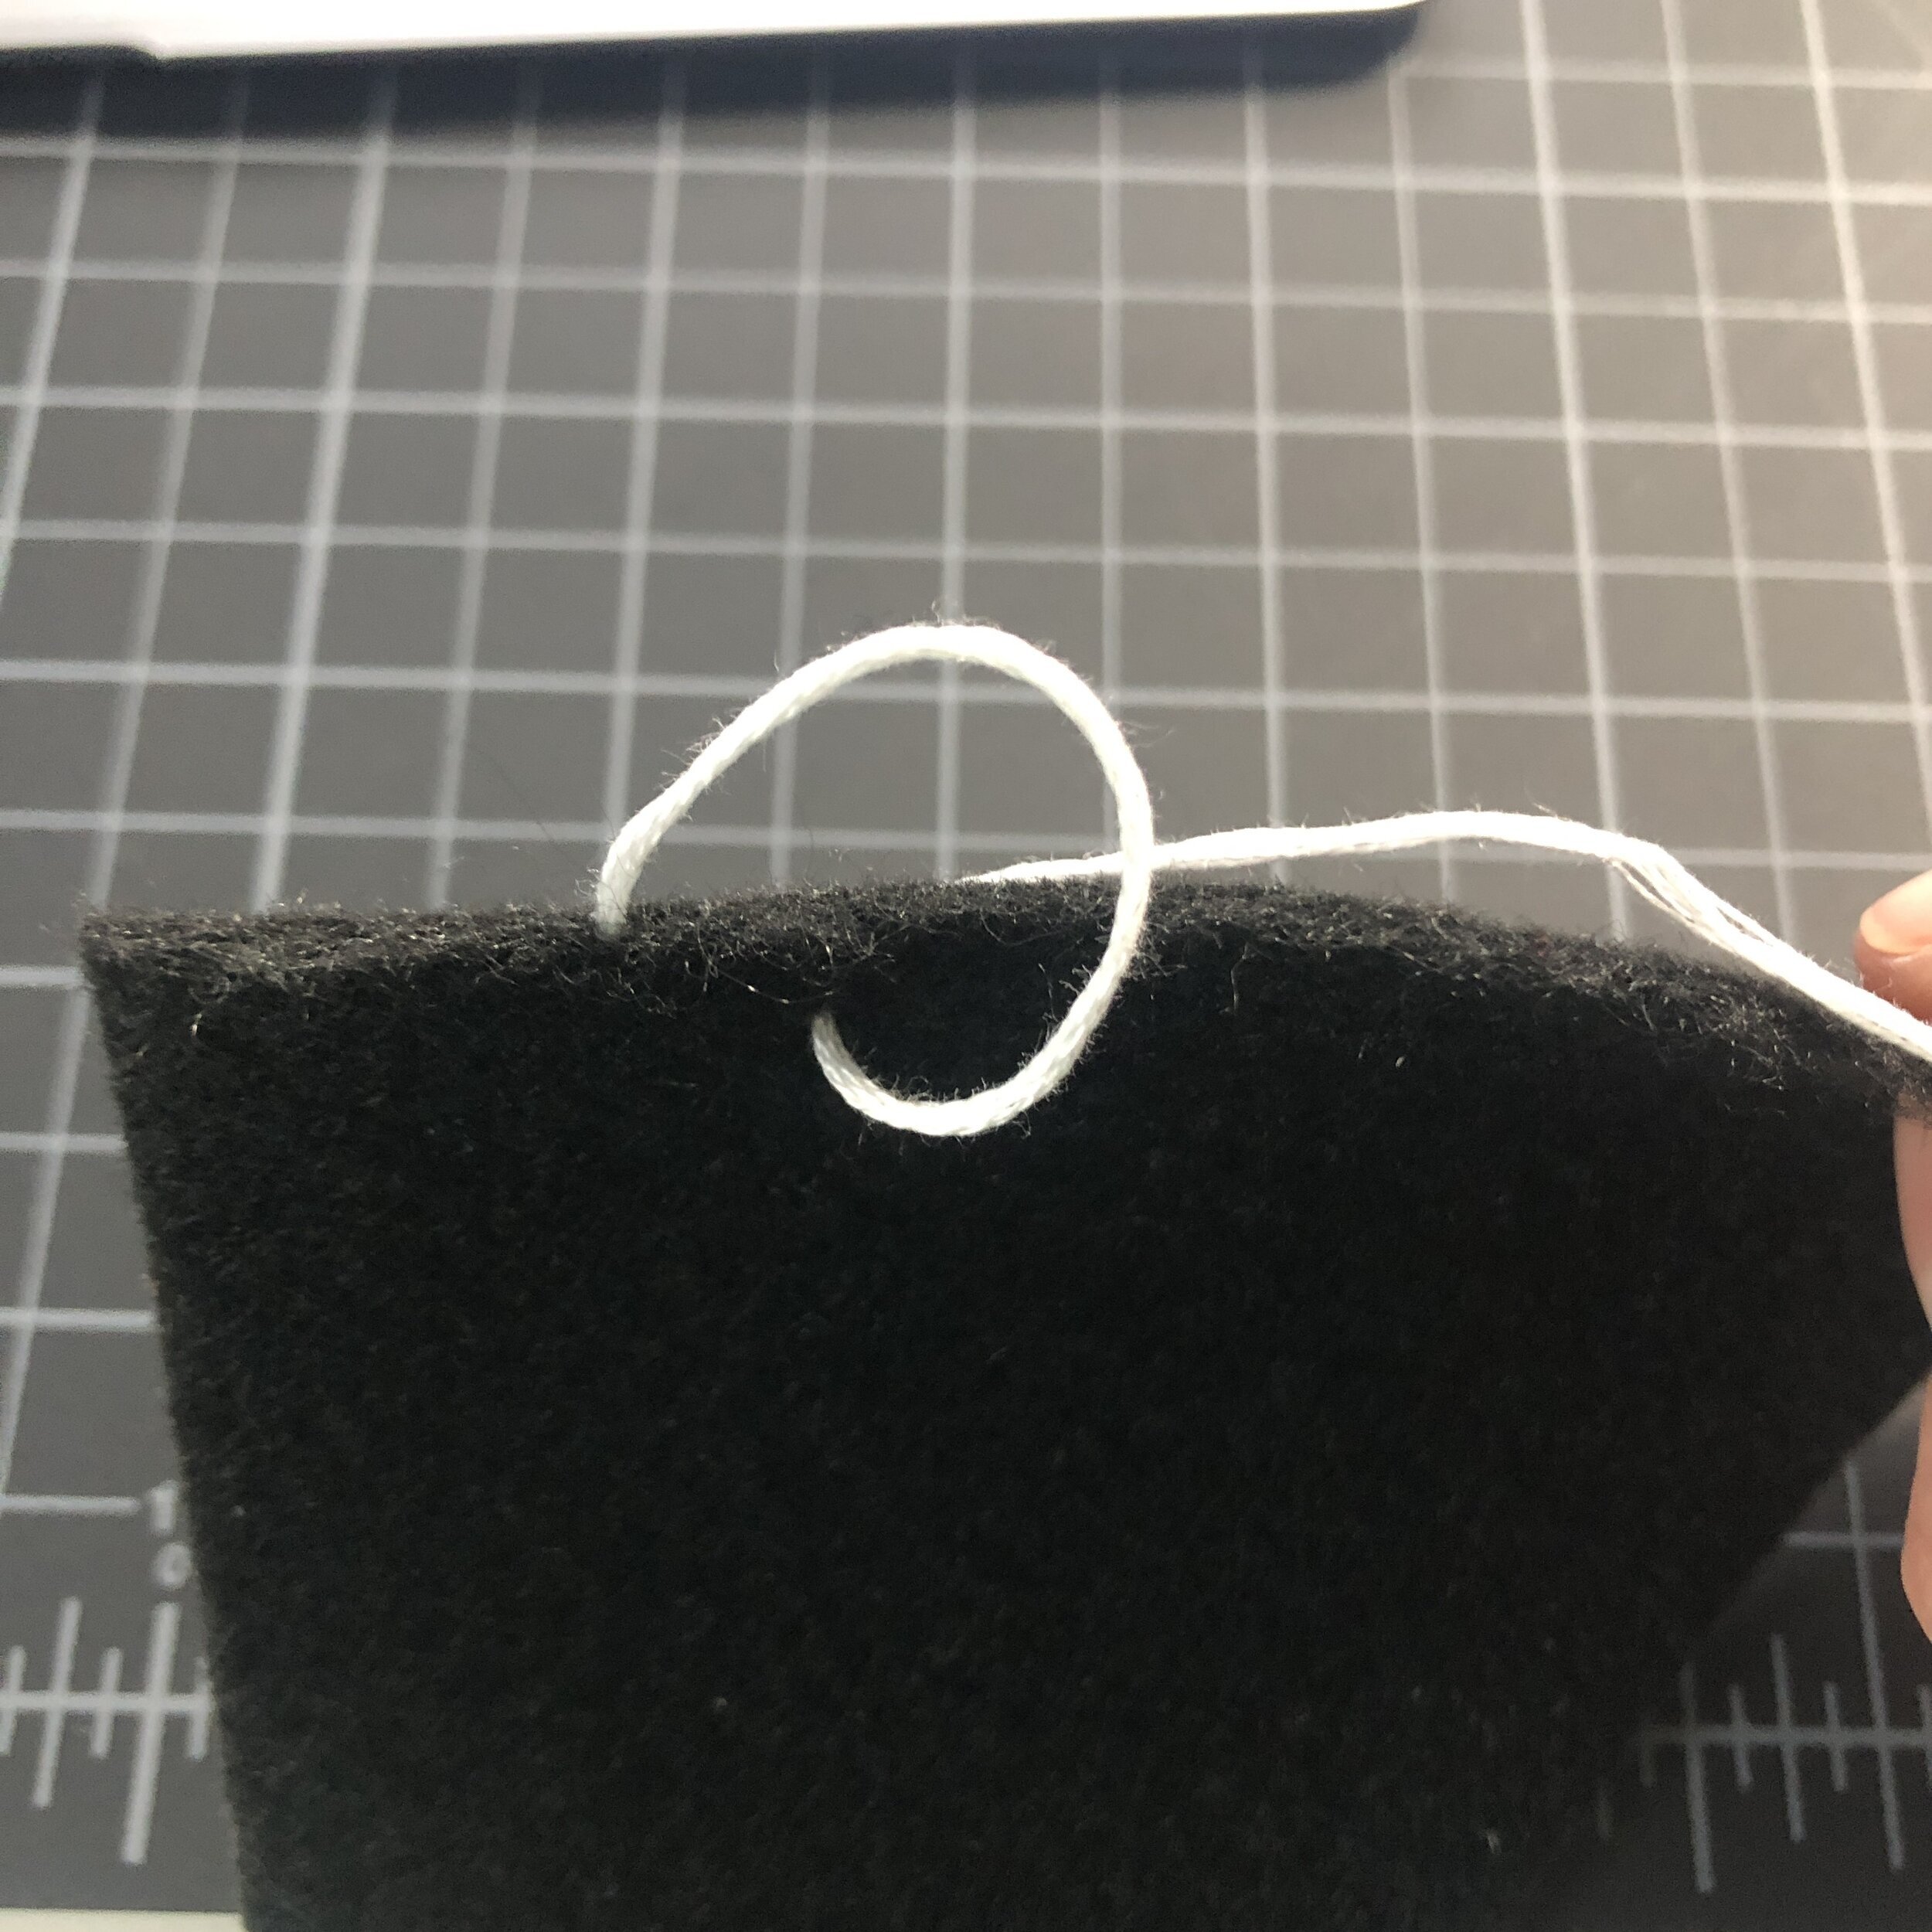
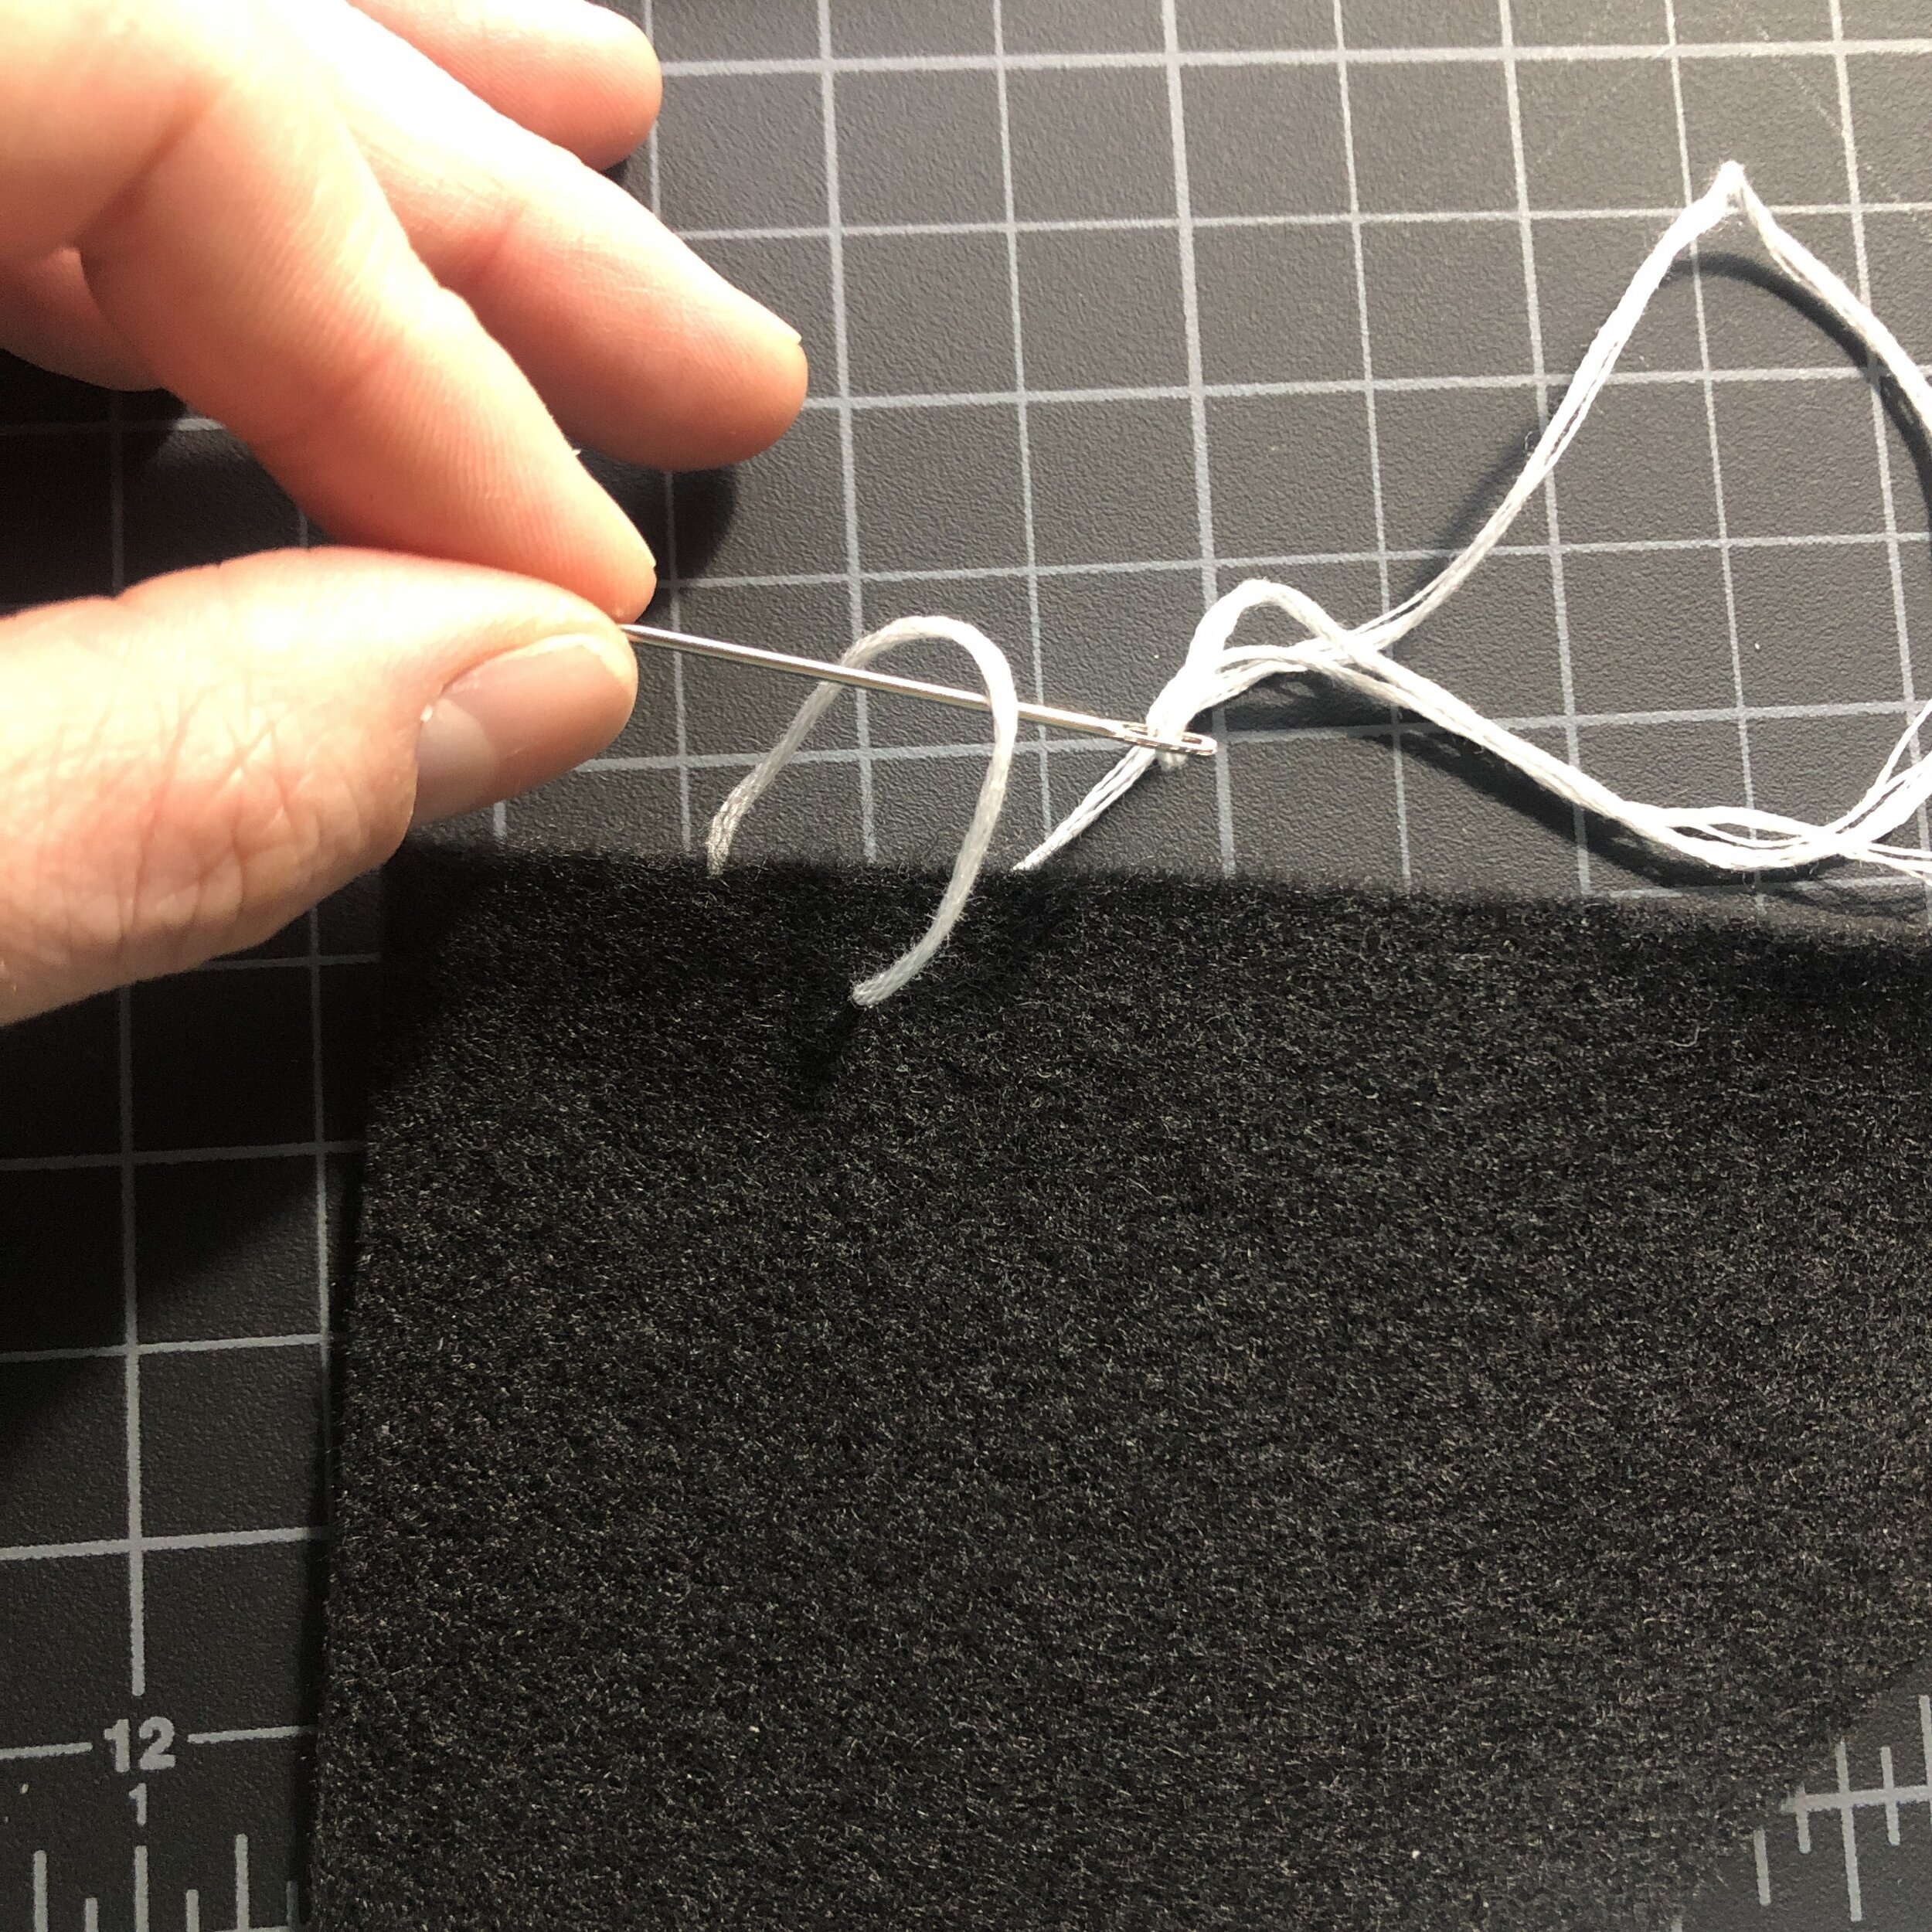
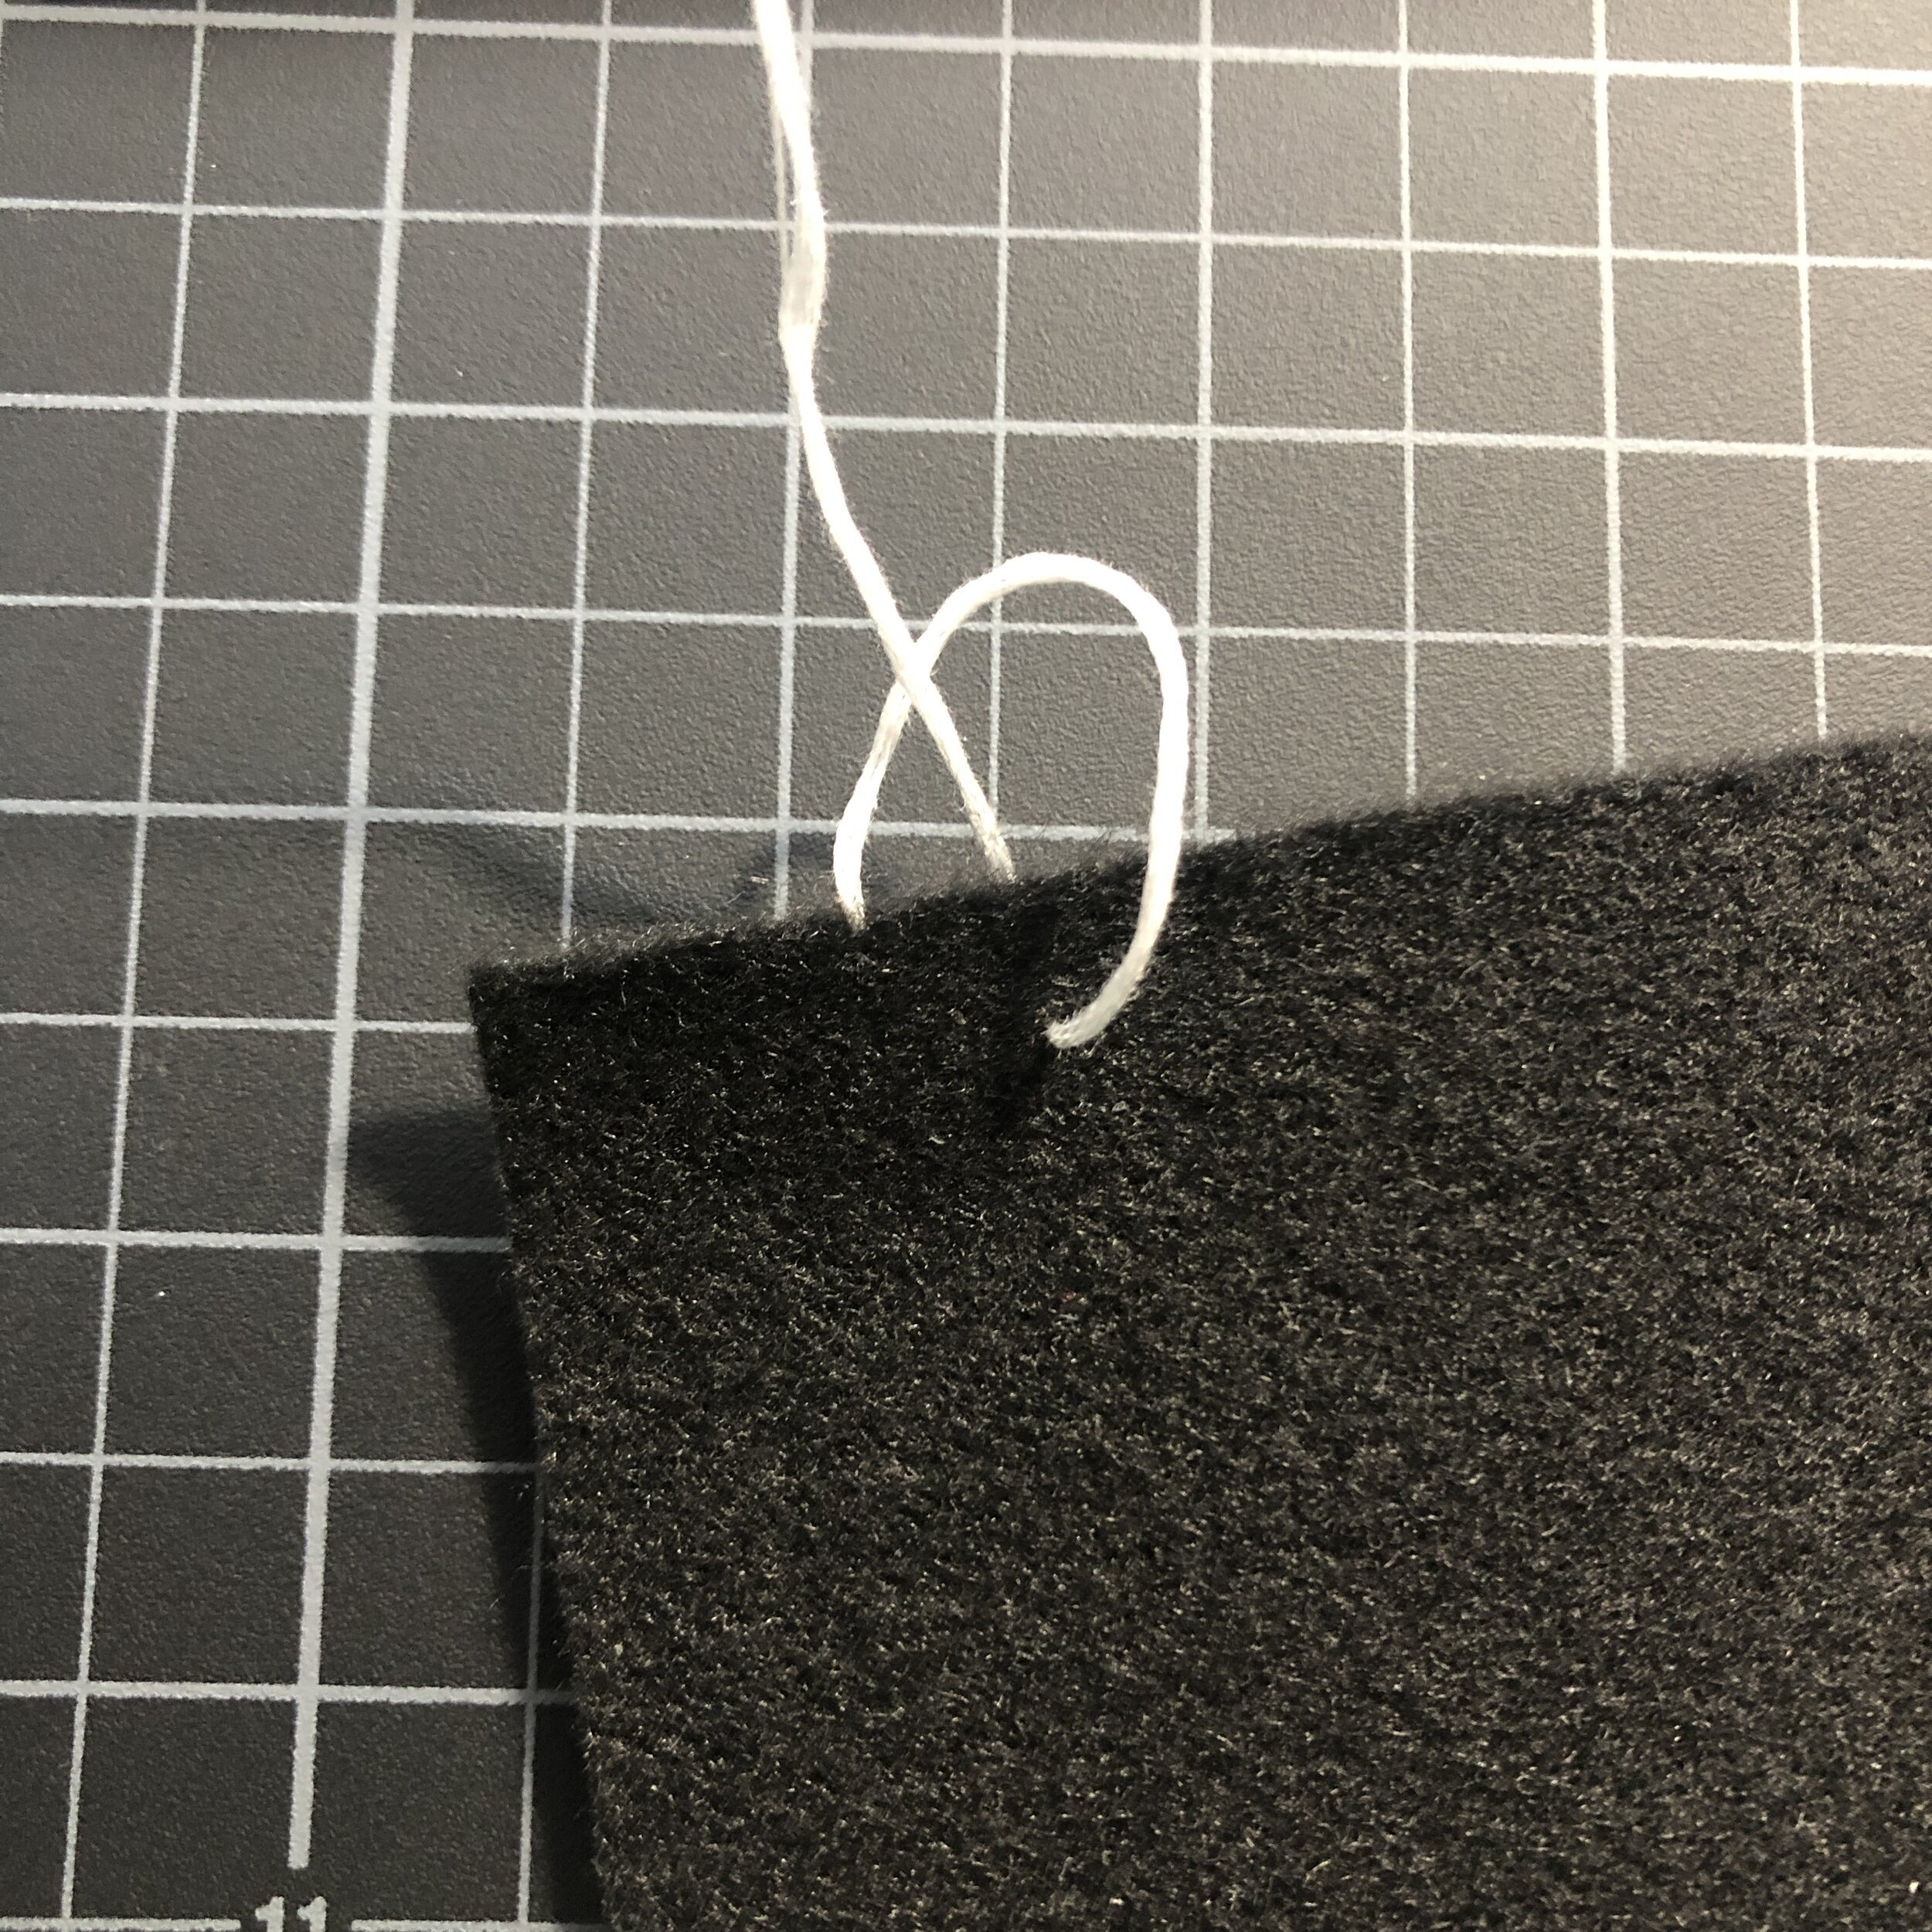
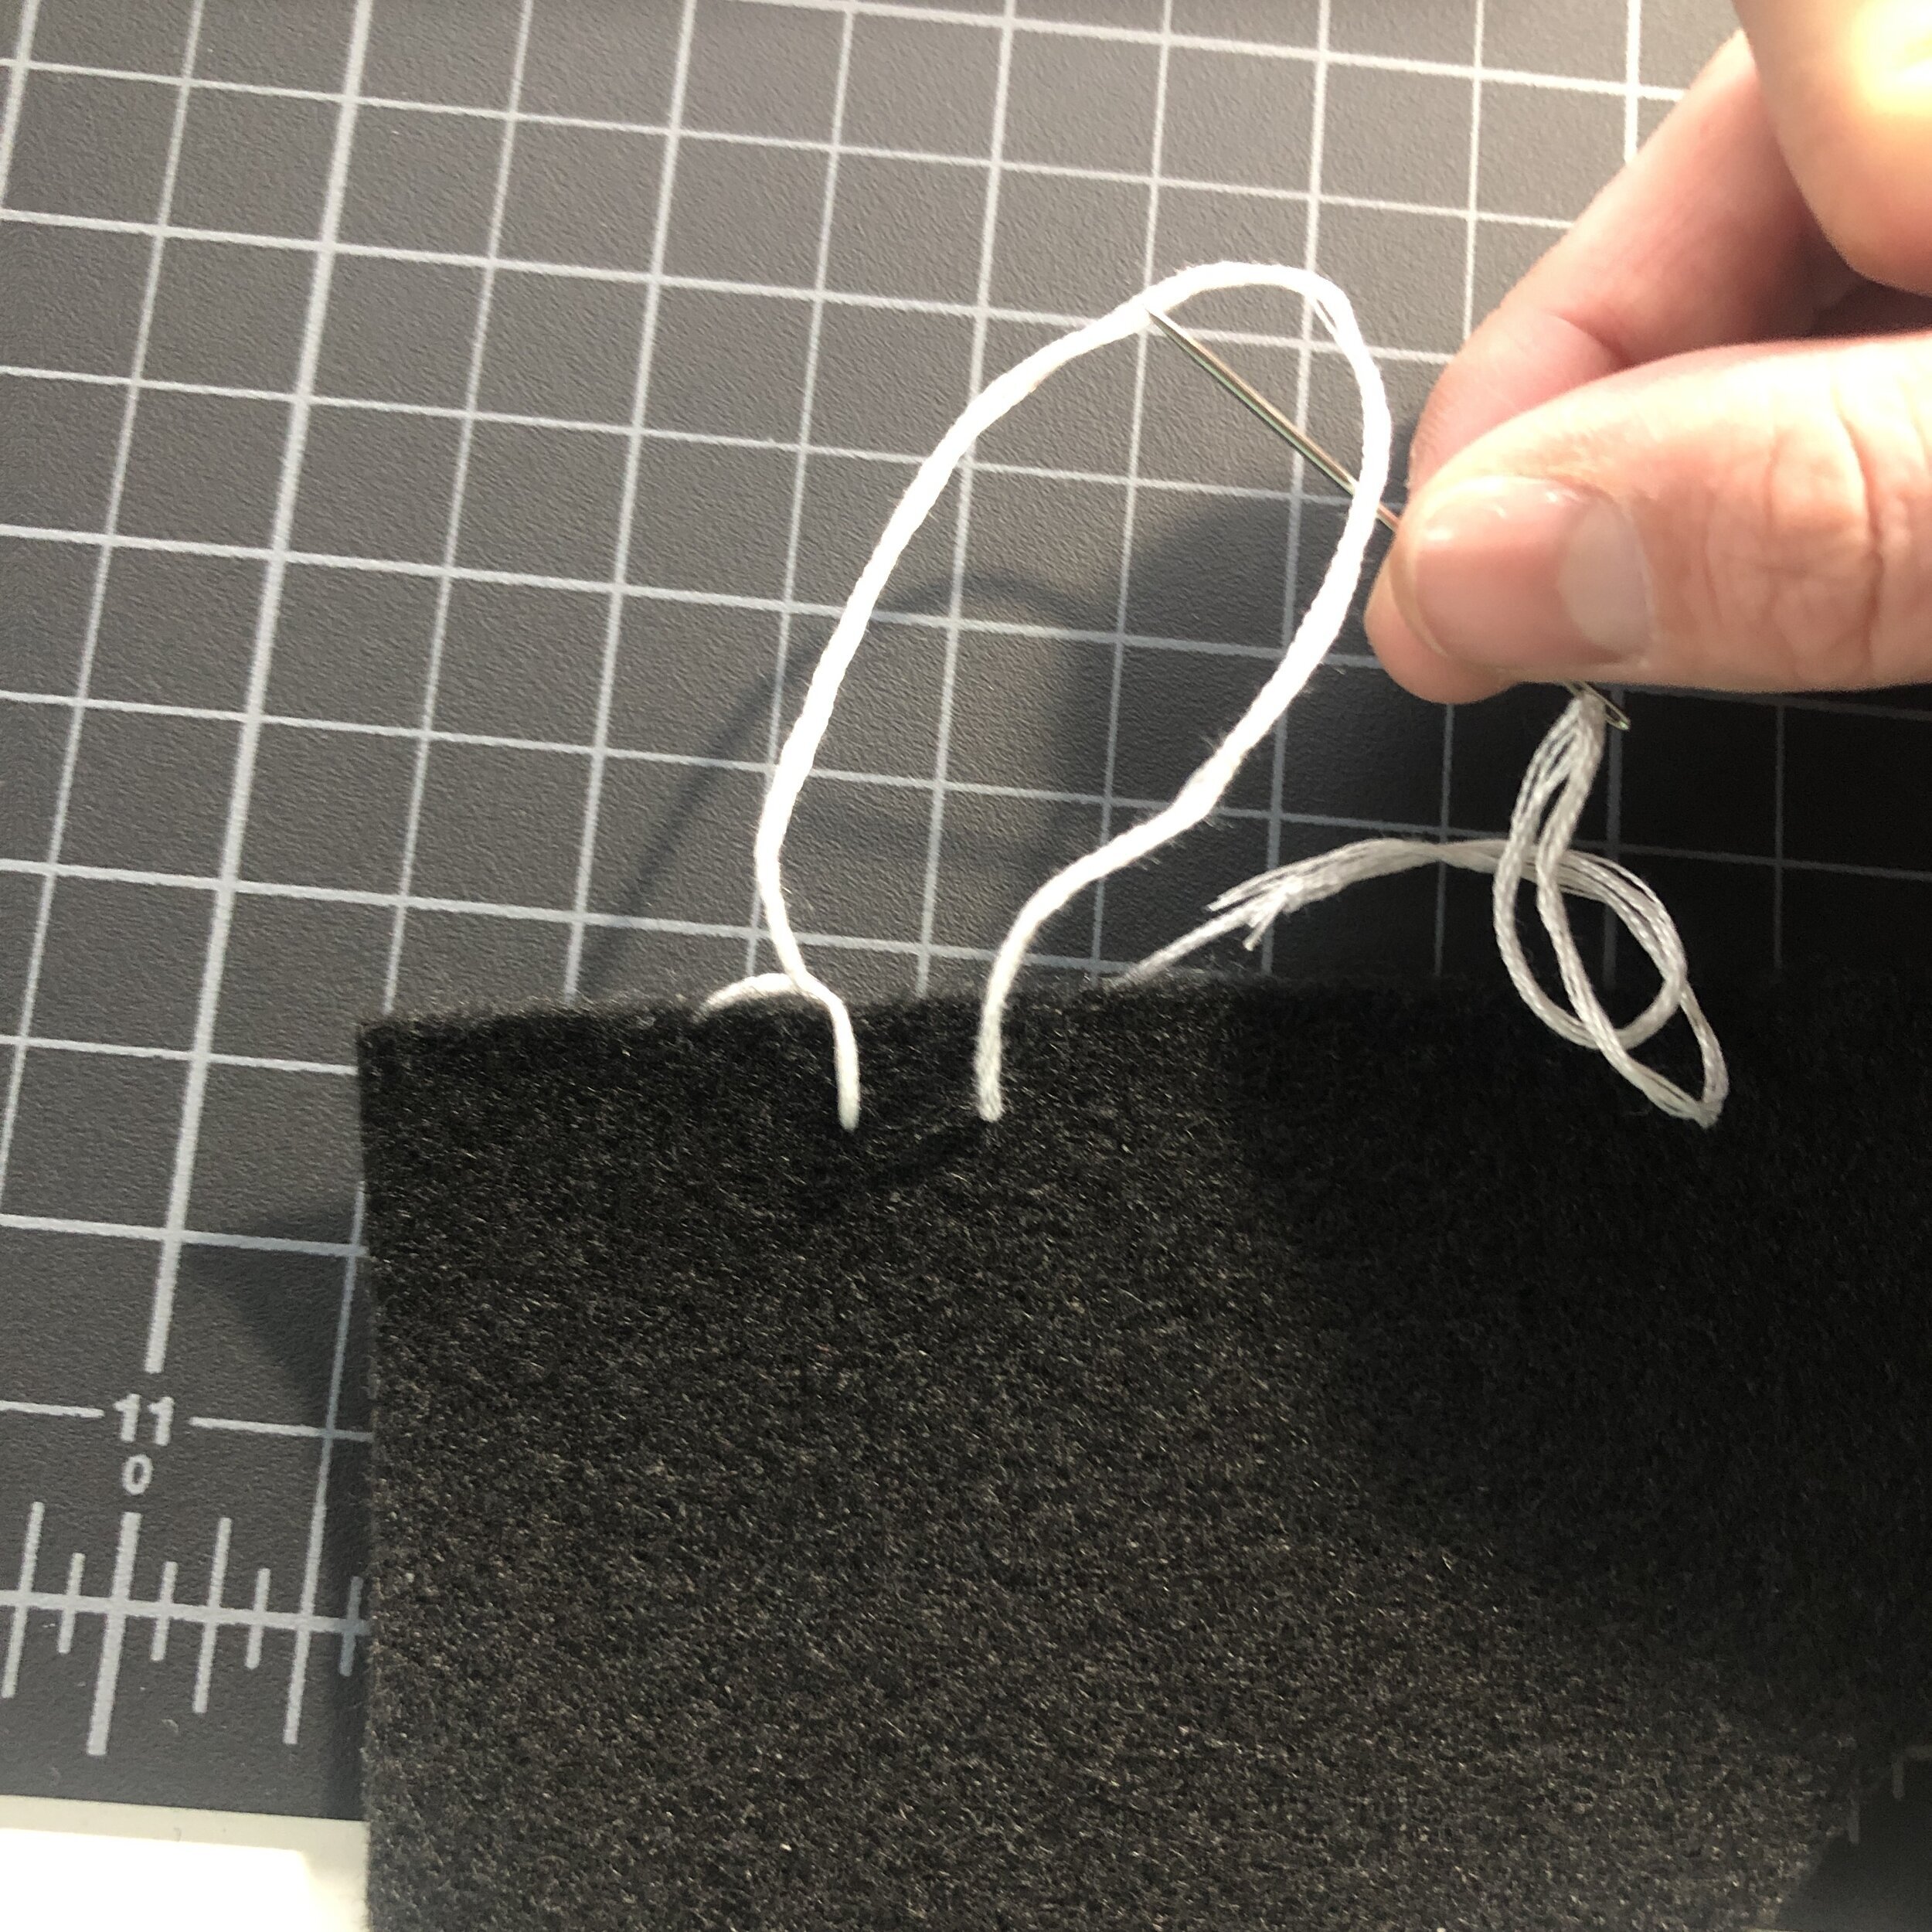
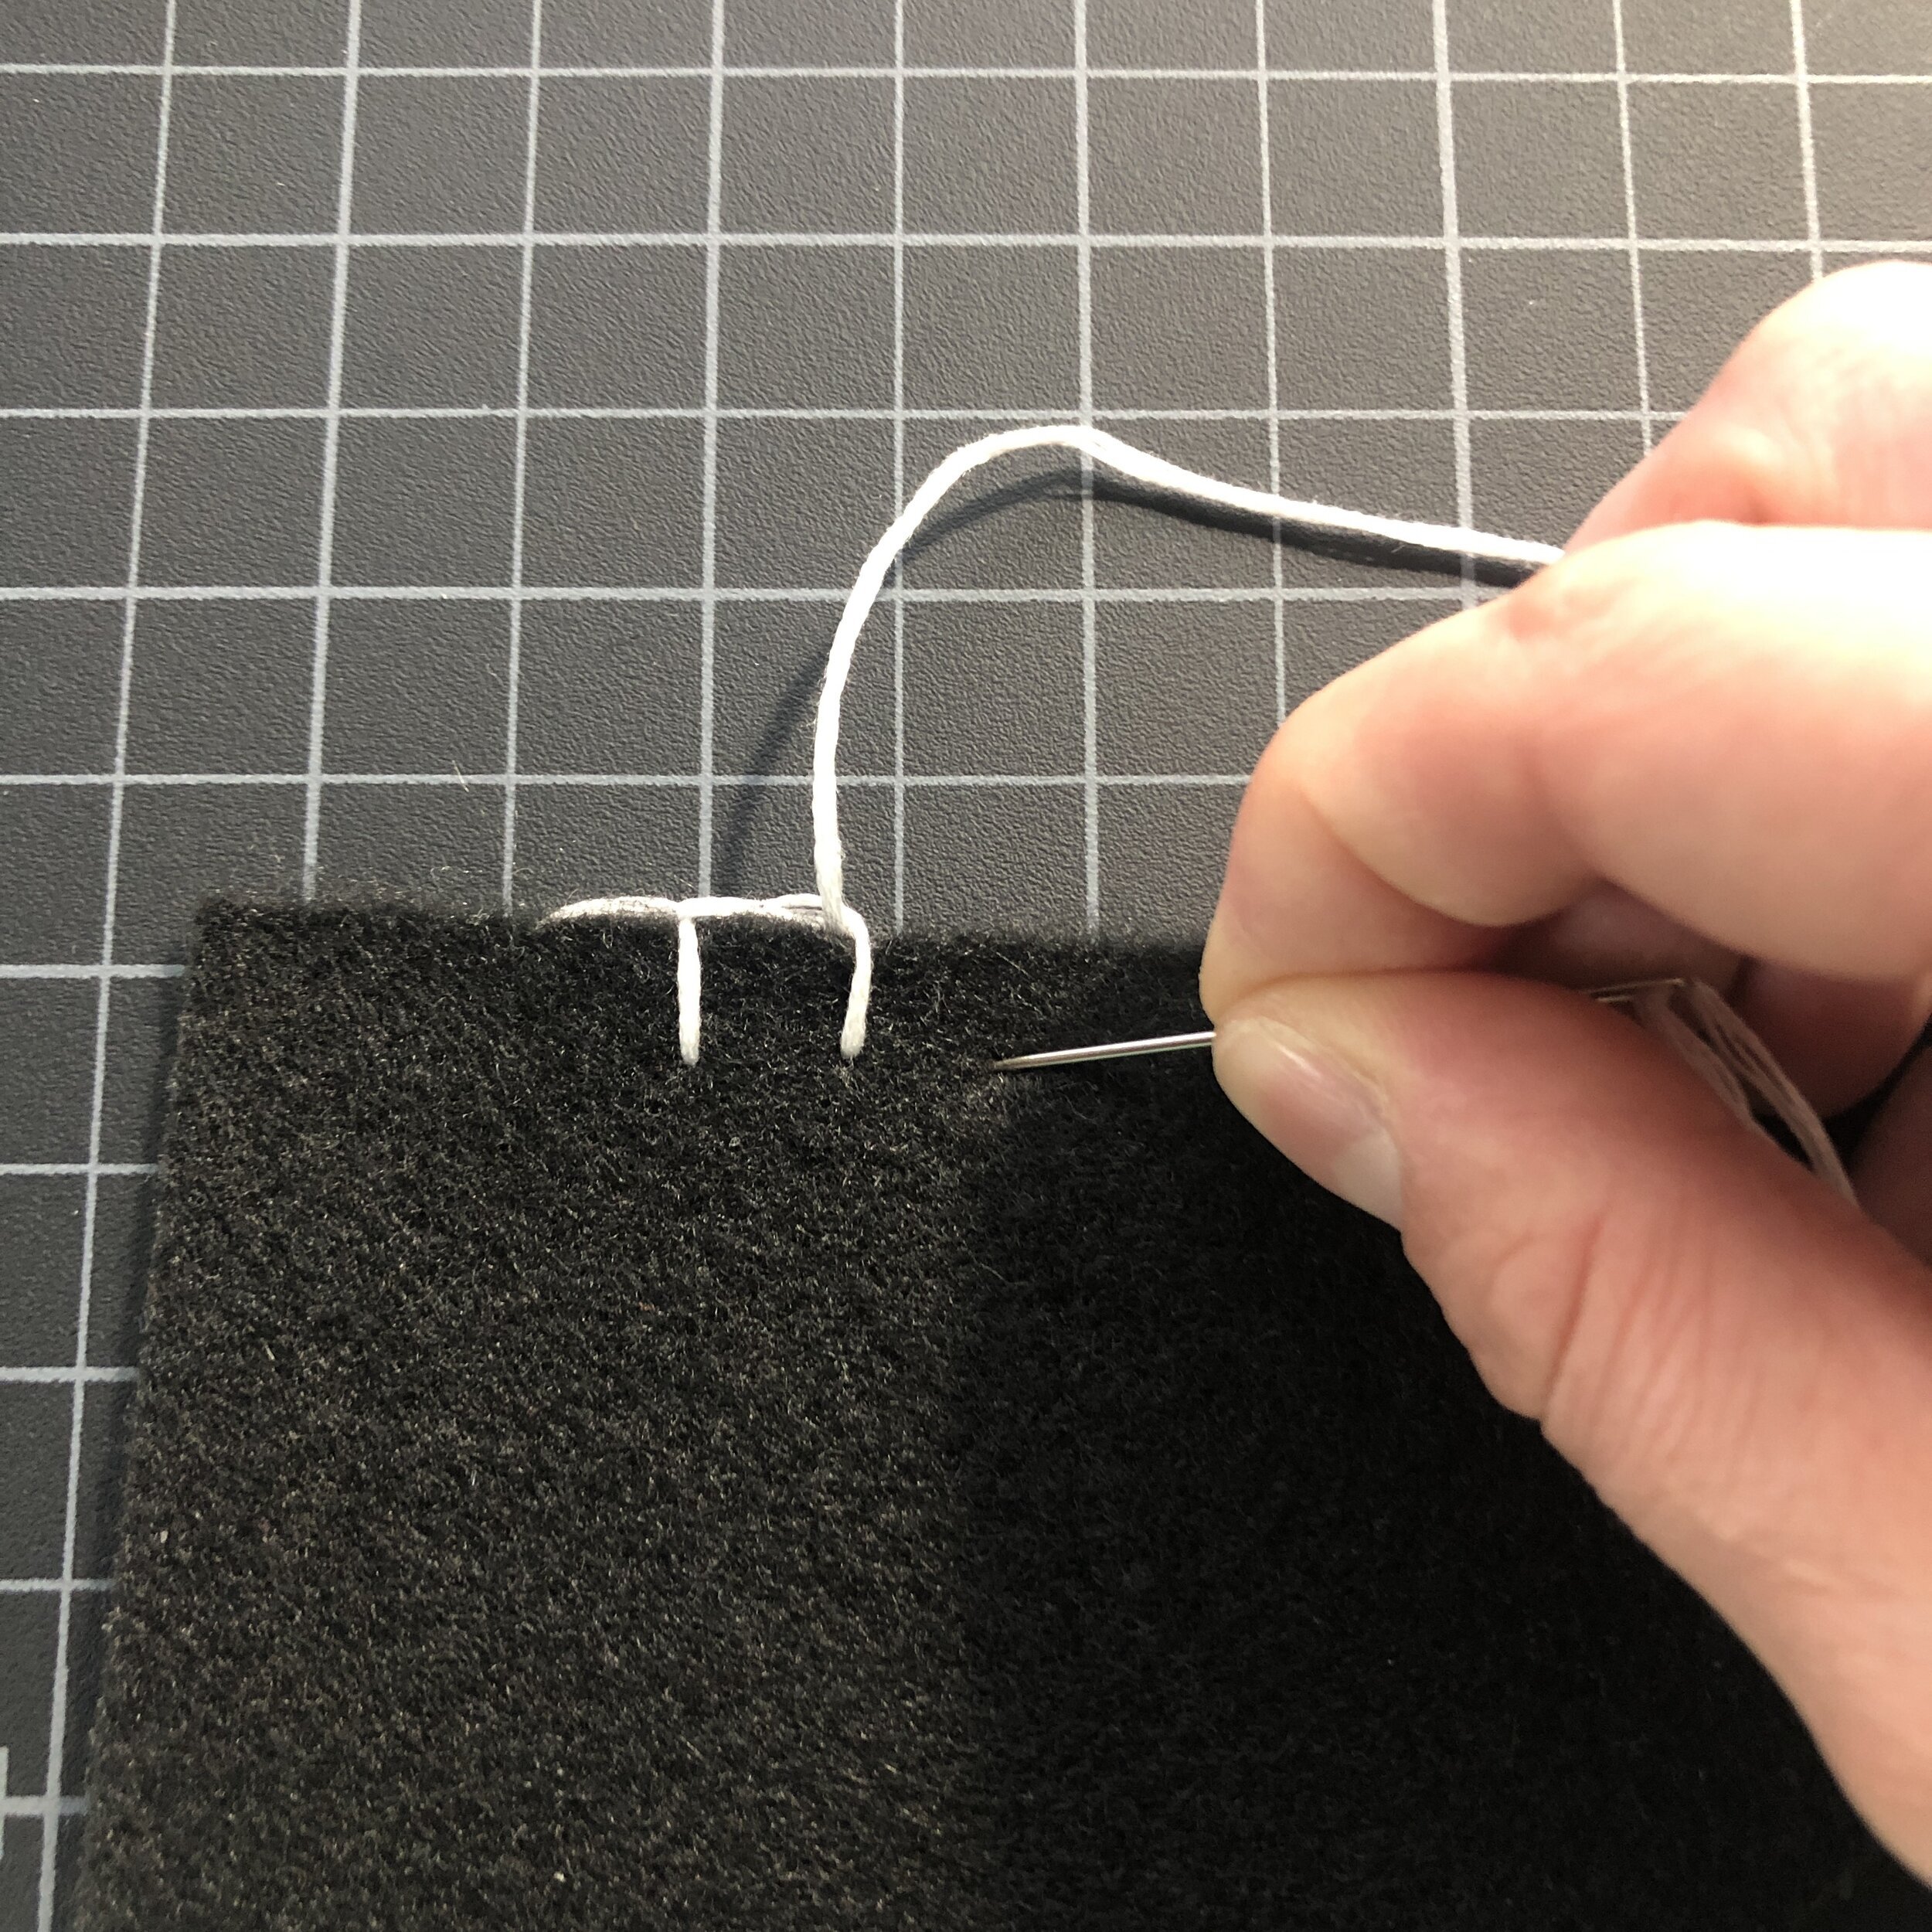
Then, put your needle from front-to-back at point 2, 45 degrees down and right from your original point. Don’t pull the loop taut; you’ll want to then pull your needle from back to front around the loop to secure it down (towards point 3).

You can do this from left-to-right or right-to-left, whichever is more comfortable for you.
This is a good video tutorial on how to do this; just adjust the instructions so you’re working with one layer of felt. If you find yourself needing more instruction than this, I can plan to create a video later.
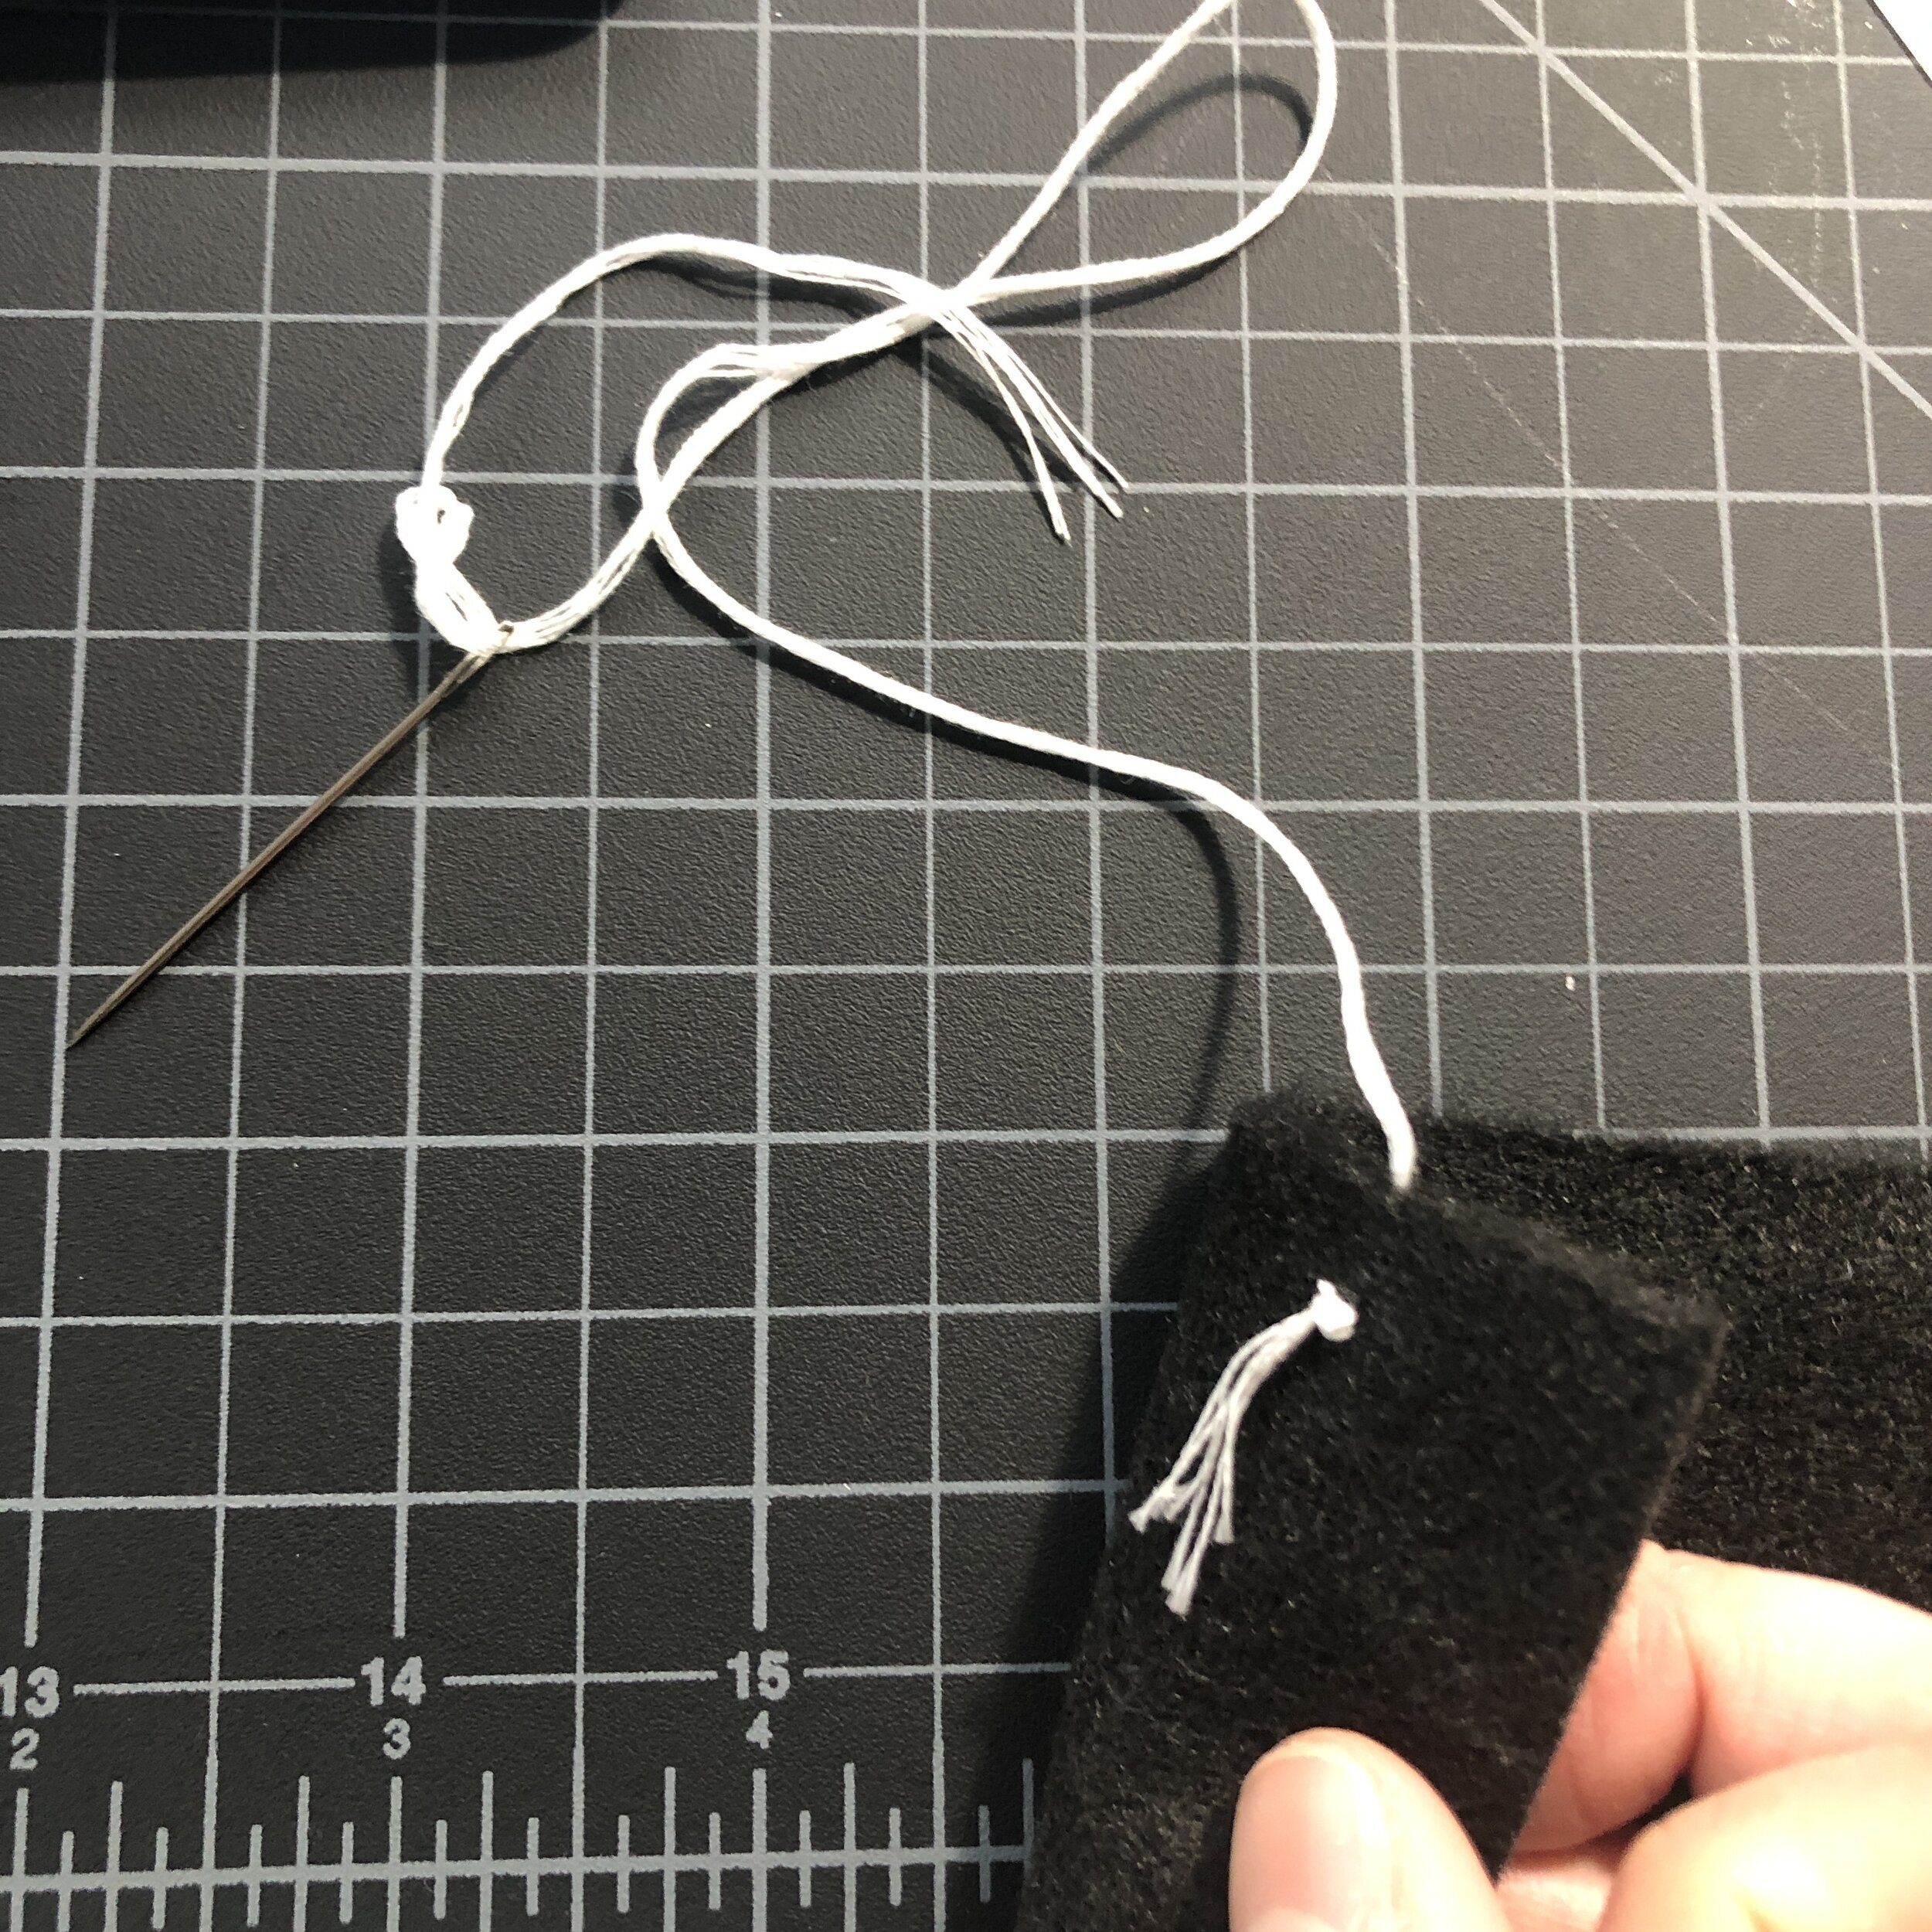
Continue blanket stitching the left, right, and bottom edges of your felt.
Step 4: Place and Pin Your Hand Lettering Onto Your Felt
Place your design onto your felt. Pin it down so it doesn’t shift around before you start to anchor it down with actual stitches.

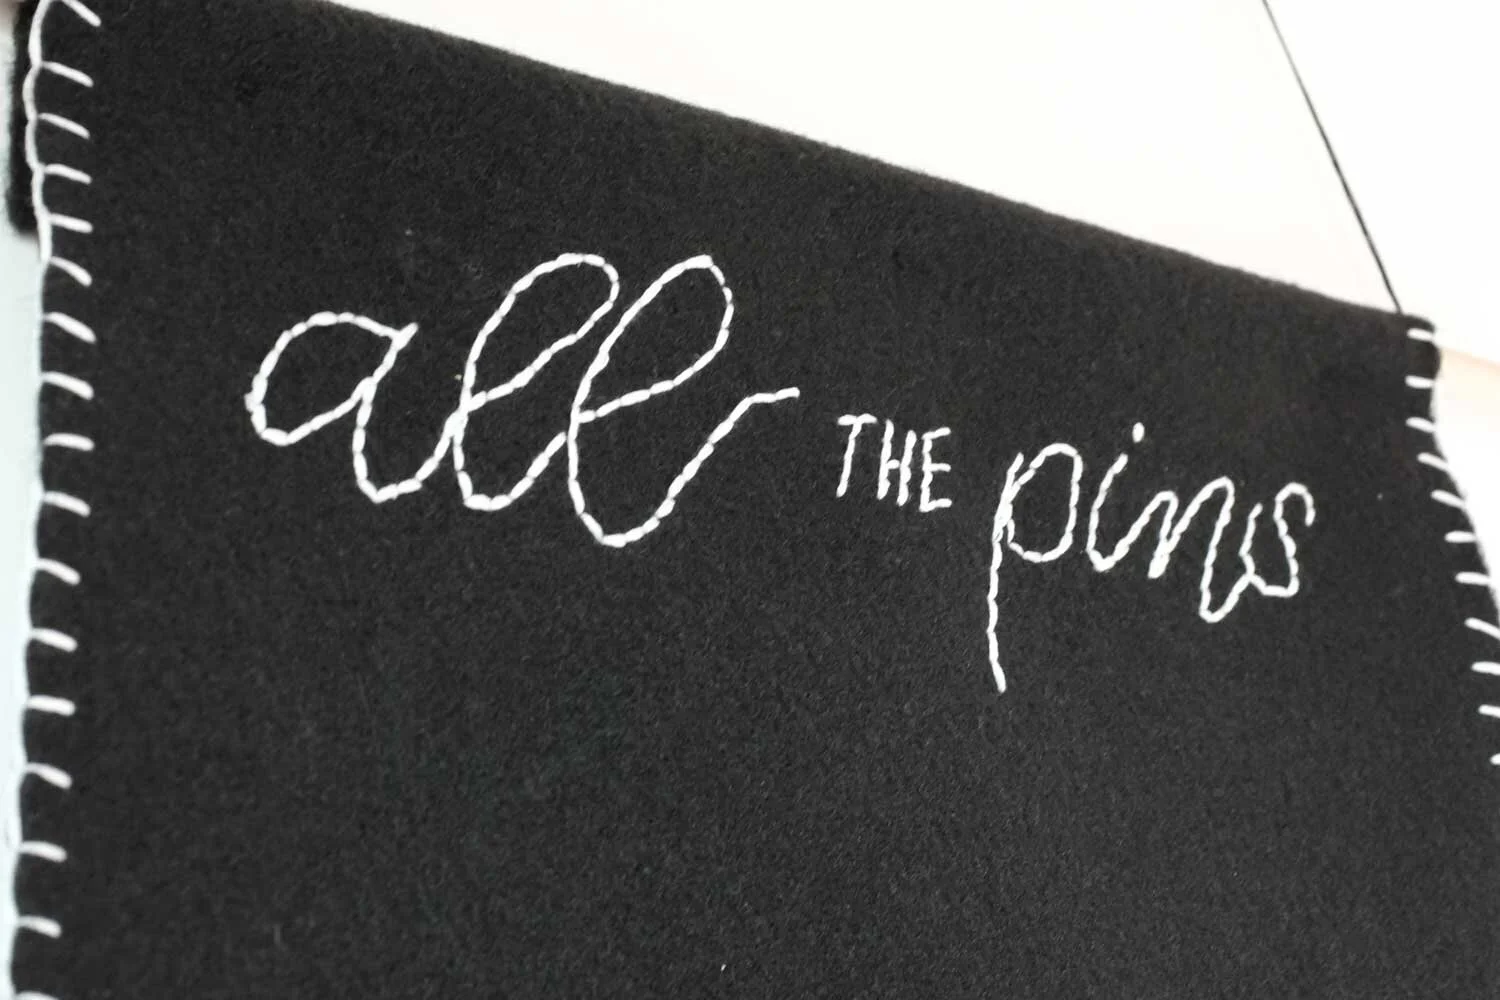
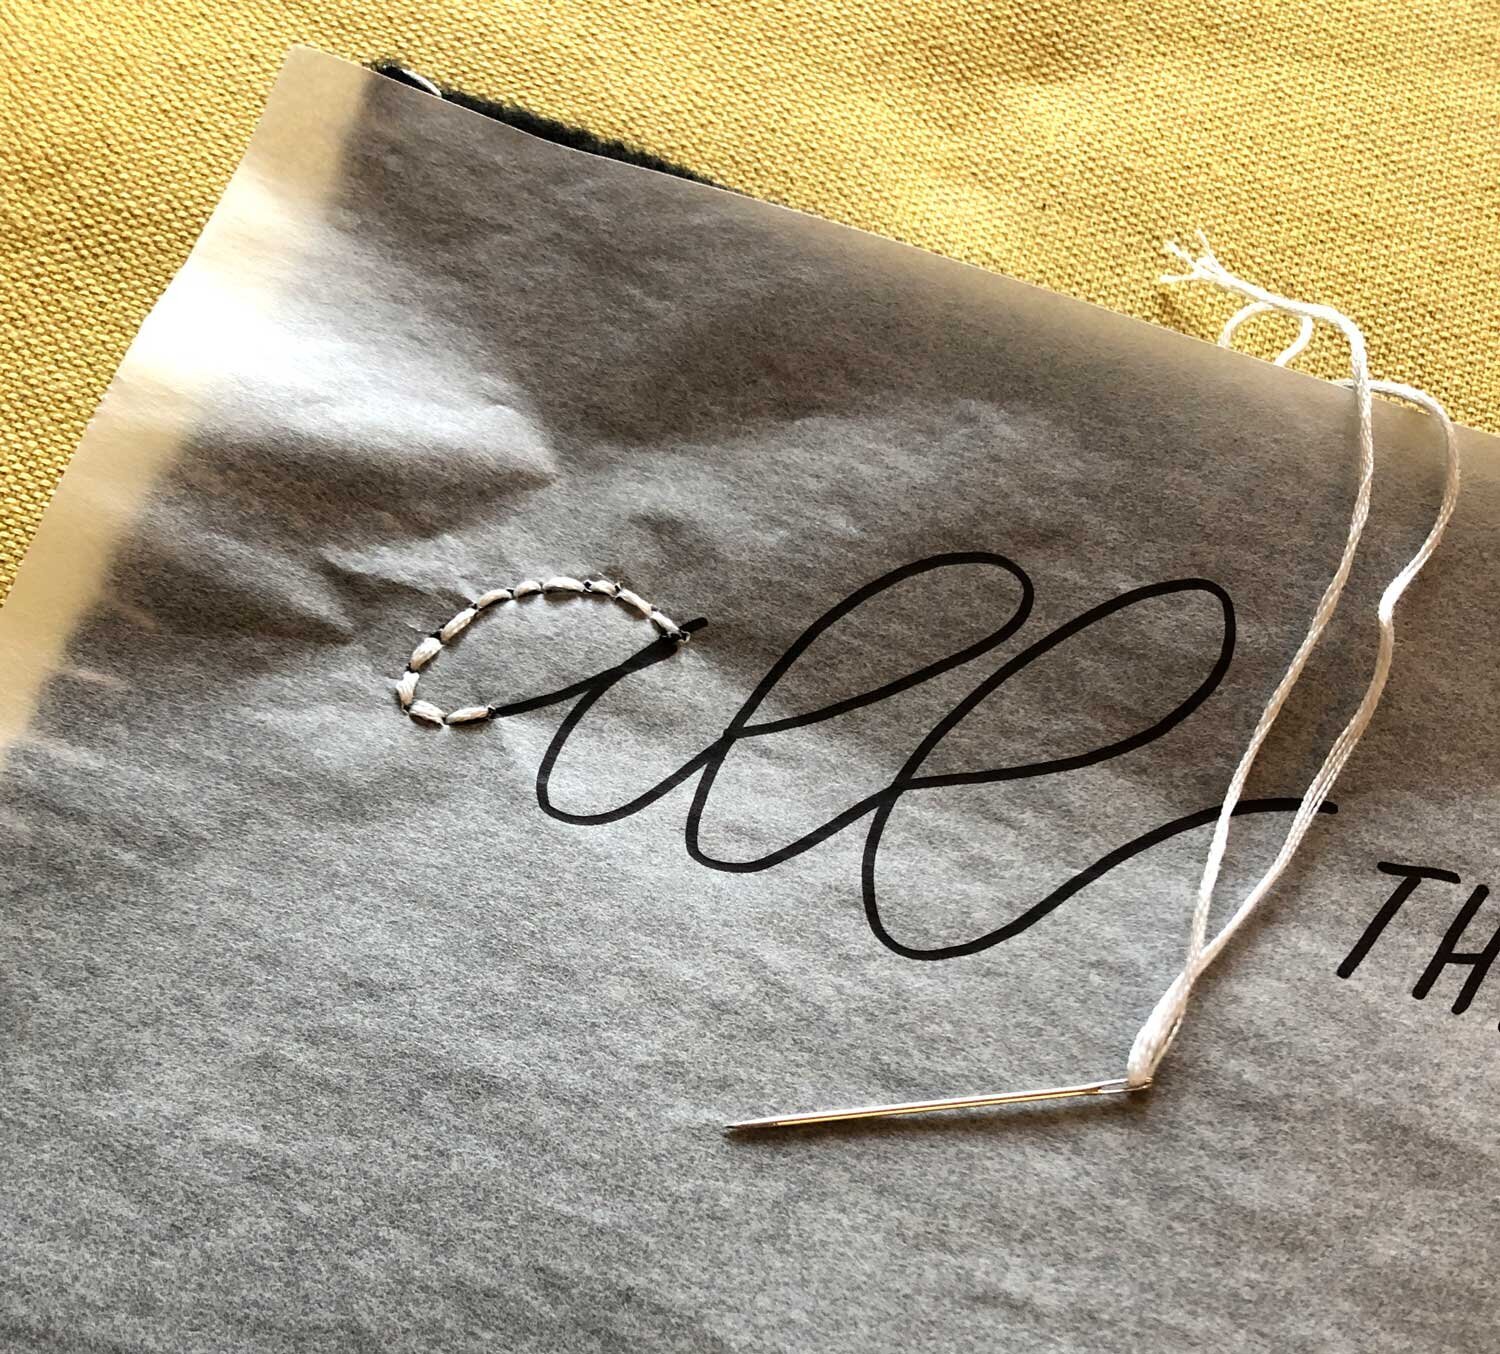
Step 5: Use an Embroidery Backstitch to Trace Your Hand Lettering
Using your 6-strand white embroidery floss, begin to trace your hand lettering using a regular backstitch. You’ll want to pay attention mostly to the placement of the stitches (as opposed to the design on the tracing paper) to ensure you get a smooth line for your letters.
Step 6: Gently Pull Away Your Tracing Paper and Fix Stitches
When you’re done, gently pull away your tracing paper. I recommend doing this from side to side instead of trying to rip the paper up directly from the fabric.
If your stitches get pulled from the removal process, you can go in and fix them from the back by pulling the threads back into place.

Step 7: Place the Dowel and Tack Down Your Flap
Next, gently place your dowel or stick behind your top flap and pin into place.

Tack the fabric together using a neat cross-stitch at the left, middle, and top just under the dowel. I chose to go with black floss so these stitches would disappear, but you can certainly do whatever your heart desires.

Step 8: Tie Your Hanging String and Mount Your Pins!
Cut two pieces of floss (I did about 42” long) and tie the ends to the dowel. Hang your pennant, and add your pins!
Try this out and let me know if you do it! Even better—share pics with me. I’d love to see what you come up with!