How I'm Saving $756 Per Year With a DIY Sugar Wax
Natural beauty recipes always get me really jazzed. When I came across a DIY sugar wax recipe (again), I knew I had to make some moves. The thought of being able to make your own personal care products at home is really exciting, because it means:
you'll probably be using natural ingredients since they usually call for things you already have in your kitchen
you will save TONS of money
you will be creating less waste because you can store your DIY natural concoctions in containers you already have, and
you will have fun, because it's like science.
Oh Hello Sweet Savings
Recently (hello two days ago) I started a no spend month. So on Wednesday, I decided I wouldn't spend money on anything besides food and necessities. Then on Thursday I realized I had a routine wax scheduled.
I went back and forth, trying to reason with myself. I already had this scheduled, so does this pass my rules of my no-spend challenge?—and—I mean, it's kind of a routine thing; don't I *need* to take care of myself?—and—Yeah but it's expensive as ducks.
A… um… personal wax costs $53 a month. Add a $10 tip. That's $63 a month, or $756 per year. That's an insane amount of money! But let's face it, as crunchy as I am, I do not like to be wild and wooly. Just personal preference.
Enter Sugar Waxing

I've heard of sugar waxing before. Heck, I've even tried it within the past few years.
For whatever reason, the last time I tried sugar waxing, it was a huge mess. And it didn't work. And I'm pretty sure I burned myself a few times. And bruised myself.
But hooray for stubbornness or whatever you want to call it. Full steam ahead.
I re-googled sugar waxing and found a recipe that works for me.
And—spoiler alert—it worked really well. And I'm never going back to my Wax Center of European Decent.
The Sugar Wax Recipe
Okay okay, thanks for hanging in there. I know, I always give too much back story. Here's the recipe and instructions.
Ingredients
1 cup sugar, white or brown (I used white)
2 tablespoons water
1.5 tablespoons lemon juice
1 teaspoon salt (optional, but I used it)
Preparation Instructions
Combine all of your ingredients in a pan. Stir that shit up. Simmer it over low-to-medium heat (low is better so you have a lesser chance of burning your mixture).

Stir stir. Watch the sugar crystals liquify (did I mention science?).
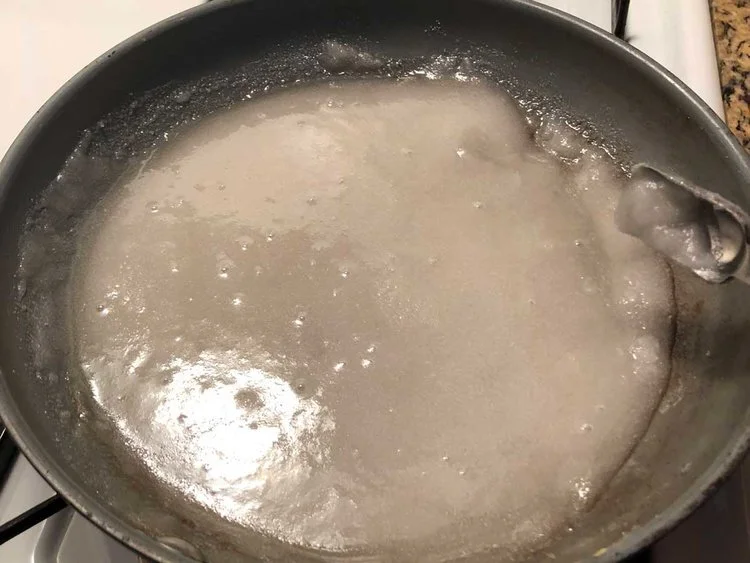
Stir stir. Stuff will start to bubble a little.
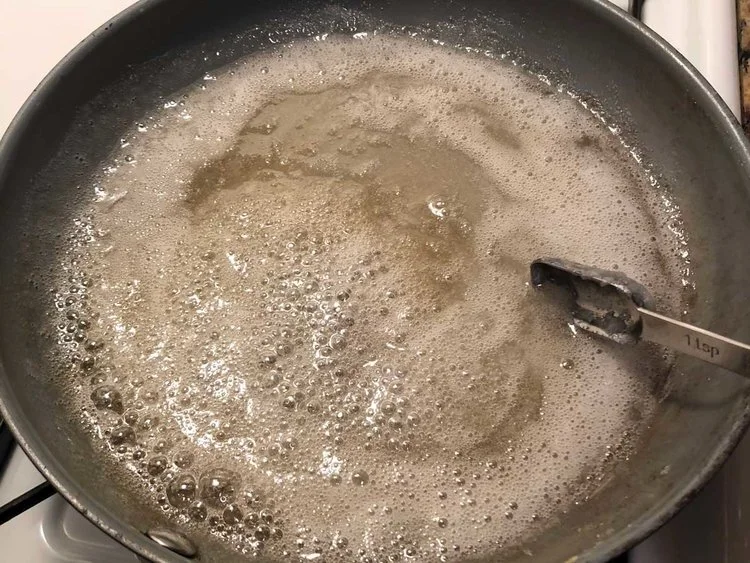
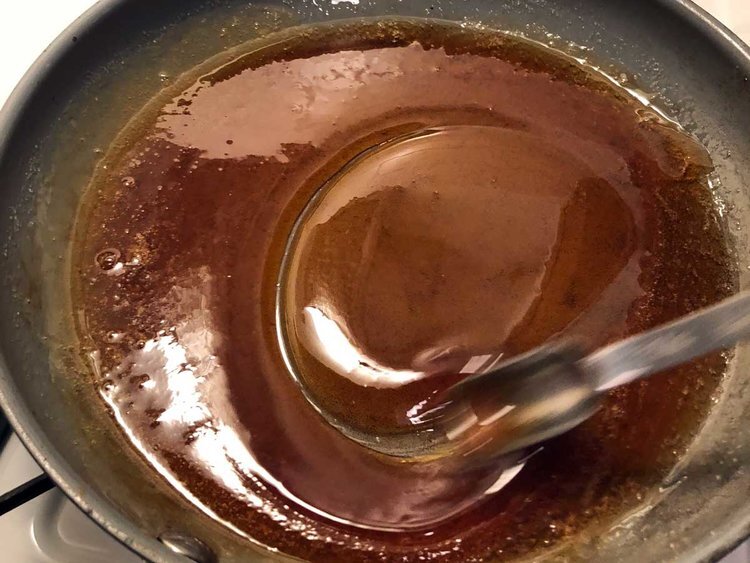
Stir some more. Your mixture will start to go from white to amber to golden brown. All of this transformation takes about 8 minutes.

Once it turns golden brown, turn the heat off and let it cool. The mixture will start to thicken.
LET. IT. COOL. MORE.This shit is hot. And it's sugar, and sugar burns suck. You want it to cool to the point where the consistency is… well… like liquid wax.
Somewhere in the cooling process I throw my mixture into a mug for portability (because I'm gonna go wax myself in the bathroom; I'm not going to drop trou in the kitchen…).

sugar-wax-06.jpg
Sugar Waxing Instructions
This is where the step-by-step pictures stop, because that's just weird. You can find (G-rated) videos of sugar waxing on YouTube.
Your mixture should be cool enough to where you can touch it, but warm enough to where it will spread on your skin smoothly.
Test it with your fingers first. (By the way, you can EAT this stuff. The household consensus is that it tastes like a Sugar Daddy. Talk about natural.)
Take a butter knife or the back of a spoon and spread the mixture against the direction of your hair growth. Let it cool on your skin until it isn't tacky anymore.
Pull your skin taught. Rip the wax off in the direction of your hair growth.
Clean up any wax residue with your wax "strip". If you waited long enough, there won't be much wax residue left on your skin.
A shower or sponge bath afterwards will probably be necessary.
Tips For a Successful Sugar Wax
I totally failed at sugar waxing the first time I tried it, and I think these tips will help you have a good experience:
Use actual lemon juice. Like, fresh-squeezed from a whole lemon. I think this made a HUGE difference. Something with the enzymes or something. Science.
Don't rush preparation. It honestly doesn't take that long, so don't try to speed up the cooking or cooling process.
Only apply one or two wax strips at a time, and let them cool properly before removing them.
Be prepared to take a quick shower afterwards.
(If you've come across it…) the hard sugar method will work, but I found applying fresh wax strips every time wax much more effective.
Gently exfoliate after to help prevent ingrown hairs.
If your wax cools or hardens too much, zap it in the microwave for 10 seconds.
Make clean-up easy by gently dunking containers and tools into hot water.
My best tip: let the whole mixture cool in the fridge in a glass jar. When you're ready to wax, microwave your mixture for about 10 seconds. Use a little bit of that wax and it'll be at the perfect temperature. This will also prevent you from having to make a batch of wax every month.
Sugar Wax Happies
COST: This whole thing cost me $1 for the lemon, and mere cents for the sugar and salt.
TIME: All in all, the entire process from the start (cooking) to finish (hopping out of the shower) took an hour and a half. Might seem like a long time, but by the time I drove to Wax Center, signed in, waited in the lobby, got waxed, paid, and drove home, it was about an hour total. I'm happy to "spend" the extra 30 minutes and save $756 per year.
RESULTS: The results were exactly the same.
NEARO WASTE:All of the waste is compostable (the lemon rinds and the used and leftover wax).
I'm pretty. darn. happy.
Have you ever tried sugar waxing? Or, do you have a favorite natural beauty recipe you'd like to share? Comment below!
Cover photo by Jess Watters